Step 6 (To-Be) - Uploading the Zipped Extract Files
The ‘To-Be’ ZIP file must be uploaded into LiveCompare to create a LUX that is used in the SAP HANA migration assessment. This is done by carrying out the following steps:
- Log in to LiveCompare as a user with Consumer privileges. Alternatively, log in as a user with LiveCompare Editor privileges and click the
 toolbar button. The following screen is displayed.
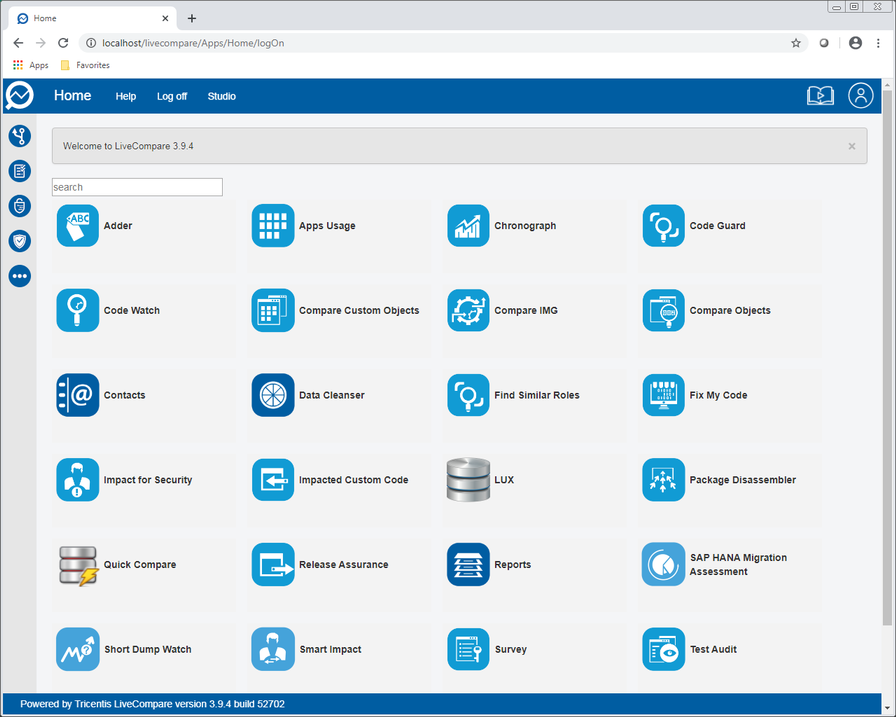
- Select the LUX utility and click the ‘Upload’ link. The following screen is displayed.
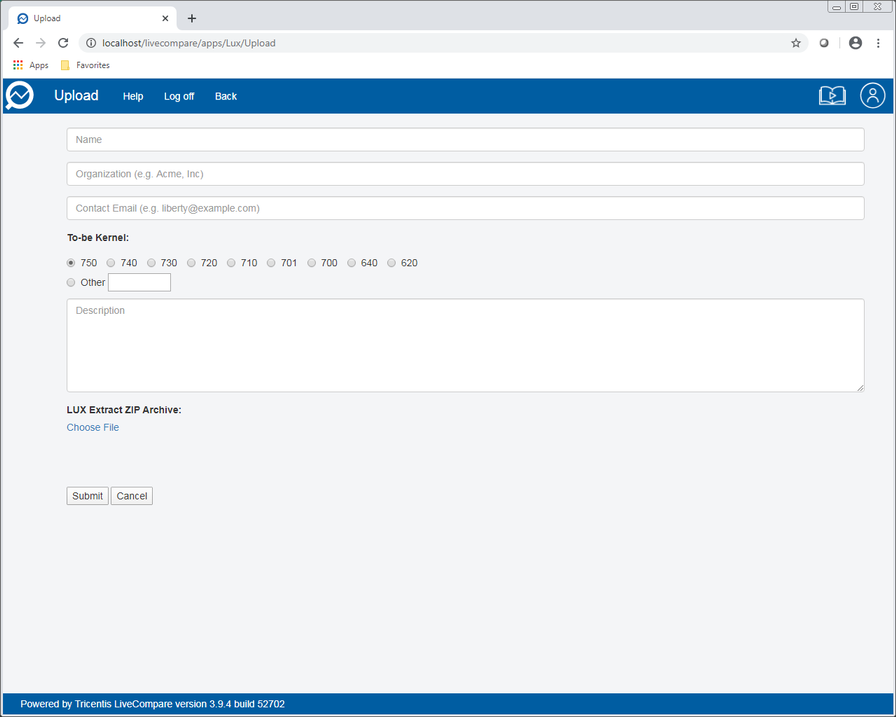
- Complete the screen fields as follows to specify the details for the LUX from the To-Be system:
| Field | Description |
|---|---|
|
Name |
Enter a descriptive name for the To-Be LUX, for example, <SAP System ID>-To-Be. |
|
Organization |
Enter your organization or company name. |
|
Contact Email |
Enter your email address. |
|
To-be Kernel |
Select the SAP kernel release of your To-Be system. If it is not listed, select ‘Other’ and enter your SAP kernel release in the edit field. |
|
Description |
Enter a long description for the LUX. For example, the description might refer to the system from which performance history data was retrieved, or to the months for which performance history data was retrieved. |
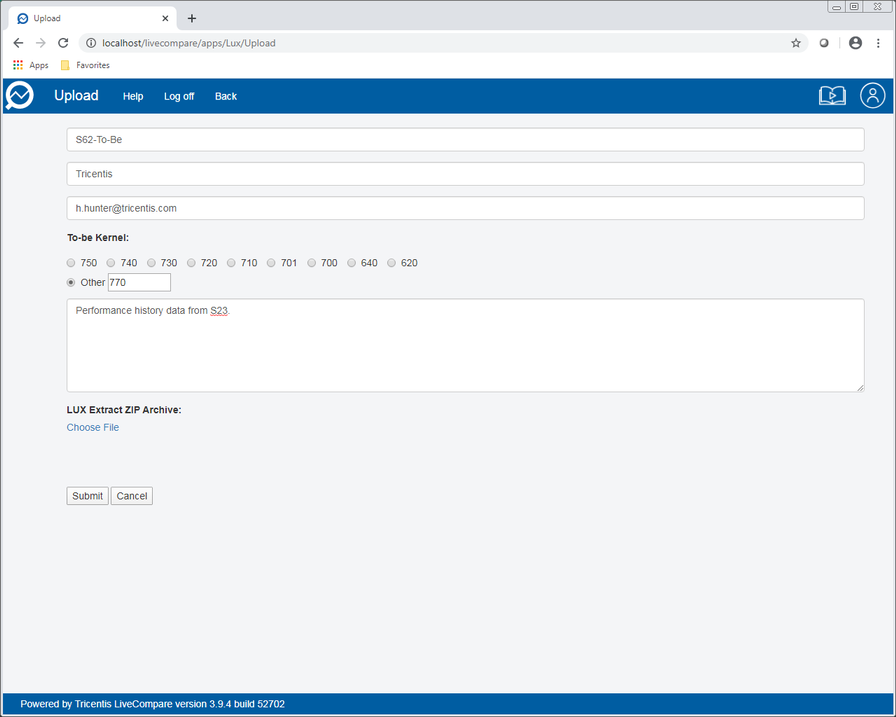
The screen should look like this:
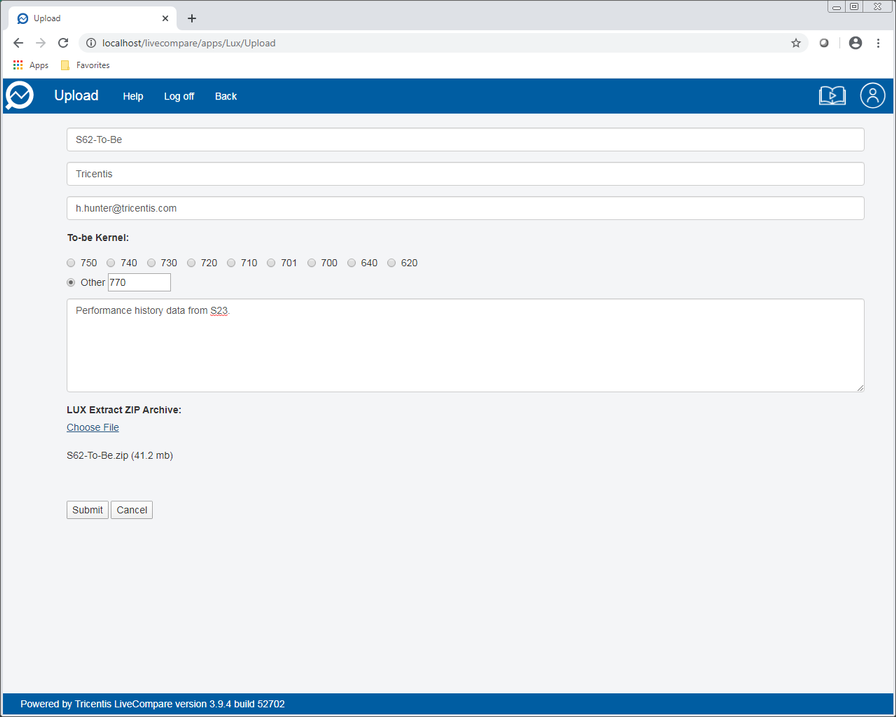
- In the LUX Extract ZIP Archive section, click ‘Choose File’. Browse for the To-Be ZIP file created in step 5 and click Open. The screen should look like this:
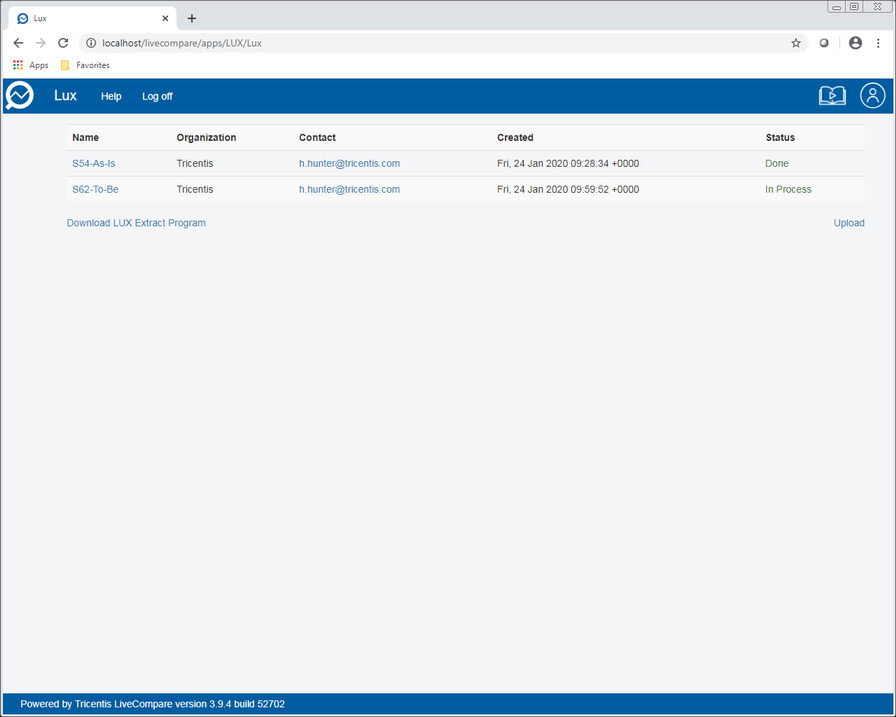
- Click ‘Submit’. The LUX file is processed, and the following screen is displayed.
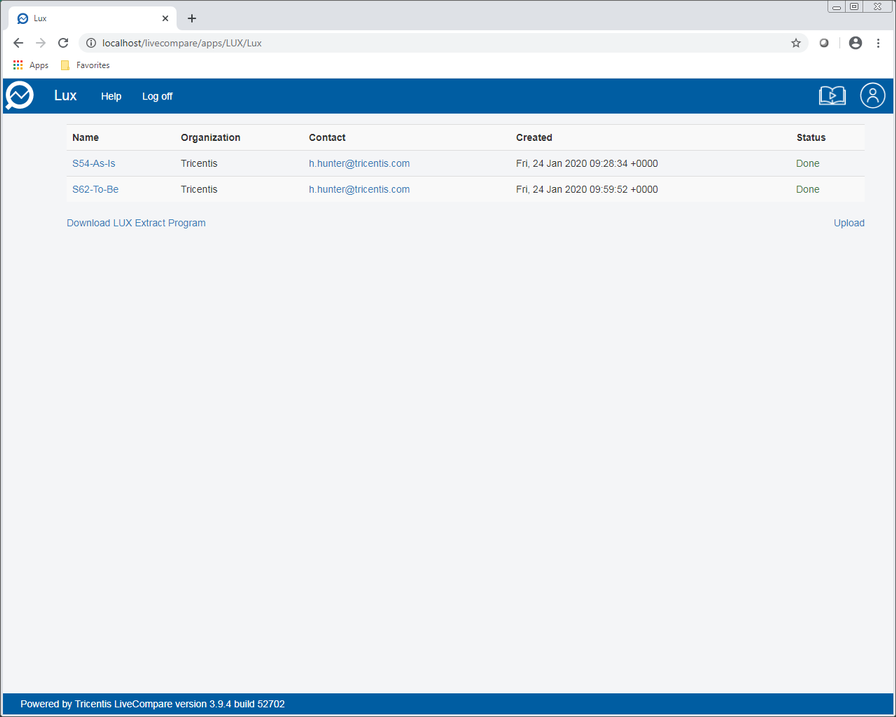
- Refresh your browser periodically to update the display. When the LUX file has been uploaded, the screen looks like this:
- Click the magnifying glass icon to return to the Apps Home screen.