Step 2 (As-Is) - Downloading Performance History Data
An SAP HANA migration assessment requires performance history data from your production system. Performance history data may be obtained in any of the following ways.
- Using the ST03N transaction.
- Using an RFC Destination on your As-Is system that connects directly to your production system.
- Using the performance history data that has been collected for an RFC Destination in LiveCompare.
-
Using a remote function called from LiveCompare.
After the performance history data files have been obtained, they must be cleansed before being used in an SAP HANA migration assessment.
Obtaining Performance History Data Using the ST03N Transaction
To obtain performance history data using the ST03N transaction, carry out the following steps on your Production system.
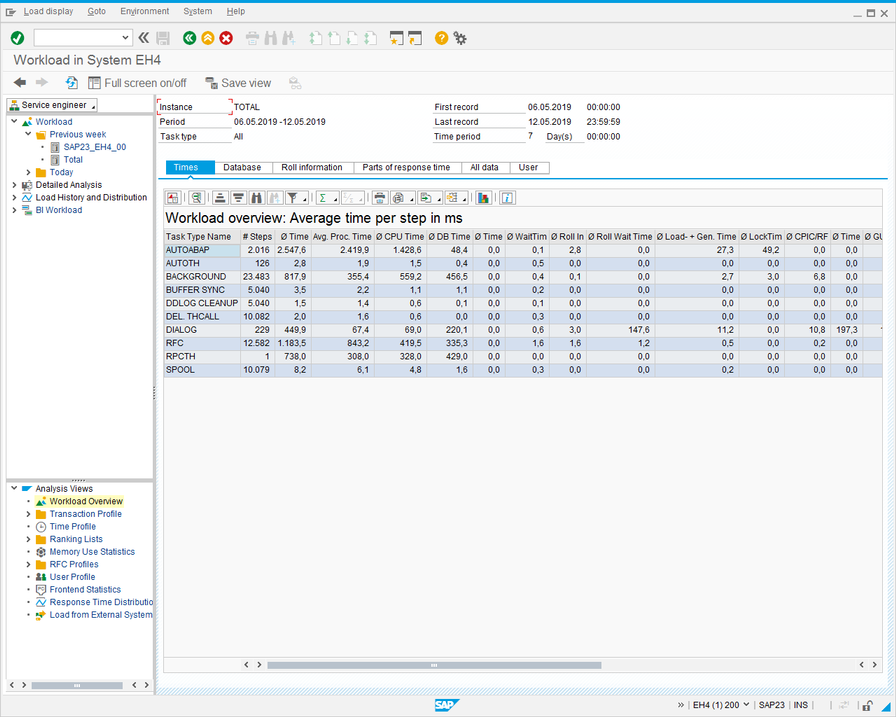
- Run transaction ST03N. The following screen is displayed.
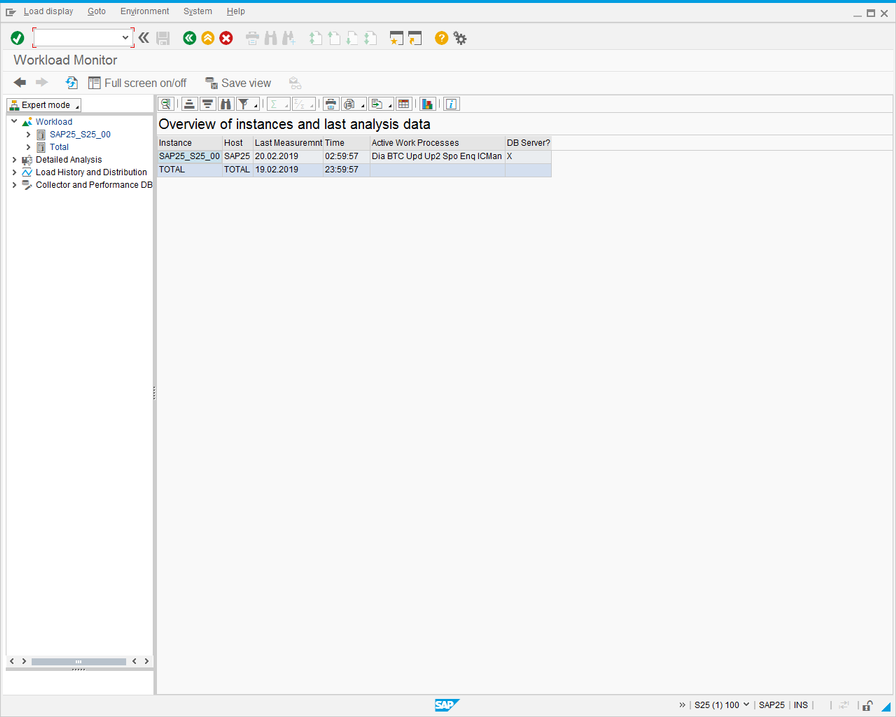
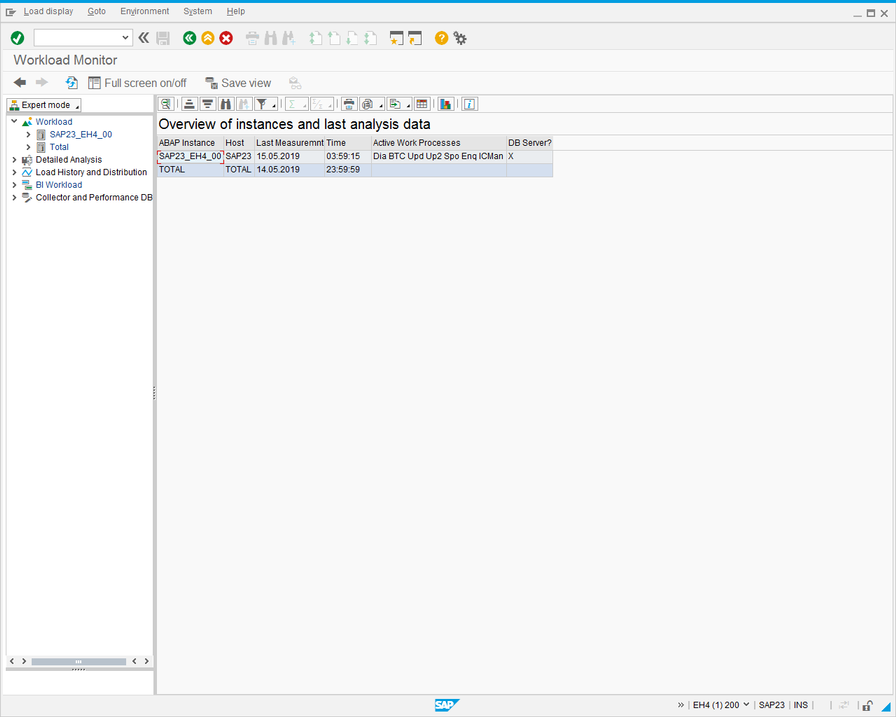
- Select ‘Expert mode’ from the drop-down list in the top left corner of the screen. The screen changes to the following.
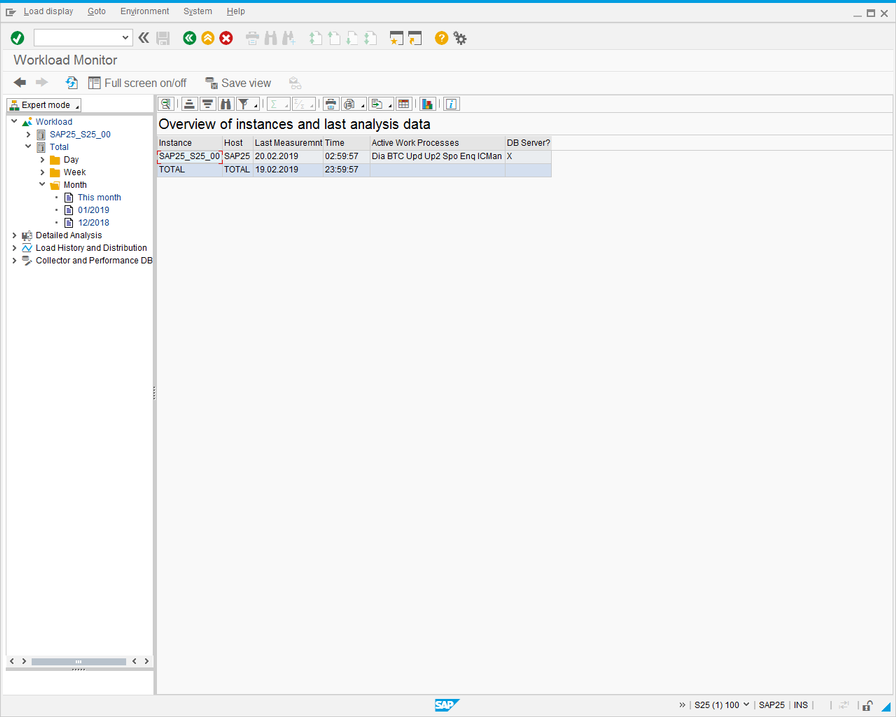
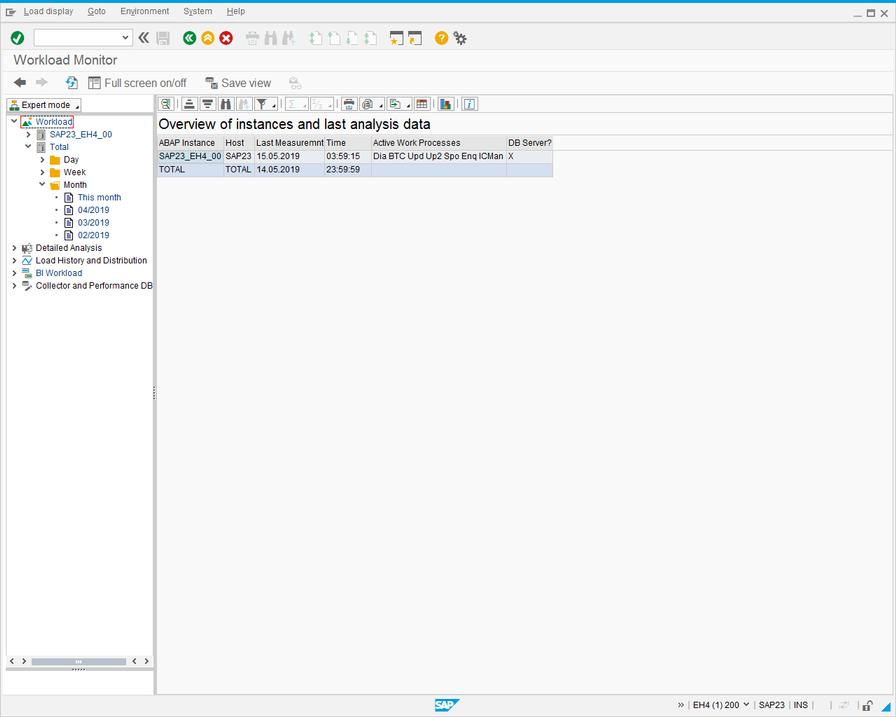
- In the Workload hierarchy, expand Total, and collapse the Day and Week folders to leave Month open. The screen looks like this:
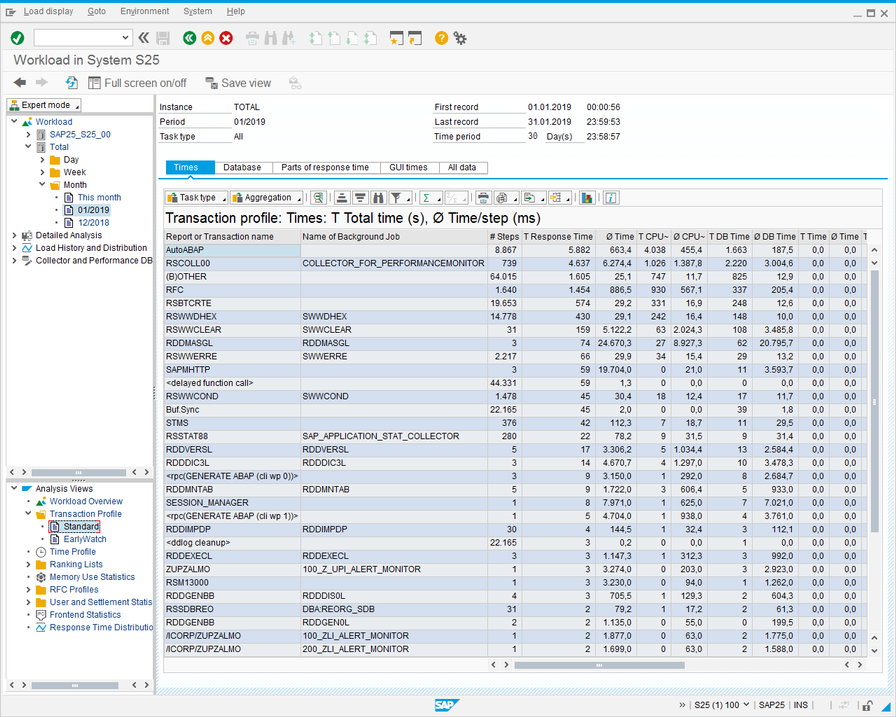
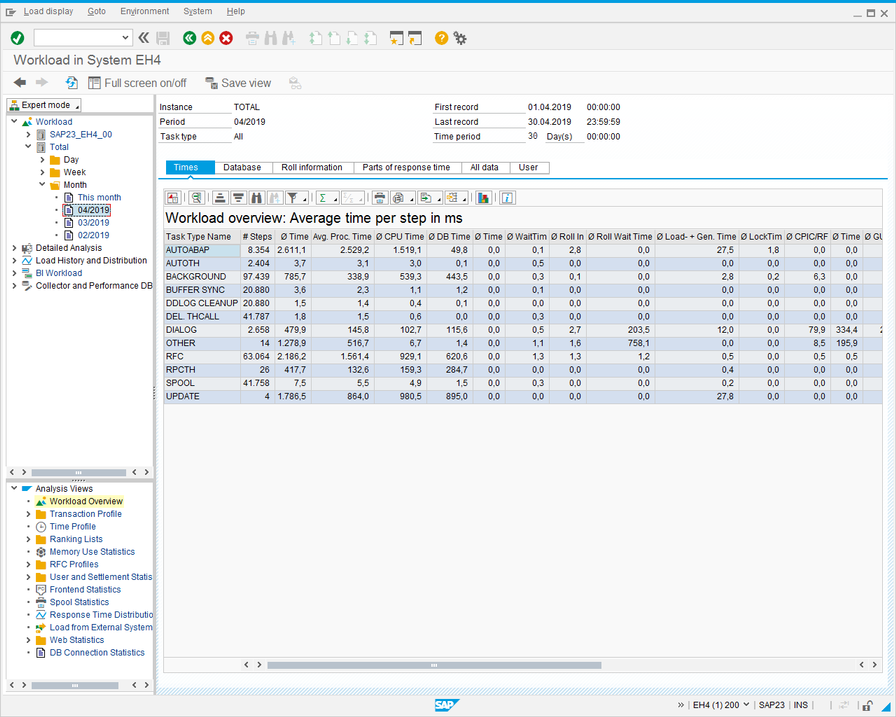
- Double-click a month to select it. The screen looks like this:

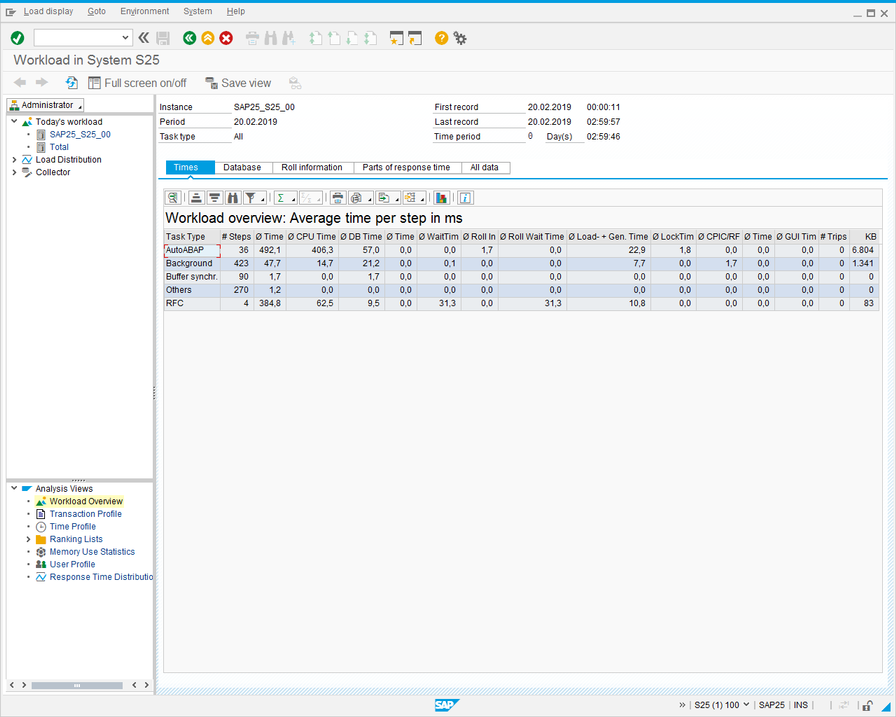
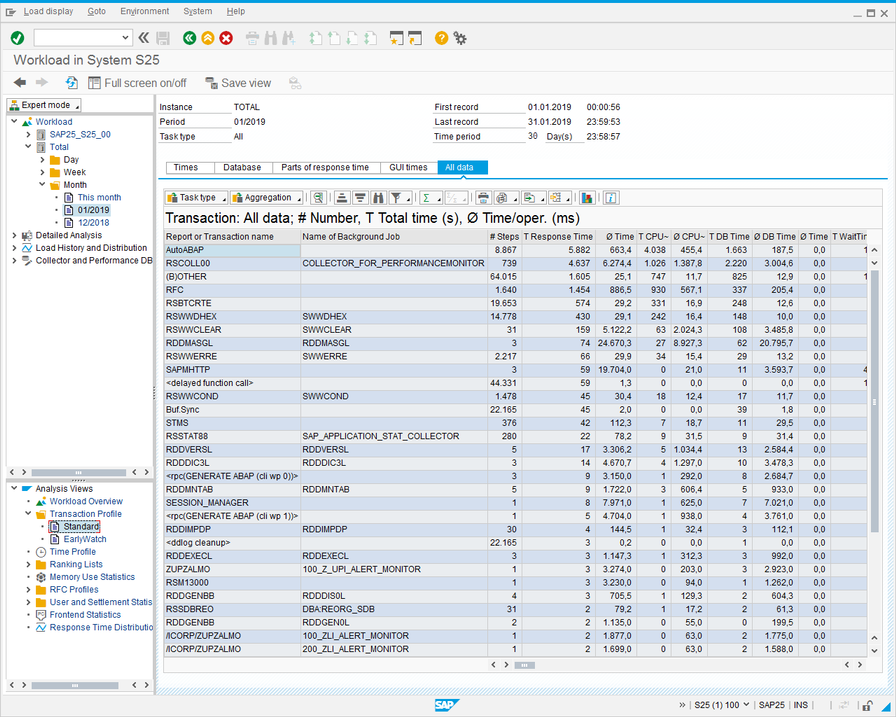
- Expand the Transaction Profiles folder in the Analysis Views hierarchy, and double-click Standard. The screen looks like this:
- Select the ‘All data’ tab in the main screen.
- Click
 (Export) and select ‘Local File’ from the drop-down list. The following dialog is displayed.
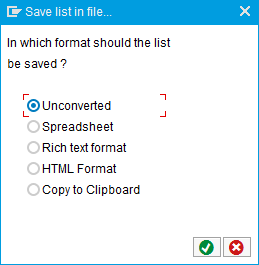
- Select ‘Unconverted’ and click
 . The following dialog is displayed
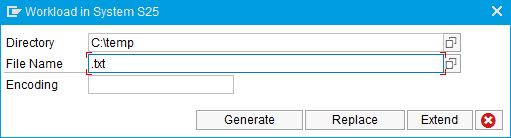
- Save the file to a temporary directory as <SAP System Name>-ST03-<n>.txt. If you are downloading performance history data for more than one month, use <n> to number the files sequentially, for example, <SAP System Name>-ST03-1.txt, <SAP System Name>-ST03-2.txt...
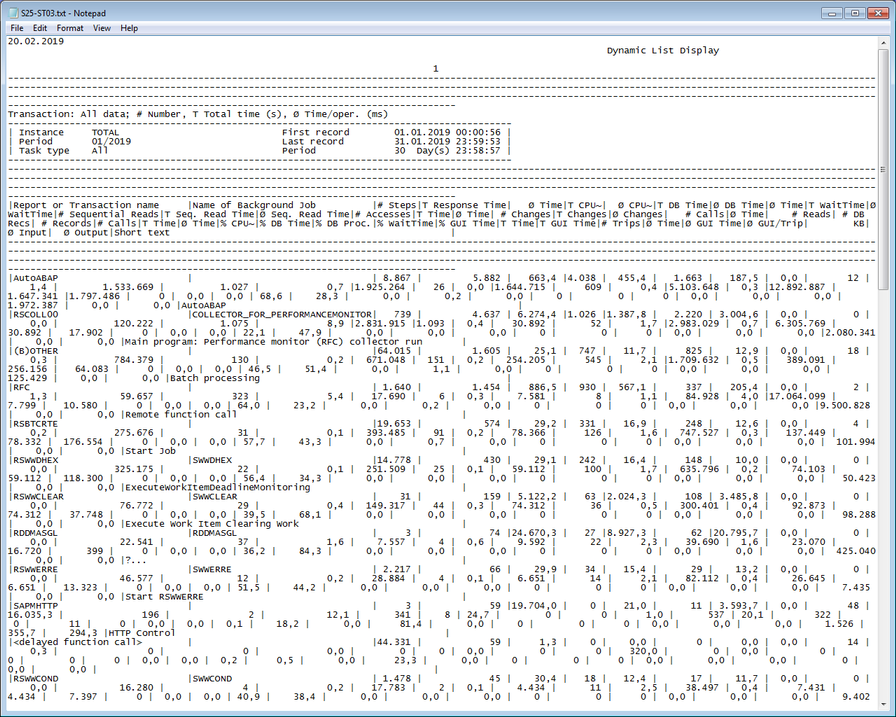
- The downloaded performance history data should look like this:
- To download performance history data for additional months, select each month in the Month hierarchy and continue from step 7. Usage counts for duplicated programs and transactions are accumulated in the results generated by the SAP HANA Migration Assessment App.
- Run the Data Cleanser utility to consolidate the performance history files into a clean file that is compatible with the Data Extract program.
Obtaining Performance History Data for Remote Function Calls Using the ST03N Transaction
To obtain performance history data for remote function calls (RFCs) using the ST03N transaction, carry out the following steps on your Production system.
- Run transaction ST03N. The following screen is displayed.
- Select ‘Expert mode’ from the drop-down list in the top left corner of the screen. The screen changes to the following.
- In the Workload hierarchy, expand Total, and collapse the Day and Week folders to leave Month open. The screen looks like this:
- Double-click a month to select it. The screen looks like this:
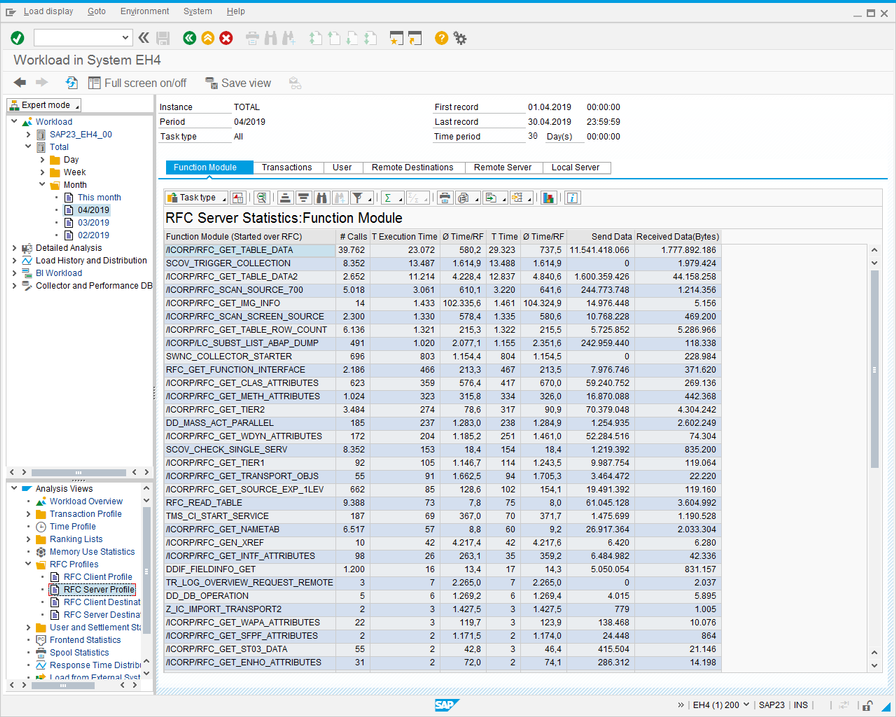
- Expand the RFC Profiles folder in the Analysis Views hierarchy, and double-click RFC Server Profile. The screen looks like this:
- Click (Export) and select ‘Local File’ from the drop-down list. The following dialog is displayed.

- Select ‘unconverted’ and click . The following dialog is displayed.
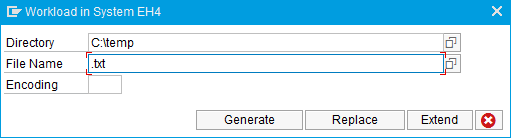
- Save the file to a temporary directory as <SAP System Name>-ST03-<n>.txt. If you are downloading performance history data for more than one month, use <n> to number the files sequentially, for example, <SAP System Name>-ST03-1.txt, <SAP System Name>-ST03-2.txt...
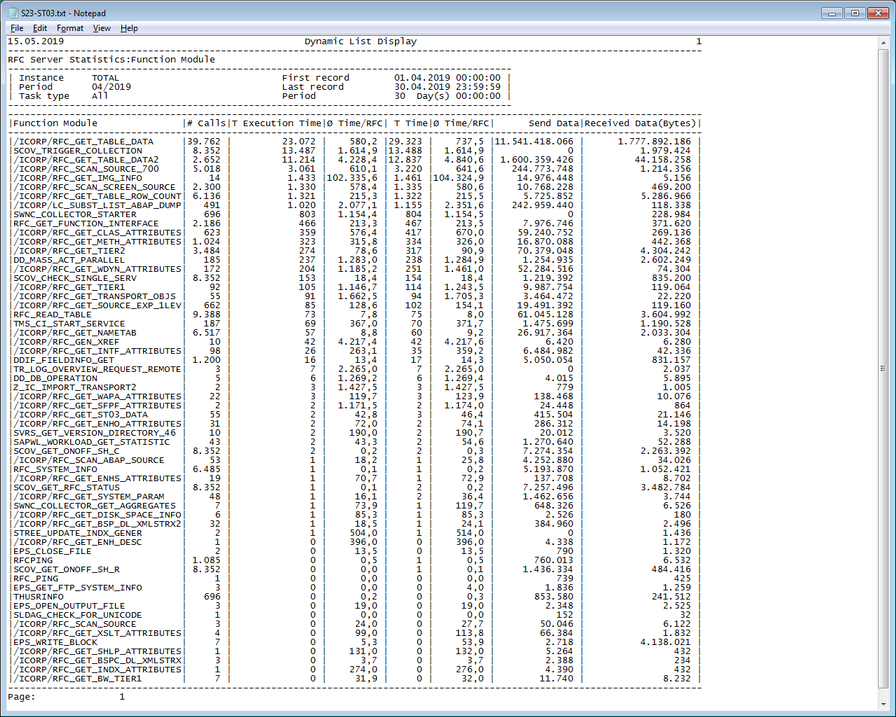
- The downloaded RFC performance history data should look like this:
Obtaining Performance History Data using an RFC Destination
To obtain performance history data using an RFC Destination that connects to your Production system, carry out the following steps to create the RFC Destination on your As-Is system.
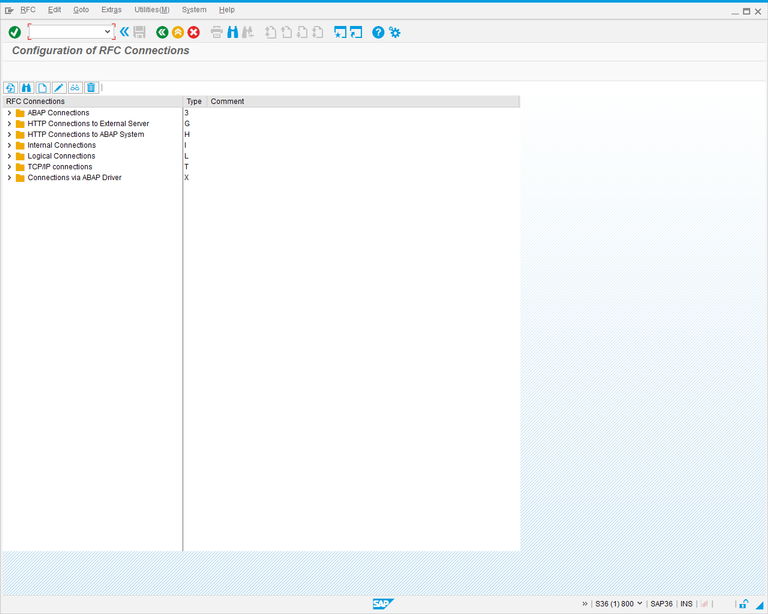
- Run transaction SM59. The following screen is displayed.
- Click
 . The following screen is displayed.
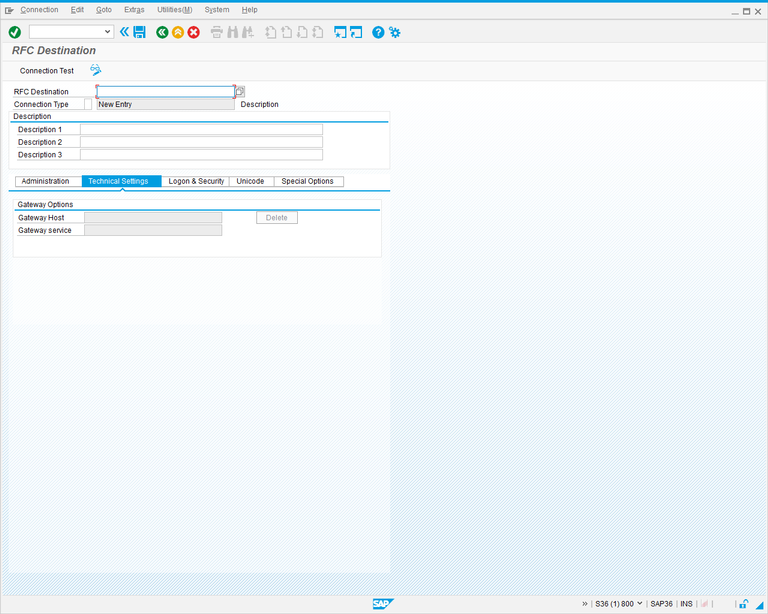
- Complete the screen fields as follows.
| Field | Description |
|---|---|
|
RFC Destination |
Enter a name for the RFC Destination. |
|
Connection Type |
Enter 3 as the connection type. |
|
Description |
Enter a description for the RFC Destination. |
- Press Enter. The screen changes to the following.
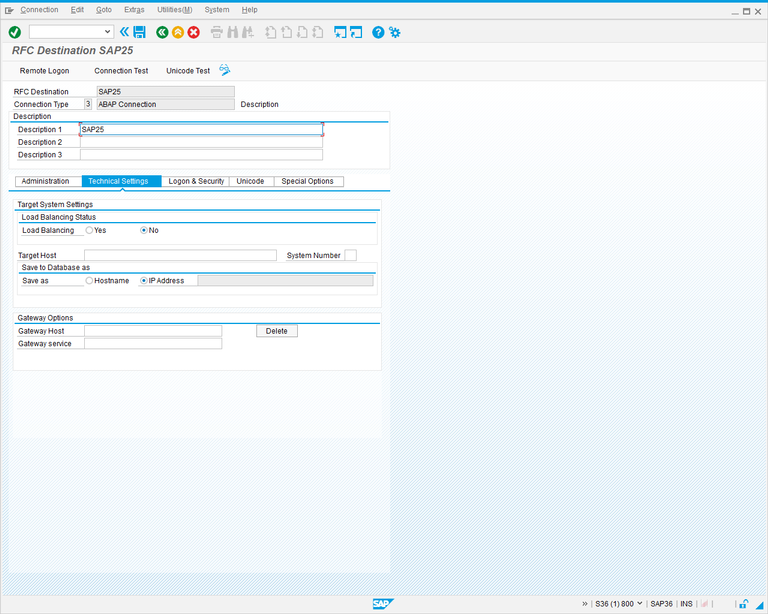
- Complete the following screen fields:
| Field | Description |
|---|---|
|
Target Host |
Enter the hostname of your Production system. |
|
System Number |
Enter the system number of your Production system. |
- Click the ‘Logon & Security’ tab. The following screen is displayed.
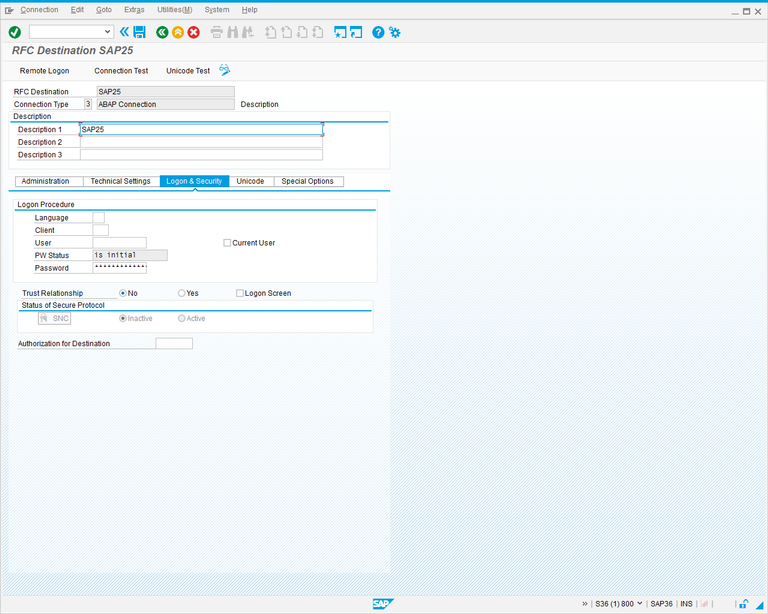
- Complete the fields in the ‘Logon Procedure’ section as follows.
| Field | Description |
|---|---|
|
Client |
The SAP client number to be used for the connection. |
|
Language |
The SAP logon language. Use ‘EN’ for English. |
|
User |
The SAP user ID to be used for the connection. |
|
Password |
The password for the user ID specified above. |
- Click
 . The following message box is displayed.
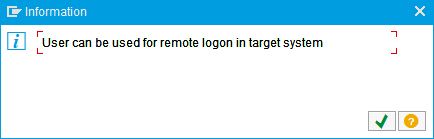
- Click
 , then press F3 to return to the Configuration of RFC Connections screen.
Obtaining Performance History Data from the Data Collected in LiveCompare
To obtain performance history data from the data collected for an RFC Destination in LiveCompare, carry out the following steps.
- Create a new workflow and add a Read Performance History Data action to it. Create a new RFC Destination and Application Statistics dataset for the action. Link the RFC Destination parameter to the RFC Destination for which performance history data has been collected.
- Add an Execute SQL action to the workflow. Link its Source1 property to the Application Statistics dataset, and create a new Result dataset. Set the action’s Statements property to the following:
CREATE TABLE Result AS SELECT NAME, '' AS BKGRD, '' AS DESC, [COUNT] FROM Source1
- Select the Result dataset and choose ‘View Details’ from the context menu. The following screen is displayed.
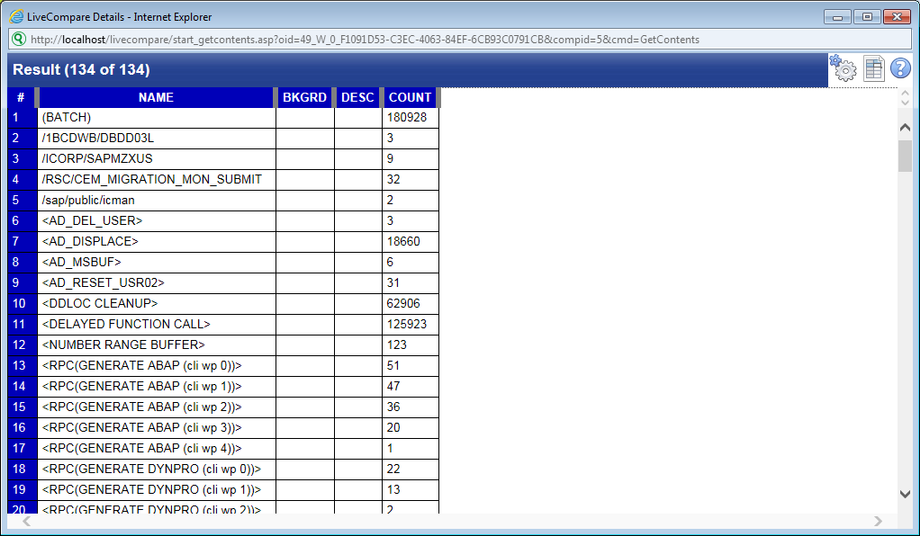
- If necessary, click
 and set the ‘Maximum number of rows to display’ user preference to a value that allows all the table rows to be displayed.
- Click
 to export the table to Excel. Open the Excel spreadsheet.
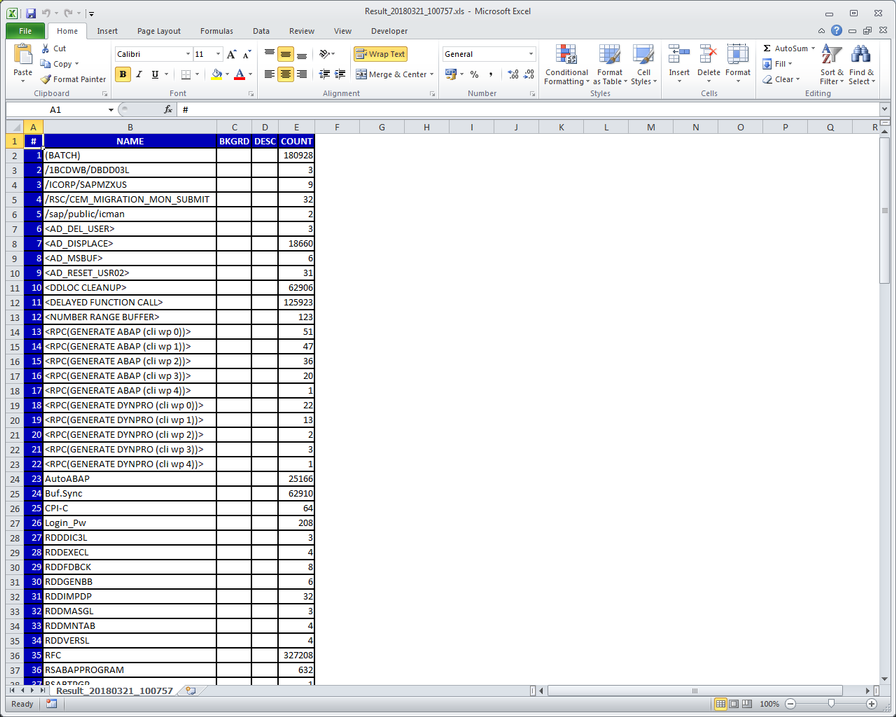
- Delete the first column (containing row numbers), and use the ‘Save As’ option to save the spreadsheet in CSV (Comma delimited) format. Choose a meaningful name for the file, for example ST03_<RFC Destination>.csv.
Obtaining Performance History Data using a Remote Function
To obtain performance history data using a remote function called from LiveCompare, carry out the following steps.
- Copy the RFC - Get Perf Data (SAP kernel releases below 700) or RFC - Get Perf Data 700 (SAP kernel releases 700 and above) workflow from the Tools templates folder into your own workspace.
- Open the copied workflow and set the System 3 parameter to an RFC Destination that contains performance history data.
- Run the workflow to populate the AppStats External Data Source.
- Create a new workflow and use the Read External Data Source action to read the AppStats External Data Source into a Table dataset named Application Statistics.
- Add an Execute SQL action to the workflow. Link its Source1 property to the Application Statistics dataset, and create a new Result dataset. Set the action’s Statements property to the following:
CREATE TABLE Result AS SELECT NAME, '' AS BKGRD, '' AS DESC, [COUNT] FROM Source1
- Select the Result dataset and choose ‘View Details’ from the context menu. The following screen is displayed.
- If necessary, click and set the ‘Maximum number of rows to display’ user preference to a value that allows all the table rows to be displayed.
- Click to export the table to Excel. Open the Excel spreadsheet.
- Delete the first column (containing row numbers), and use the ‘Save As’ option to save the spreadsheet in CSV (Comma delimited) format to a directory on your machine. Choose a meaningful name for the file, for example ST03_<RFC Destination>.csv.
-
Run the Data Cleanser utility to produce a clean file that is compatible with the Data Extract program.
Cleansing the Data Files
The performance history data files obtained in the sections above must be cleansed to ensure they are in the format expected by the Data Extract program. This should be done as follows.
- Run the Data Cleanser utility from the Apps Home screen.
- Use the ‘Choose files…’ link to upload each of your performance history data files.
- Click ‘Submit’, and then download the clean file.
The clean file is in CSV format (with a .txt extension), and has the following columns:
- Program or Transaction Name
- Name of Background Job
- Description
- Usage Count
The Data Extract program uses data from the first and fourth columns (Program or Transaction Name and Usage Count).
Usage counts for each executable are aggregated so that each executable appears once only in the clean file. Embedded quotation marks and commas are removed from the first three columns, and values in the Usage Count column are formatted as numbers with no decimal separators.
Save the cleansed file to a temporary directory. If you plan to run the extract program using files from the SAP application server (for example, to run the data extract program as a background job), copy the cleansed file to a directory on the As-Is system that is accessible by SAPGUI.