Configure Web Service Wizard
The Configure Web Service Wizard customizes a Run Web Service action by associating it with a Web Service. When the Wizard has completed, the Run Web Service action is updated with the input properties required by the specified Web Service. It also has the following output property.
| Action Property | Description |
|---|---|
| Processed Results Table | A Table dataset which stores the raw results returned by the Web Service in table format. |
If the Run Web Service action is configured to call an external Web Service, the action has an additional output property which stores the result of the Web Service as a string. If the action is configured to call a Web Service created from a workflow, it may have an additional output property which corresponds to the workflow’s result dataset.
To start the Wizard, add a Run Web Service action to a diagram and choose ‘Configure Web Service’ from the action’s context menu. The workflow is saved, and the Configure Web Service wizard is displayed in the lower portion of the Workflow Editor, showing the name of the action being edited. Note that the workflow diagram may not be edited while this dialog is displayed.
Locate WSDL
In the Locate WSDL screen, enter the Web Service Definition Language URL for the Web Service. The URL for a workflow that has been registered as a Web Service can be obtained from the Data/Web Services folder in the LiveCompare hierarchy. Select the ‘WSDL’ link for the appropriate Web Service, and choose ‘Copy Shortcut’ from its context menu.
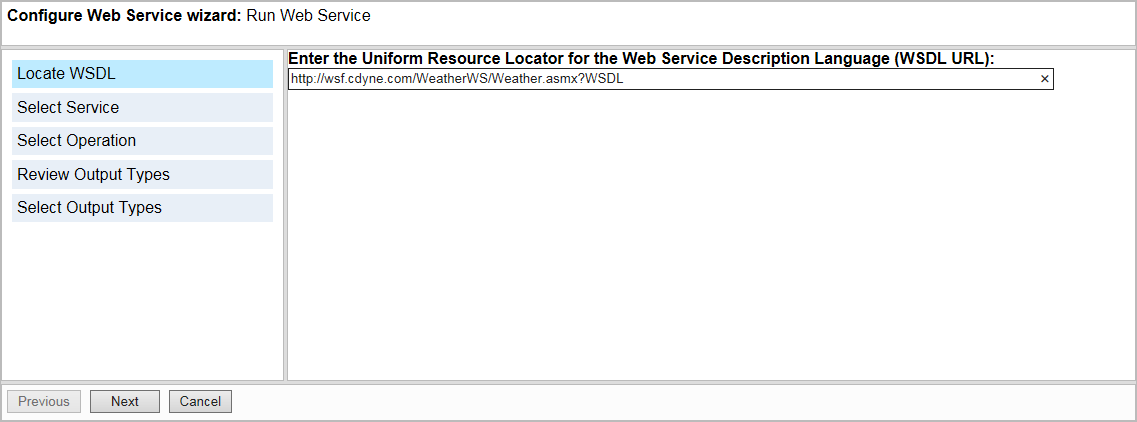
Click ‘Next’ to continue.
Select Service
This screen displays the services supported by the specified Web Service.
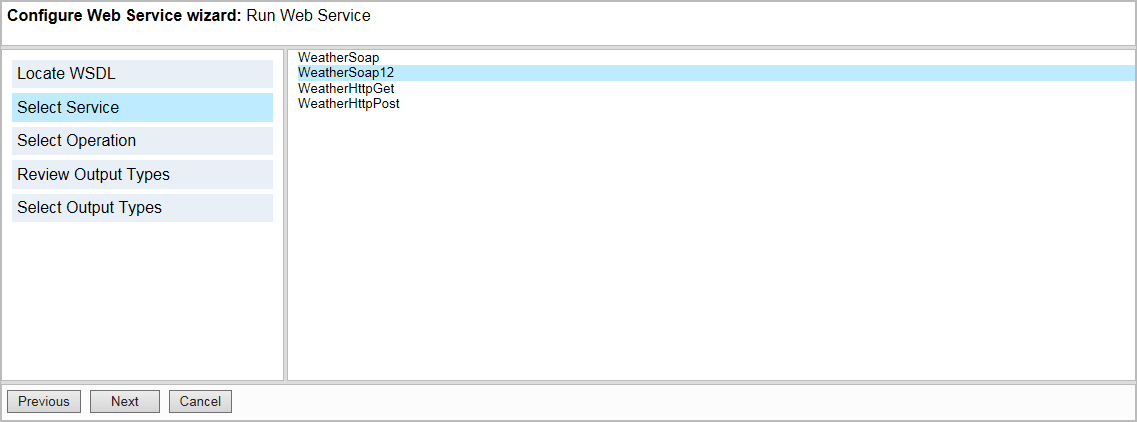
Select the service you wish to use, then click ‘Next’ to continue.
For workflows that have been registered as Web Services, select <Workflow Name>Soap12 as the service. Note that ‘Soap’ or ‘Soap12’ services are more likely than ‘Http’ services to allow LiveCompare to generate Table datasets from the results of a Web Service.
Select Operation
This screen displays the Operations supported by the specified Web Service.
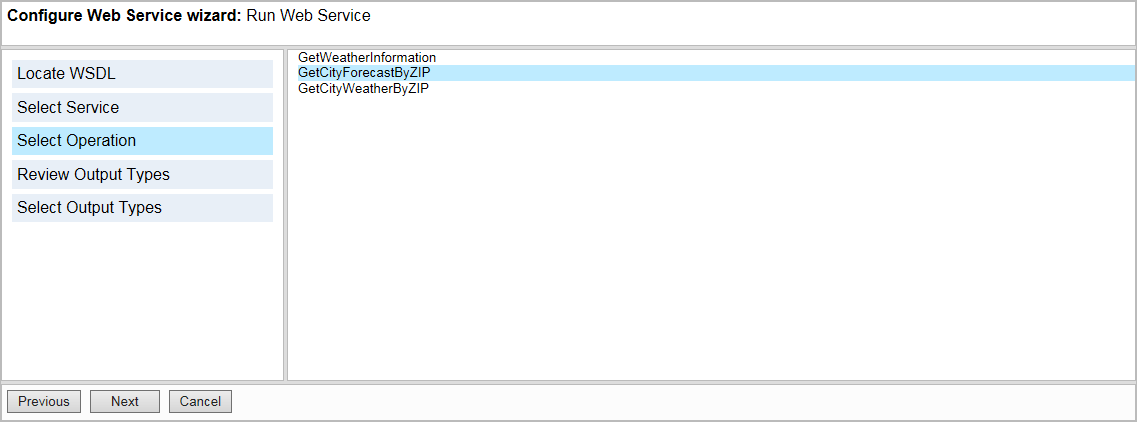
Select the Operation to be called, then click ‘Next’ to continue. For workflows that have been registered as Web Services, select the ‘StartWorkflow’ operation.
Review Output Types
This screen displays XML code which describes the Output Types for the Web Service. If you plan to use the Run Web Service action’s Processed Results Table dataset, you may need to provide substitute XML so that the Web Service provides output that may be translated to LiveCompare table format. This is not necessary for workflows that have been registered as Web Services.
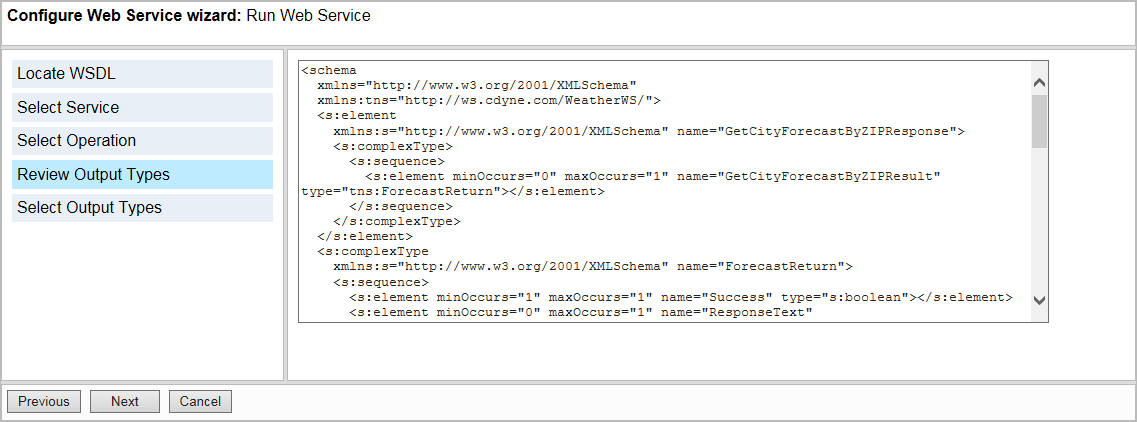
When you have made any necessary changes, click ‘Next >’ to continue.
Select Output Types
This screen displays a hierarchy of the Output Types specified in the Review Output Types screen.
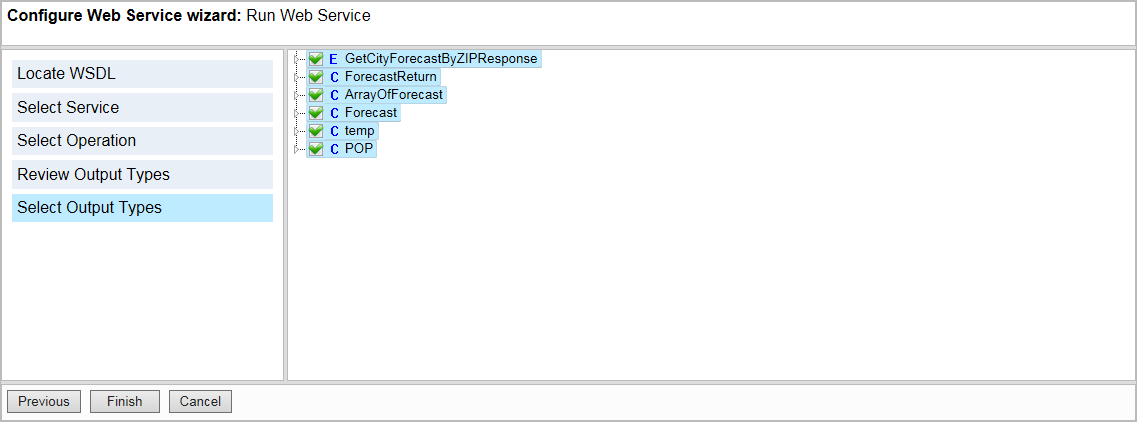
Each node in the hierarchy is labeled with a letter representing its XML schema definition data type:
| Data Type | Description |
|---|---|
| E | element |
| C | complexType |
| S | S |
| A | attribute |
| N | any |
Select the Output Types to be included in the Run Web Service action’s Processed Results Table dataset. Note that only checked outputs of type ‘string’ will be included in the table results. However, you should leave all the other types selected as they may be part of the definition for the Web Service. For workflows that have been registered as Web Services, you should normally leave all of the output types selected.
Click ‘Finish’ to confirm your changes and close the Configure Web Service wizard dialog. If necessary, the Wizard may be run again by choosing ‘Configure Web Service’ from the Run Web Service action’s context menu.