Creating Secure RFC Destinations
LiveCompare supports certificate-based secure RFC Destinations. To configure LiveCompare to support secure RFC connections, carry out the following steps. These steps assume that your SAP server has been configured to support secure connections. You may need to check this with your SAP BASIS Administrator.
We recommend that SAPGUI is installed on your LiveCompare server.
Downloading the SAPCRYPTOLIB Library
The following SAP connection components are required.
- The SAPCRYPTO.DLL component manages secure RFC connections within LiveCompare.
- The SAPGENPSE.EXE program creates and manages the certificates used to establish secure RFC connections.
These components are available in the SAPCRYPTOLIB library, which may be downloaded from the SAP Service Marketplace.
- Access the SAP Service Marketplace at https://support.sap.com/swdc.
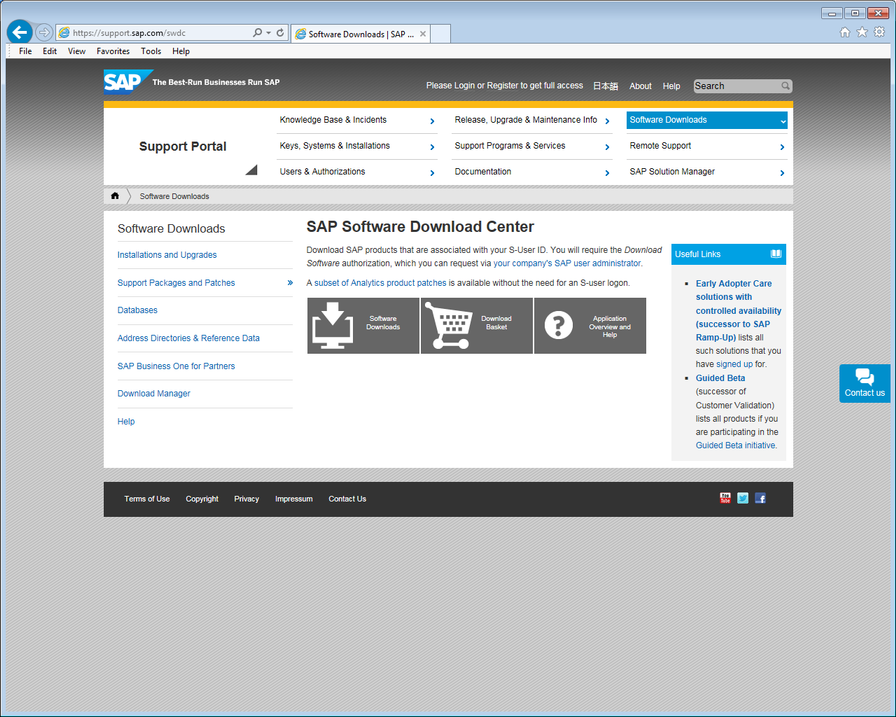
- Select the ‘Software Downloads’ tile. The following screen is displayed.
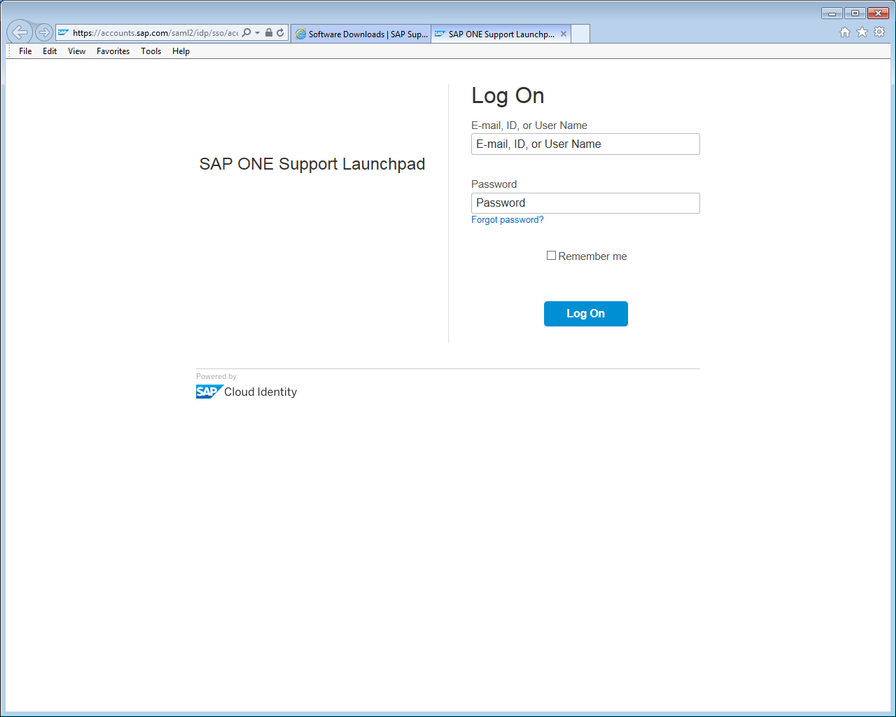
- Log in using your SAP Service Marketplace user name and password. The following screen is displayed.
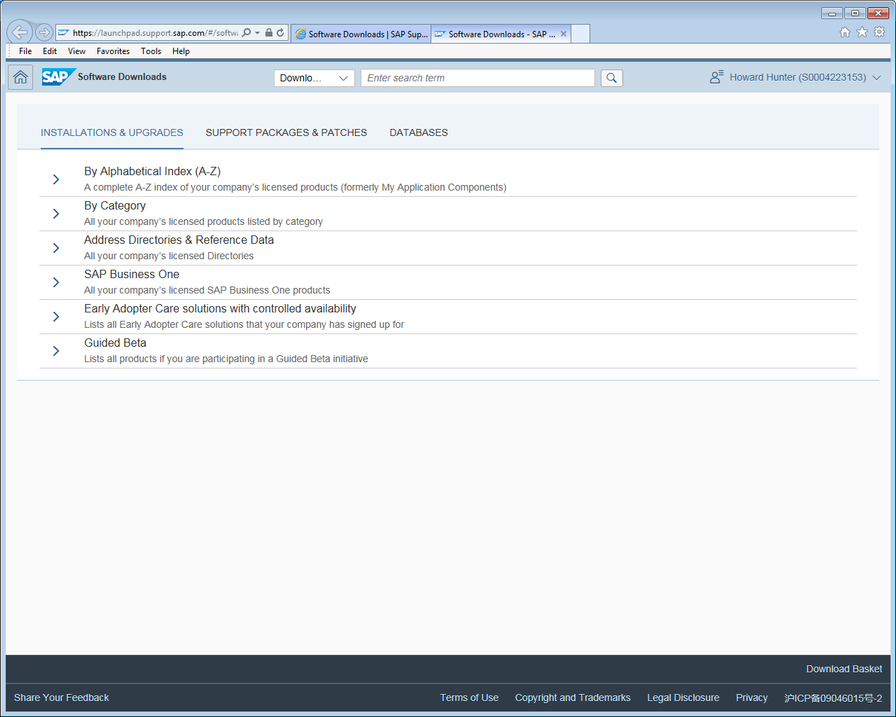
- Expand the By Category folder and select ‘SAP Cryptographic Software’. The following screen is displayed.
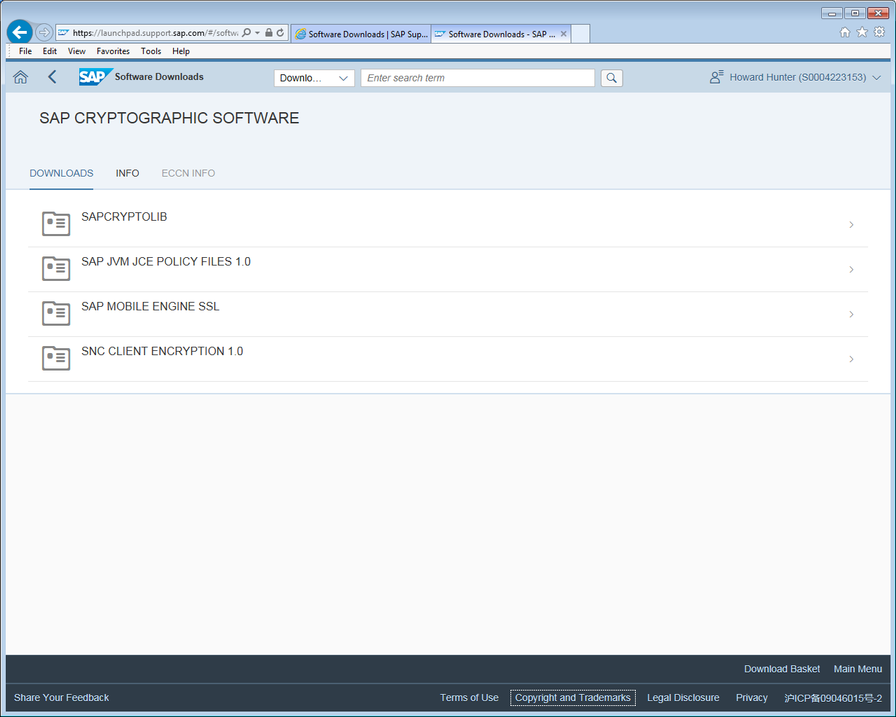
- Select SAPCRYPTOLIB, and then the latest version of COMMONCRYPTOLIB. The following screen is displayed.
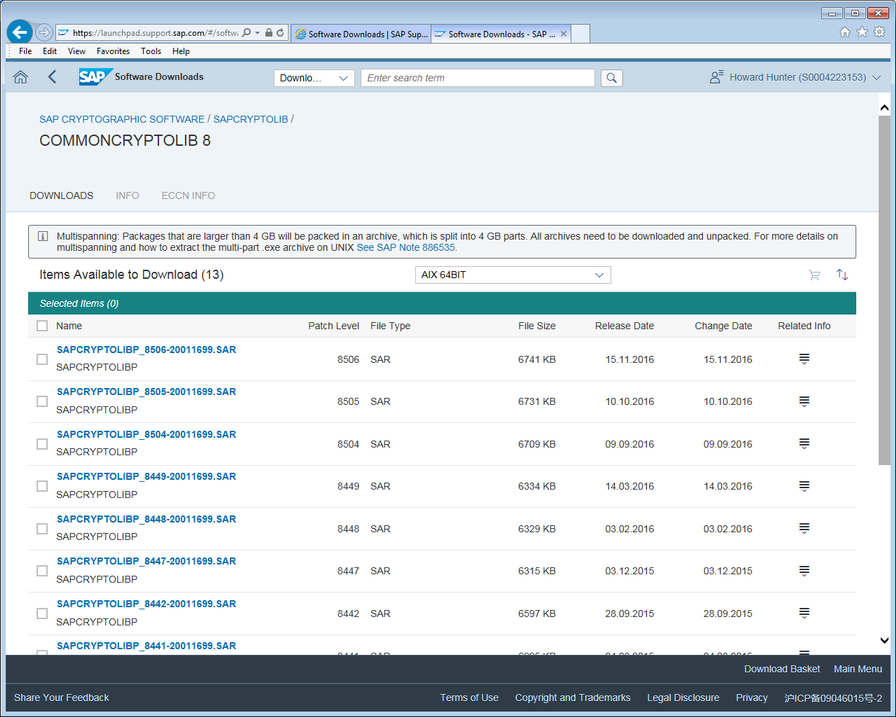
- Select WINDOWS ON X64 64BIT from the drop-down list.
- Download the .SAR file with the latest patch level to a temporary directory on your LiveCompare server.
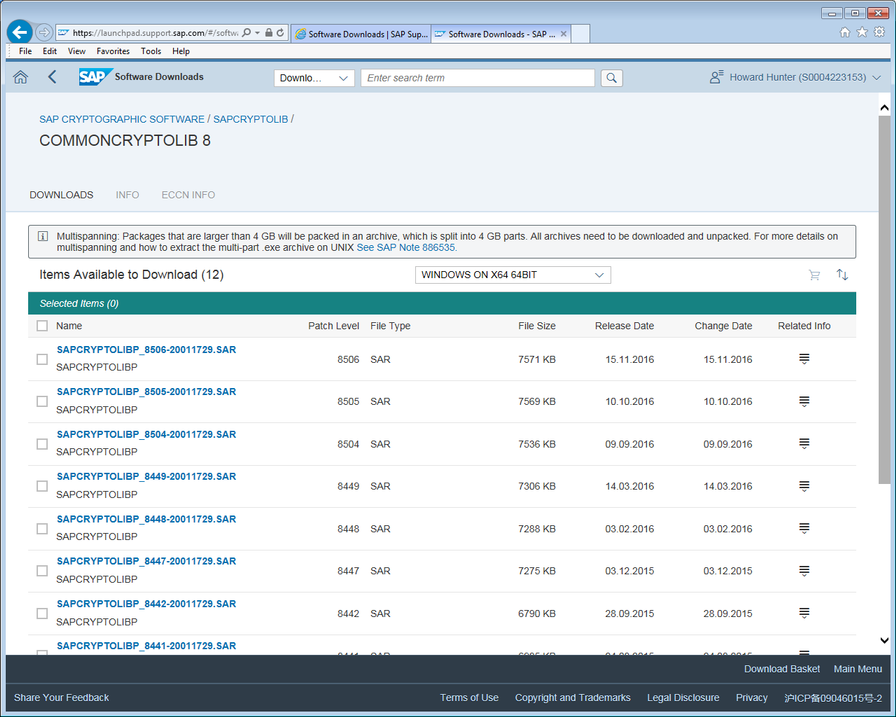
- In the Software Downloads screen, search for SAPCAR. The following screen is displayed.
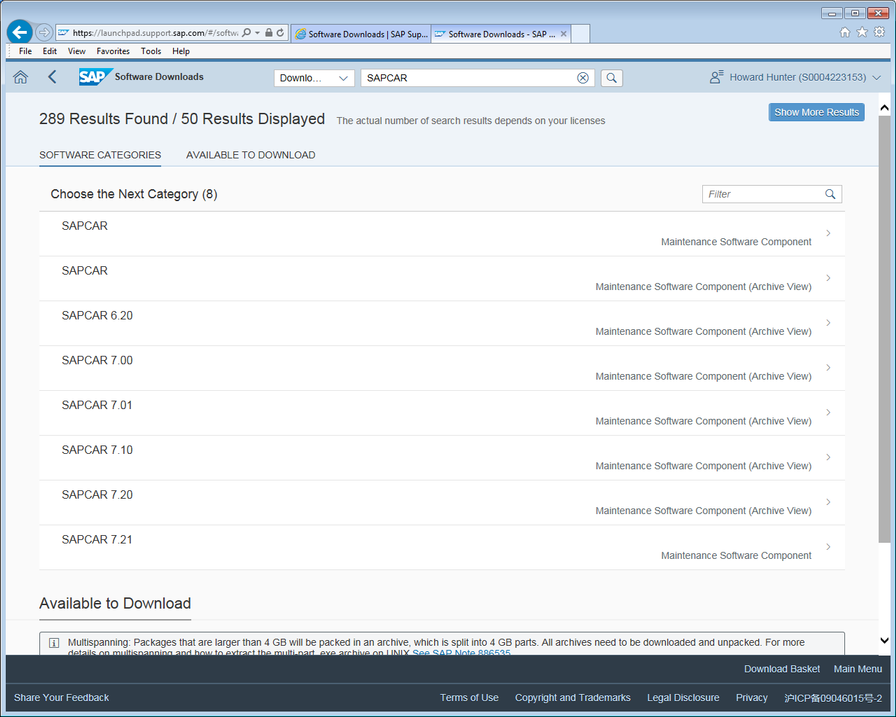
- Select the latest SAPCAR release, and select WINDOWS ON X64 64BIT from the drop-down list. The following screen is displayed.
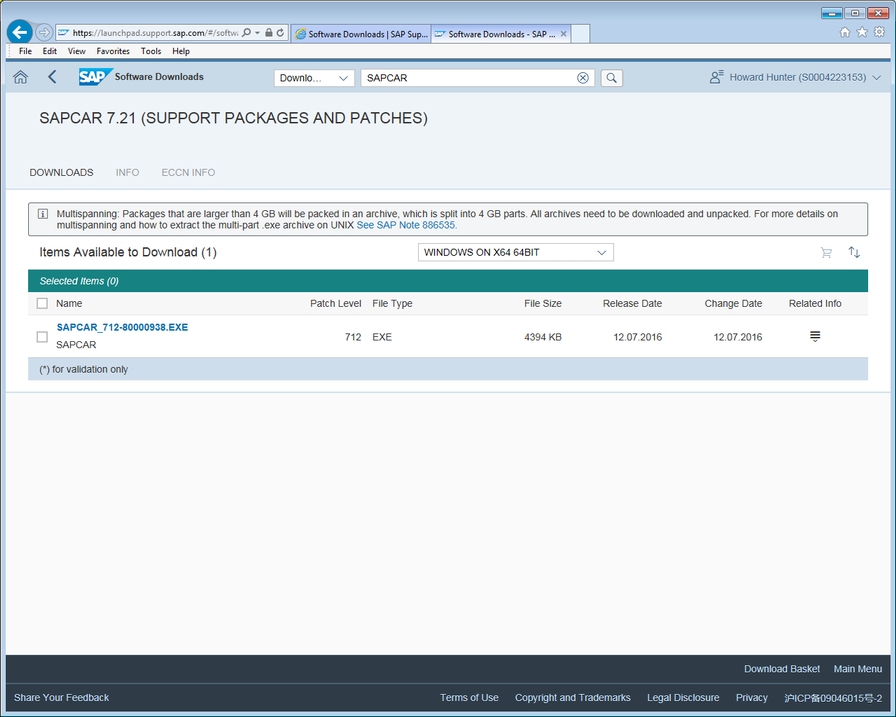
- Download the .EXE file with the latest patch level to the temporary directory. Save the file as ‘sapcar.exe’.
Installing the SAPCRYPTOLIB Components
To install the SAPCRYPTOLIB components on your LiveCompare server, carry out the following steps.
- Open a command window on the LiveCompare server and navigate to the temporary directory. Then run the following.
sapcar.exe -xvf <SAR filename>
- Run the following to create a directory structure in which to store the components.
cd \
mkdir snc
mkdir snc\bin
mkdir snc\sec
- Copy the sapgenpse.* files from the temporary directory to the \snc\bin directory.
- Copy the sapcrypto.* files from the temporary directory to the \snc\sec and \snc\bin directories.
- Set a system-wide environment variable named SECUDIR to point to the \snc\sec directory.
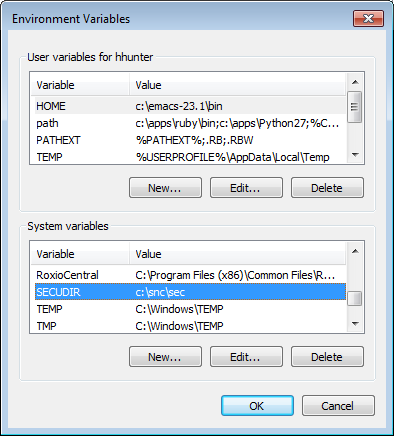
-
Restart the RNSERVER service, first checking that no users are currently logged into LiveCompare, and that no workflows are currently running.
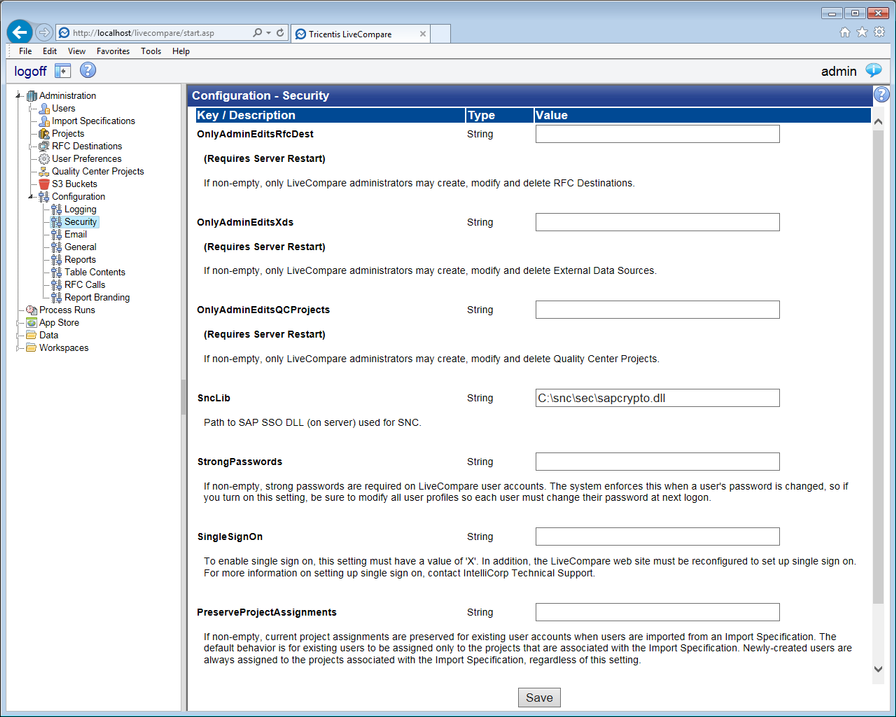
- Log in to LiveCompare as a user with LiveCompare Administrator privileges, and select the Administration/Configuration/Security folder.

- In the Configuration - Security screen, set the SncLib field to the following, and click ‘Save’.
C:\snc\sec\sapcrypto.dll
Creating a PSE file on the LiveCompare Server
To create a PSE file on the LiveCompare server, carry out the following steps.
Note: These steps involve the use of the LiveCompare service account. Changing this account name will invalidate any existing RFC Destinations that use a secure network connection. In this case, you will need to recreate each of your PSE files as described below and then continue with the steps in each of the following sections.
- Run the following from a command window:
cd \snc
bin\sapgenpse gen_pse -v -p <hostname of LiveCompare server>.pse
- Enter a passphrase when prompted, and enter CN=<hostname of LiveCompare server> at the Distinguished Name of PSE owner: prompt.
C:\snc>bin\sapgenpse gen_pse -v -p gandalf.pse
Got absolute PSE path "c:\snc\sec\gandalf.pse".
Please enter PSE PIN/Passphrase: *************
Please reenter PSE PIN/Passphrase: *************
get_pse: Distinguished name of PSE owner: CN=GANDALF
Supplied distinguished name: "CN=GANDALF"
Creating PSE with format v2 (default)
succeeded.
certificate creation... ok
PSE update... ok
PKRoot... ok
Generating certificate request... ok.
Certificate Request
Signed Part
Subject :CN=GANDALF
Key
Key type :rsaEncryption (1.2.840.113549.1.1.1)
Key size :2048
Attributes
Signature
Signature algorithm :sha256WithRsaEncryption (1.2.840.113549.1.1.11)
Signature (size="2048") :<Not displayed>
PKCS#10 certificate request for "c:\snc\sec\gandalf.pse":
-----BEGIN CERTIFICATE REQUEST-----
MIICVzCCAT8CAQAwEjEQMA4GA1UEAxMHR0FOREFMRjCCASIwDQYJKoZIhvcNAQEB
BQADggEPADCCAQoCggEBAJdn5eUTAqu9enzTt1eQiSVEguT01KMaaQqlaOWasxeY
qVfpNprD0zHrM6iFSojxA1xYinQ8hf0CLoXUJnNiEbDmpOAPAPoyfnZnfmPeuYhH
FiVxFd671m1dPzQgVqcJq/SwvACFESNCLSVNlou6xLsgC+Ve3okfeJ1jvM/+eRAV
1z1UDOiwvntA2jUbghRH6eKYQwRhOGS709RiSAK31XYw/t6dg3uLrQV9fbLeLLS8
t8oNMaaoj6vqAW3tgc0H0hbR9IFsJGbekyf1m/6N9WDh8erV7IRXwOy9hsdMtYtU
JQIHqwOIfLKgRq0ZBUoLNCxk+mGFO4LVsPTsyz4rzT0CAwEAAaAAMA0GCSqGSIb3
DQEBCwUAA4IBAQAqQodr3gUWx3qdCfn7FozIgLCK4Lf0uotdsJ2QkwBmb+dhc0IE
Tjg3N5PwuUiFC3XLOM+Tvg5Rd0XuoIYtGAWuF+9OoyM6UCv6LjgjuuDgY/PnsMXP
3WcGk3z1gMjTpwFHk9Tui6vEQswuL7EmYa4nOir82QTg7qTyfSqEP6ho+E4Rg/XS
AjYfEO7KRZBD7RDBmIBxuGjGZ/+6GpNxhKytJExNM5qqlG6VUiI0T+UVdxrKe3L5
I9MtOj8hdQAh82S+ZltOfbf+Pq/LprKIa3q8uye8XIYaRoLCwdAUi7cI5JIev/FP
bAVf9bJBofVYA7Zm+WX+4nYqfR7ChnpAuBQ9
-----END CERTIFICATE REQUEST-----
Run the following to update the PSE file with details of the account that runs RNSERVER.EXE as a service.
C:\snc>bin\sapgenpse seclogin -p gandalf.pse -O gandalf\livecompare
running seclogin with USER="hhunter"
creating credentials for user "gandalf\livecompare" ...
Please enter PSE PIN/Passphrase: *************
Adjusting credentials and PSE ACLs to include "gandalf\livecompare"...
c:\snc\sec\cred_v2 ... ok.
c:\snc\sec\gandalf.pse ... ok.
Added SSO-credentials for PSE "c:\snc\sec\gandalf.pse"
Run the following to extract the certificate from the PSE file.
C:\snc>bin\sapgenpse export_own_cert -v -p gandalf.pse -o gandalf.crt
Opening PSE "c:\snc\sec\gandalf.pse"...
No SSO credentials found for this PSE.
Please enter PSE PIN/Passphrase: *************
PSE (v2) open ok.
Retrieving my certificate... ok.
Writing to file (PEM-framed base64-encoded)... ok.
Installing the Certificate in SAP
To install the certificate in SAP, carry out the following steps on your LiveCompare server.
- Start SAPGUI and log in to the SAP system on which the certificate is to be installed.
- Run transaction STRUST and expand the SNC SAPCryptolib folder.
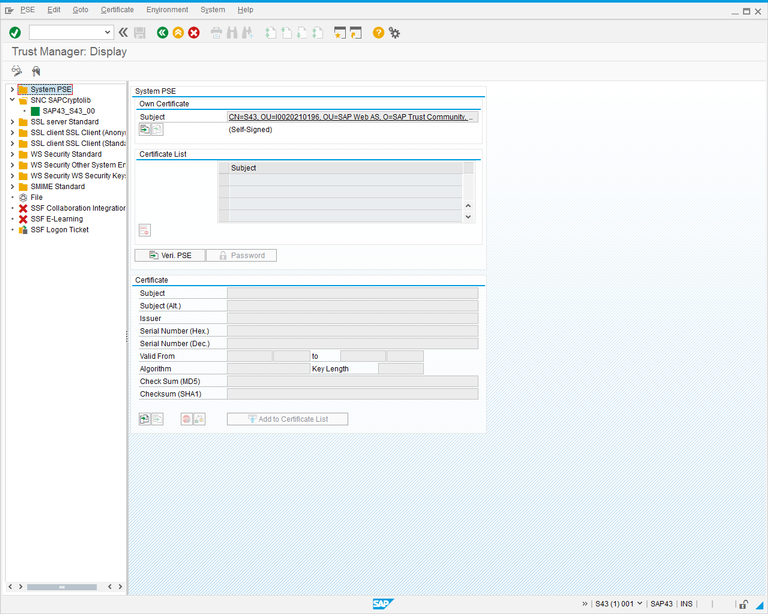
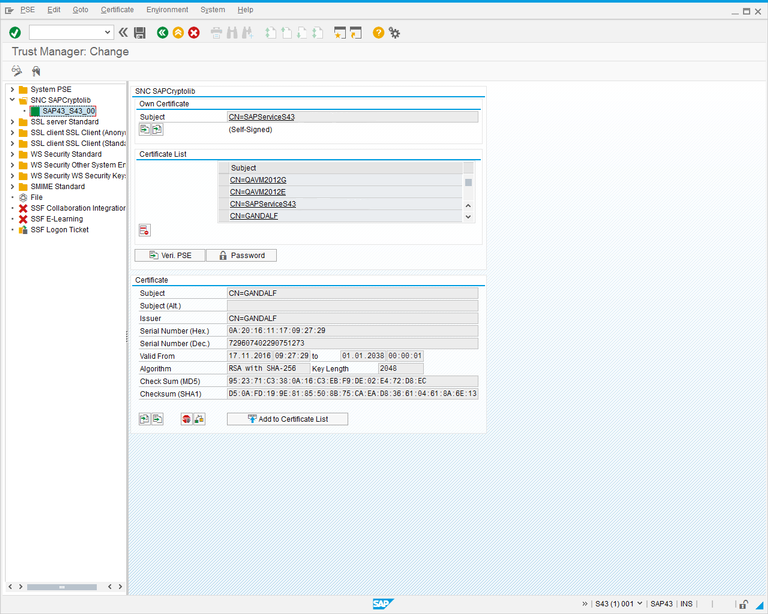
- Double-click the object corresponding to your SAP server in the ‘SNC SAPCryptolib’ hierarchy folder. The following dialog is displayed.
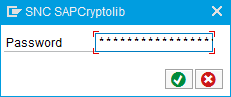
- Enter your SNC SAPCryptolib password, and click
 . The screen changes to the following, showing any certificates that have already been installed.

- Click
 to switch the screen into Change mode.
 - Click
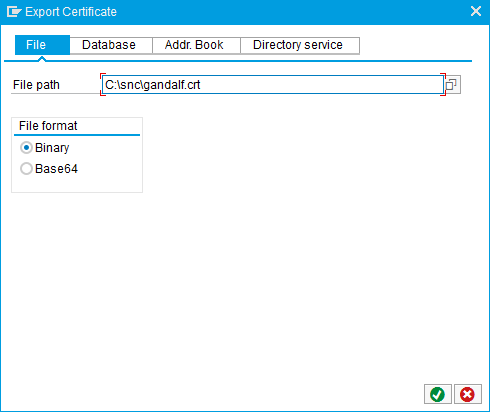
 (Import Certificate). The following dialog is displayed.
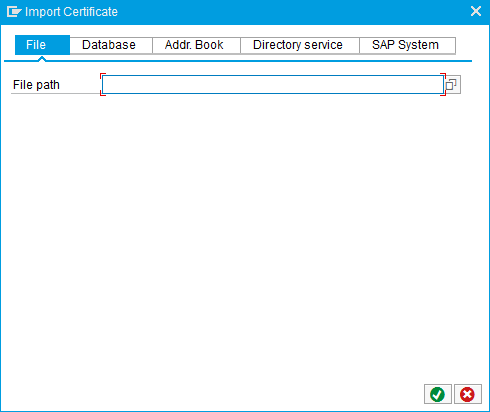
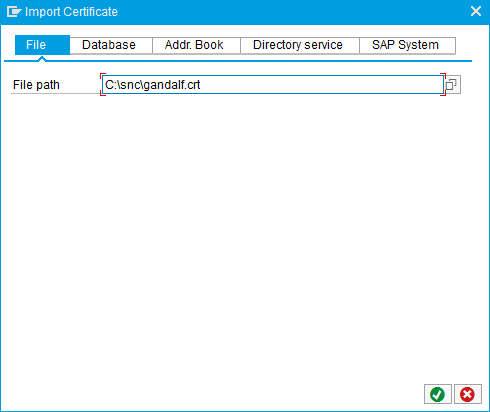
- In the File path field, browse for the <hostname of LiveCompare server>.crt file that was exported from the PSE file.
- Click to return to the Trust Manager screen.

- Click ‘Add to Certificate List’. Confirm that the certificate is in the Certificate List, then click
 .
.
Adding the SAP Certificate to the LiveCompare PSE File
To add the SAP certificate to the LiveCompare PSE file, carry out the following steps.
- In the ‘Own Certificate’ section, double-click the ‘Subject’ field to select the SAP server’s own certificate.
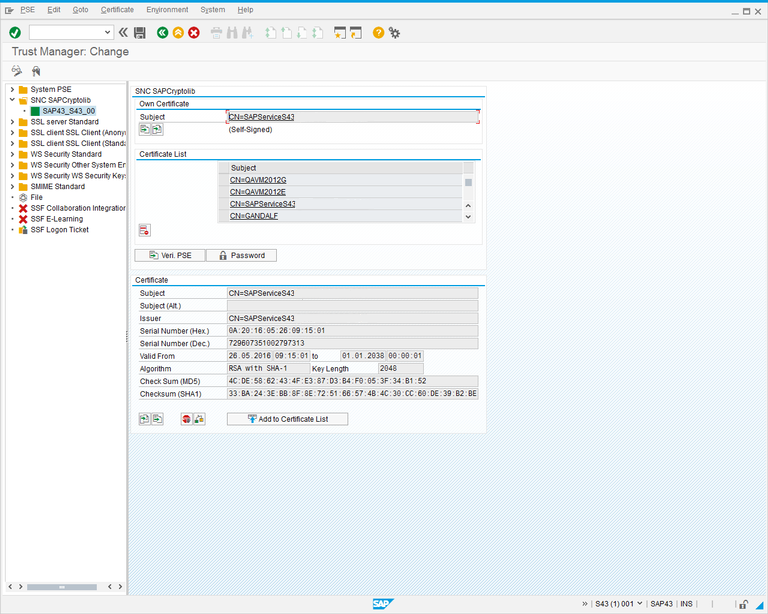
- Click
 (Export Certificate). The following dialog is displayed.
- Set the ‘file path’ field to C:\snc\<hostname of SAP server>.crt, and select Base64 in the File format section.
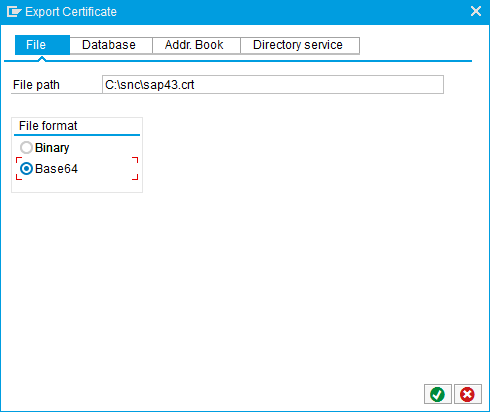
- Click to export the certificate.
- Run the following from a command window to add the SAP certificate to the LiveCompare PSE file.
C:\snc>bin\sapgenpse maintain_pk -v -a sap43.crt -p gandalf.pse
Opening PSE "c:\snc\sec\gandalf.pse"...
No SSO credentials found for this PSE.
Please enter PSE PIN/Passphrase: *************
PSE (v2) open ok.
retrieving PKList
Adding new certificate from file "sap43.crt"
----------
Subject : CN=SAPServiceS43@TRICENTIS.COM
Issuer : CN=SAPServiceS43@TRICENTIS.COM
Serialno : 0A:20:16:05:26:09:15:01
KeyInfo : RSA, 2048-bit
Validity - NotBefore: Thu May 26 09:15:01 2016 (160526091501Z)
NotAfter: Fri Jan 1 00:00:01 2038 (380101000001Z)
KeyUsage : none
ExtKeyUsage : none
SubjectAltName : none
----------------------------------------------------------------------------
PKList updated (1 entries total, 1 newly added)
Updating SAP Views
Return to SAPGUI and carry out the following steps to update the VSNCSYSACL and VUSREXTID views on the SAP server where the certificate has been installed.
- Run transaction SM30.
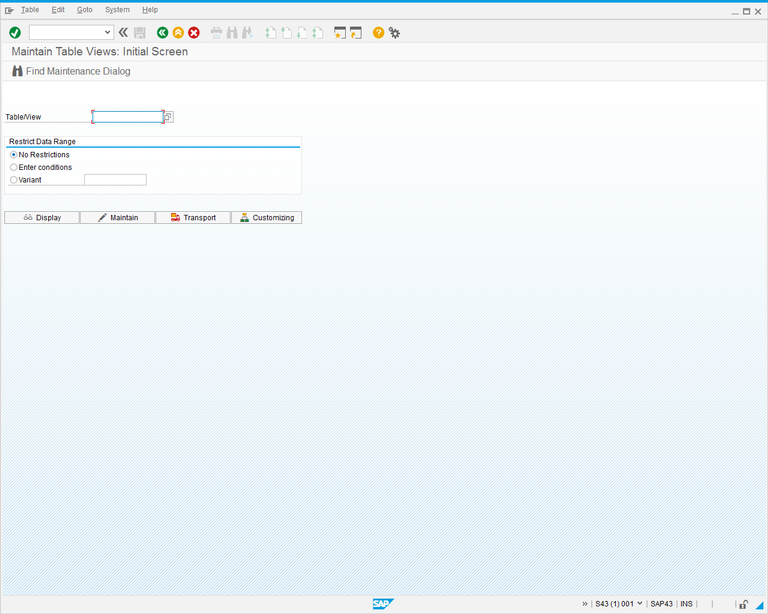
- Enter VSNCSYSACL in the Table/View field, click ‘Maintain’, and dismiss the warning about the table being cross-client. The following dialog is displayed.
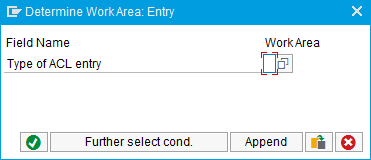
- Enter E in the ‘Type of ACL entry’ field, and click to open the view.
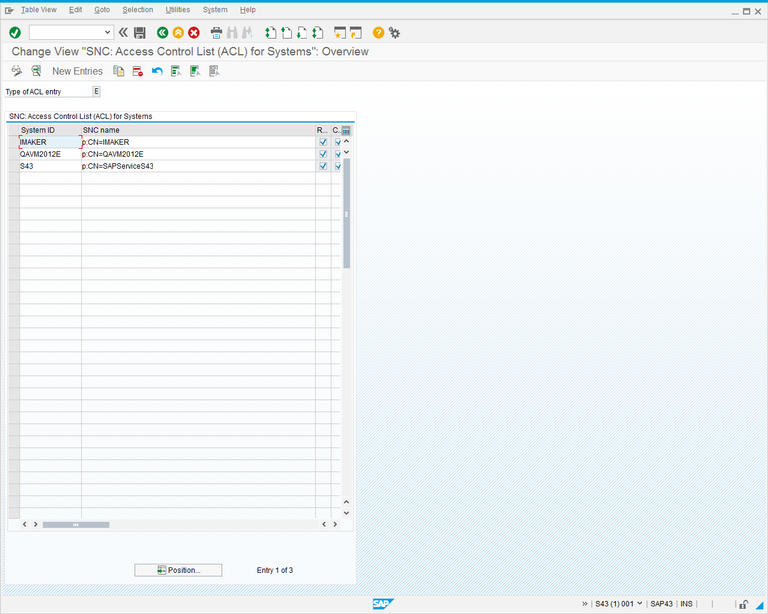
- Click ‘New Entries’ The following screen is displayed.
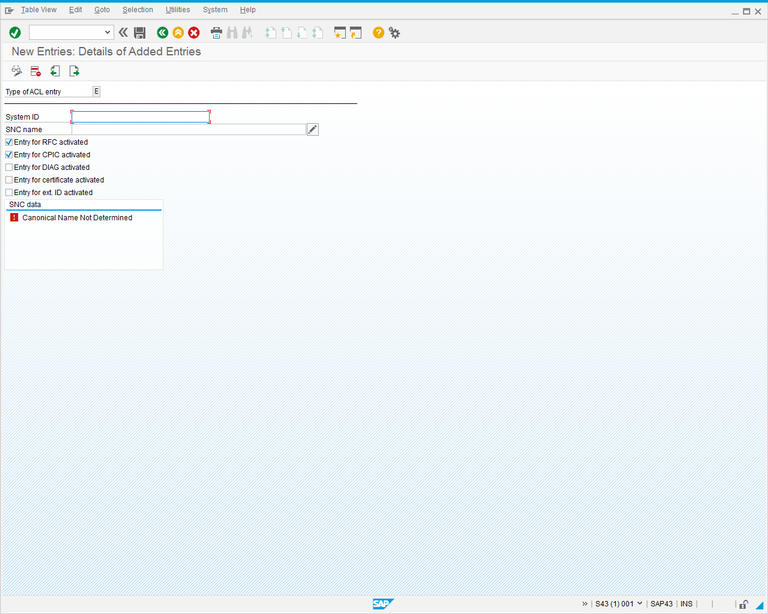
- Complete the screen fields as follows:
| Field | Description |
|---|---|
| System ID | The hostname of your LiveCompare server. |
| SNC Name | Enter p:CN=<hostname of LiveCompare server>. |
Select the ‘Entry for certificate activated’ and ‘Entry for ext. ID activated’ check boxes. The screen should look like this:
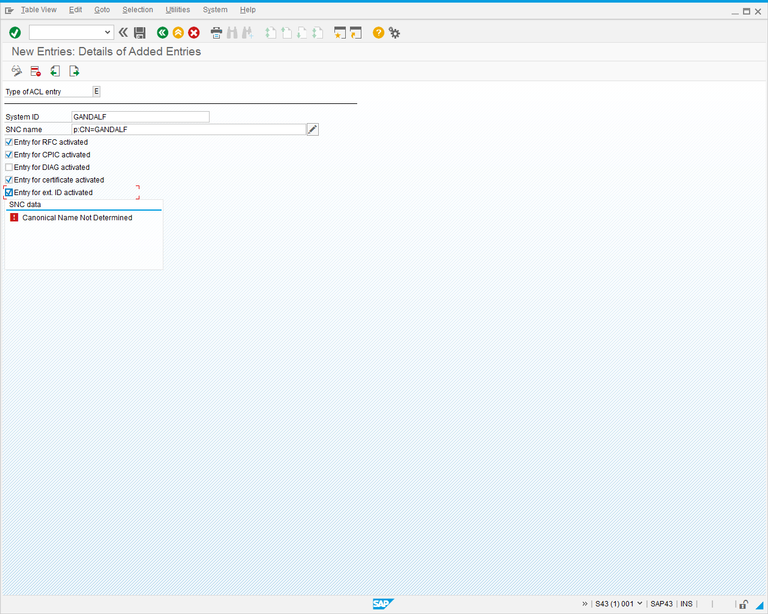
Note that selecting the ‘Entry for ext. ID activated’ check box allows secure RFC Destinations to be created in LiveCompare without using a certificate; only an SAP username and password is required.
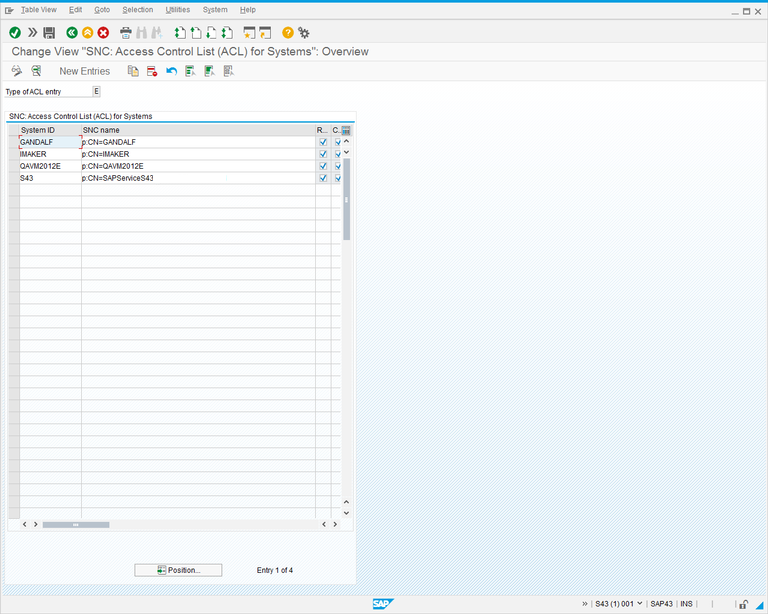
- Save the new entry and return to the previous screen. Confirm that the entry is listed and save your changes.
- Run transaction SM30 and maintain the VUSREXTID view. The following dialog is displayed.
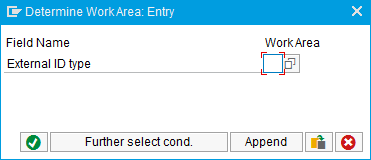
- Enter DN in the ‘External ID type’ field, and click to open the view.
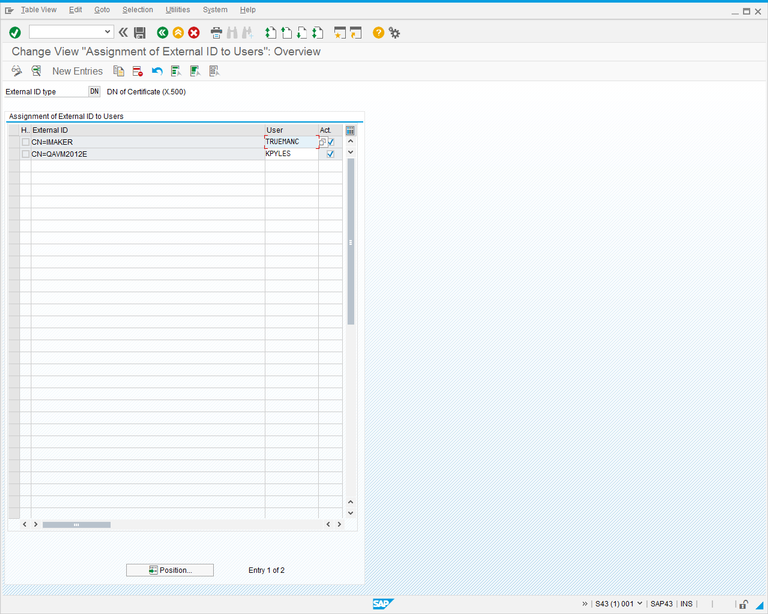
- Click ‘New Entries’ The following screen is displayed.

- Click the
 button to the right of the External ID field, and browse for the LiveCompare machine’s certificate file.

- Complete the remaining screen fields as follows:
| Field | Description |
|---|---|
| User | Browse for an SAP user account to be associated with the External ID. |
- Select the ‘Activated’ check box. The screen should look like this:
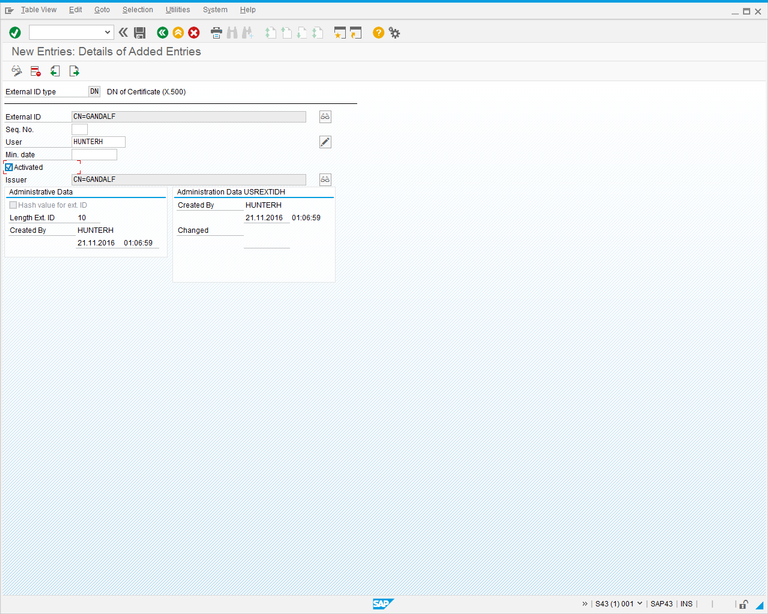
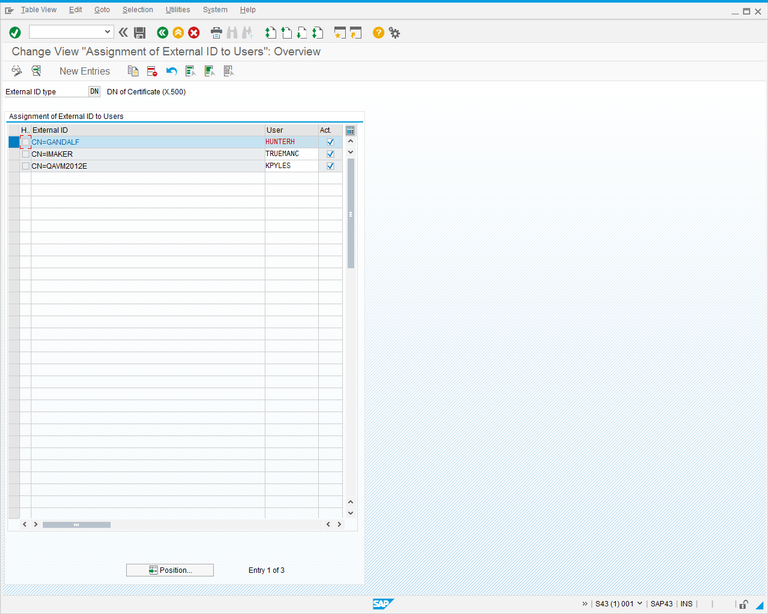
- Save the entry and return to the “Assignment of External ID to Users”: Overview screen.
Creating a Secure RFC Destination
To create a LiveCompare RFC Destination that uses the secure connection, carry out the following steps.
- Log in to LiveCompare as a user with sufficient privileges to create RFC Destinations.
- Select the ‘Administration/RFC Destinations’ hierarchy folder and choose ‘New RFC Destination…’ from the context menu.
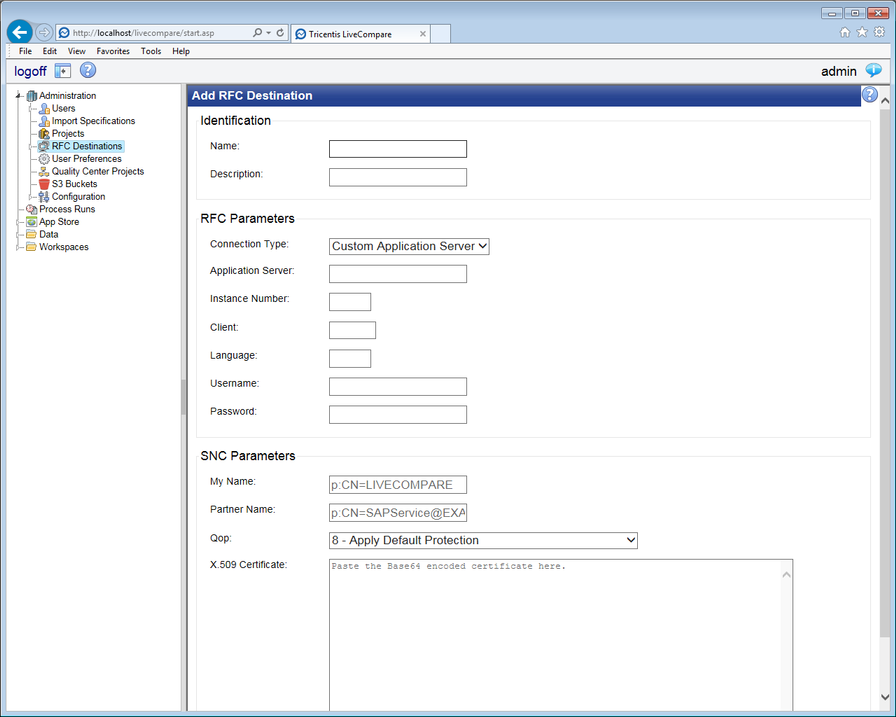
- Enter a name and description for the RFC Destination, and select ‘Custom Application Server’ from the ‘Connection Type:’ field. Complete the remaining screen fields as follows:
| Field | Description |
|---|---|
| Application Server: | The DNS name, domain name, or IP address of the SAP Application Server. If the connection requires an SAP router string, include the SAP router string in this field. |
| Instance Number: | The application instance number of the SAP system to be used for the connection. |
| Client: | The SAP client number to be used for the connection. |
| Language: | The SAP code for the logon language (for example, EN for English). |
| Username: | The SAP user ID to be used for the connection. |
| Password: | The SAP password for the user ID specified above. Passwords for SAP kernel releases earlier than 700 should be specified in upper case. |
| My Name: | Enter a connection string that refers to the LiveCompare server. For example, p:CN=GANDALF. |
| Partner Name: | Enter a connection string that refers to the SAP server. For example, p:CN=SAPServiceS43@TRICENTIS.COM. |
| Qop: | Select the Quality of Protection level used for the connection. For example 8 - Apply Default Protection. |
| X.509 Certificate (optional): |
Open the <hostname of SAP server>.crt certificate file using Notepad. Enter Ctrl+A and then Ctrl+C to copy the contents of the file to the Windows Clipboard. Paste the contents into the X.509 Certificate field. Note that the BEGIN CERTIFICATE and END CERTIFICATE lines are removed automatically. If the ‘Entry for ext. ID activated’ check box was selected here, a secure RFC Destination may be created LiveCompare without using a certificate. In this case, the Username, Password, My Name and Partner Name fields must be completed. |
- Click ‘Add RFC Destination’ to add the RFC Destination.
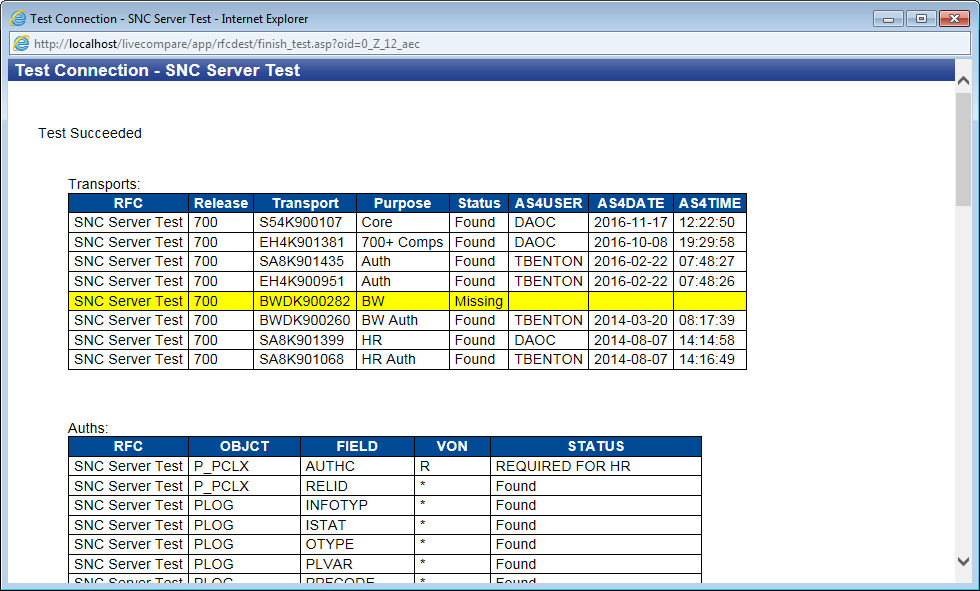
Testing the Connection
To test the connection, select the RFC Destination in the LiveCompare hierarchy and choose ‘Test Connection’ from the context menu. If the connection test was successful, a screen similar to the following will be displayed.