qTest Automation Host 1.3.8 Upgrade Guide on Windows
In this article, we will walk you through how to upgrade your qTest Automation Host version 1.3.7, or 1.3.7.1, to 1.3.8 on Windows.
Download qTest Automation Host 1.3.8
-
Go to this page Download qTest Automation Host and download the qTest Automation Host 1.3.8 for Windows.
-
Extract agentctl-1.3.8-windows-x64-full.zip to C:\agentctl-1.3.8
Upgrade to qTest Automation Host 1.3.8
Remove qTest Automation Host Service
If you have installed qTest Automation Host as a Windows service, follow below steps to remove it. Otherwise, move to step #2.
-
Press a combination of Windows + R keys to open Run dialog, then type services.msc OR
-
Open the Control Panel, click on Administrator Tools, then double click the Services shortcut
-
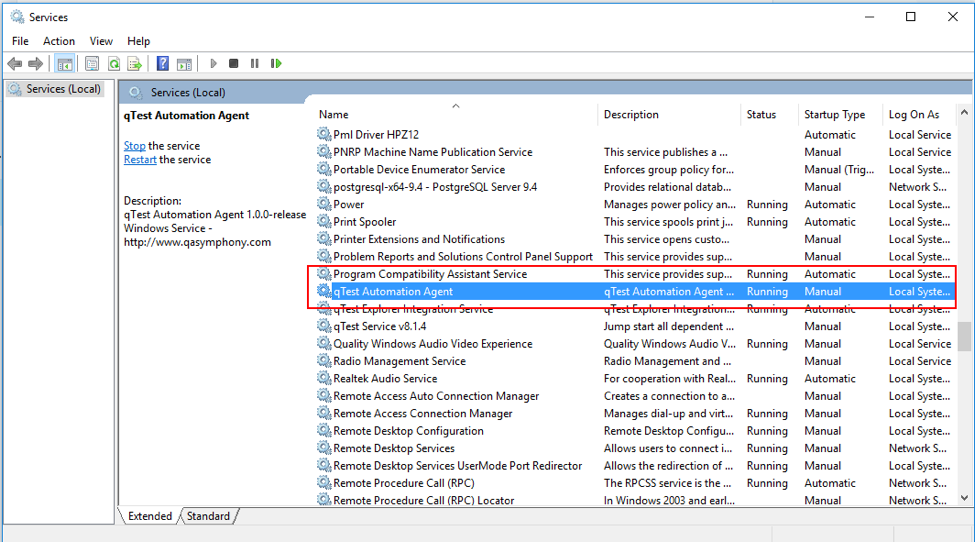
From the Services window, look for the qTest Automation Agent service, right click on it and select Stop in the context menu.
-
Open Command Prompt as an Administrator
-
Access to the folder where your old version of qTest Autmation Agent has been installed, for example:
> cd C:\qTest-automation-agent-1.3.7 -
Execute below command to remove the qTest Automation Host service
C:\qTest-automation-agent-1.3.7> service.bat remove
If the command was successful, you will see a message that looks like below.
-
'The service 'qTest-automation-service-64' has been successfully removed
Remove old environment variables
-
Select Start, select Control Panel, double click System, and select the Advanced tab.
-
Click Environment Variables.
Look for these environment variables and remove them:
-
AGENT_SERVER_HOST
-
AGENT_SERVER_PORT
-
QA_AGENT_JAVA_HOME
Upgrade to qTest Automation Host 1.3.8
-
Open Command Prompt and navigate to the extracted folder of qTest Automation Host 1.3.8
> cd C:\agentctl-1.3.8 -
Execute below command to configure the agent 1.3.8
C:\agentctl-1.3.8> agentctl.bat config -Phost=[ip_address] -Pport=[agent_port] -PqTest.url=[qTest_url] -PqTest.username=[qTest_username] -PqTest.password=[qTest_password]Note: -Phost and -Pport parameters are optional
-
If you do not specify -Phost parameter, localhost will be used
-
If do you not specify -Pport parameter, 6789 will be used
Example:
C:\ agentctl-1.3.8> agentctl.bat config -PqTest.url=https://demo.qTestnet.com -PqTest.username=demouser1@qasymphony.com -PqTest.password=n0thIng4y0uFor more detail about how to configure qTestAutomation Host 1.3.8, follow this article: Install and configure the automation host
-
-
Run the backup command to copy data and configuration of the Automation Host 1.3.7
C:\agentctl-1.3.8> agentctl.bat backup -Plocation=[directory_of_qTest_automation_host_1.3.7]Example:
C:\agentctl-1.3.8> agentctl.bat backup -Plocation=C:\qTest-automation-agent-1.3.7If the command was successful, it will create a backup file at C:\agentctl-1.3.8\backup\agentctl_bk.zip
-
Next, run restore command to copy the data and configurations of qTest Automation Host 1.3.7 to the new Automation Host 1.3.8
C:\agentctl-1.3.8> agentctl.bat restore -Pbackup-file=[\path\to\backup file]Example:
C:\agentctl-1.3.8> agentctl.bat restore -Pbackup-file=C:\agentctl-1.3.8\backup\agentctl_bk.zip
Start Automation Host 1.3.8
C:\agentctl-1.3.8> agentctl.bat startInstall the qTest Automation Host 1.3.8 as a Windows Service
Follow this guideline to install qTest Automation Host 1.3.8 as a Windows Service: Install qTest Automation Host as a Windows service