Create Cucumber for Java Agent from Automation Host v 1.3.8 or Later
In this article, we will walk you through how to create and configure a Cucumber for Java agent to a specific Automation Host machine.
PREREQUISITES:
Step 1
Download the sample Cucumber automation project at https://github.com/QASymphony/cucumber-sample and save it to your local machine.
-
On Windows. D:\cucumber-sample
-
On Linux or Mac. /usr/local/cucumber-sample
Structure of Cucumber project:
-
Dependency libraries are under /resources/libs folder
-
The automation project that will be packaged in .jar file, and located at /target/cucumber-sample-1.0.jar
Step 2
Execute the command below to compile automation project and package it:
mvn clean compile package test
Step 3
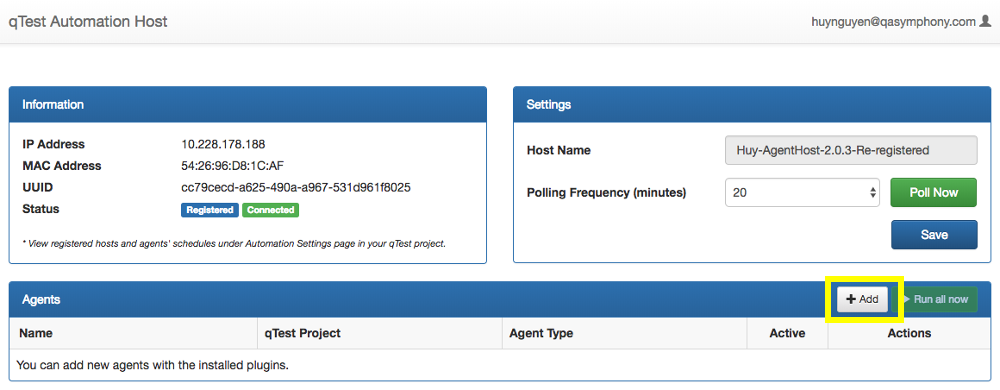
Access to Automation Host UI then Click on + Add button in the right corner of Agents list.
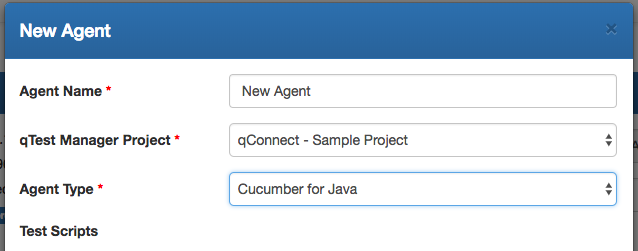
Input General Information
-
Agent Name: name of the new agent, e.g. New Agent
-
qTest Manager Project: select a project that the new agent will be associated with, e.g. qConnect - Sample Project
-
Agent Type: Cucumber for Java
Test Scripts
-
Directory (required): specify the path to your Cucumber source code that you have downloaded in step 1
-
Scripting libs (optional): provide a path to the dependency libraries (files or folders). You can input more than one path, separated by a comma. If all of your libraries are under one folder, you can simply put its path here
-
Include (required): define patterns to scan for tests in the automation project (methods/classes) using ANT Style Pattern Matcher. Use a comma as a separator between patterns.
-
Exclude: define patterns to ignore tests (method/classes) when scanning using ANT Style Pattern Matcher
HINT: ANT Style Pattern Matcher uses the following rules:
-
? matches one character.
-
* matches zero or more characters.
-
** matches zero or more 'directories' in a path.
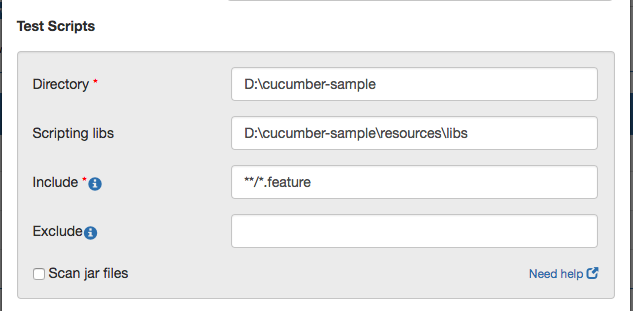
Test Scripts example on Windows
-
Directory: D:\cucumber-sample
-
Scripting libs: D:\cucumber-sample\resources\libs
-
Include: **/*.feature
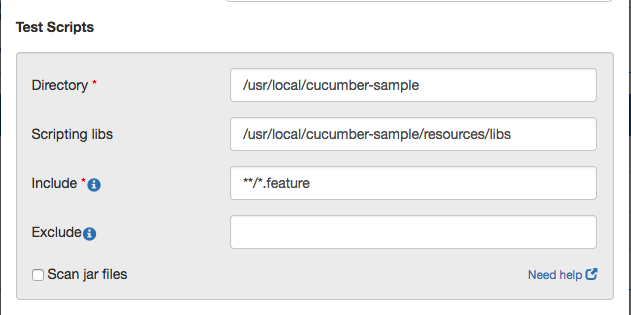
Test Scripts example on Linux or Mac
-
Directory: /usr/local/cucumber-sample
-
Scripting libs: /usr/local/cucumber-sample/resources/libs
-
Include: **/*.feature
Execution
Cucumber for Java Agent supports 3 execution modes to Build and run your test project: Command, Ant, Maven. You need to provide different information depending on the execution mode you choose.
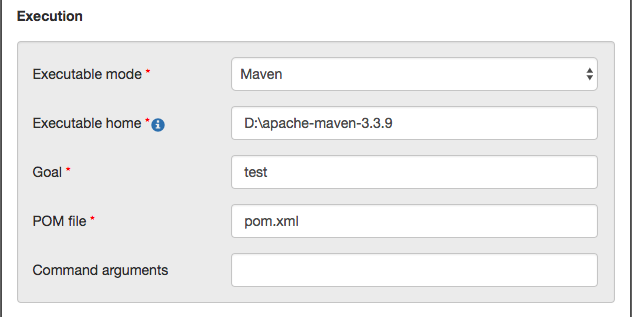
Execution mode: Maven
-
Executable home: input the path to the directory where Maven is installed
-
Goal: input the goal defined in your POM file to deploy your project
-
POM file: provide the path to your POM file, which is located under the home directory of your test source code. Please note that this is the relative path under your scripting directory.
-
Command arguments: provide any additional arguments to execute the target
Screenshots below shows an example of Maven execution mode information.
Windows:
Linux or Mac

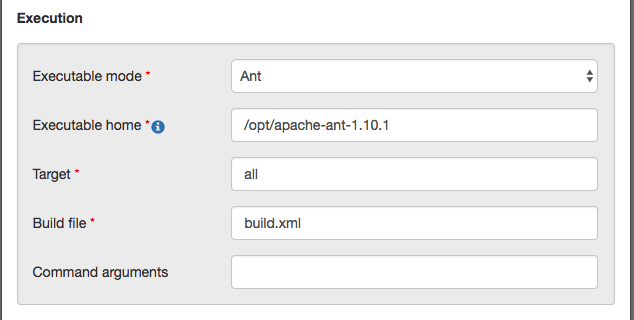
Execution mode: Ant
-
Executable home: path to the directory where Ant is installed
-
Target: specify which target to be executed. This is the name of the target which has been defined in your Build file.
-
Build file: a path to your Build file in which the above target is defined. This file is located under the home directory defined in Test Scripts section of your test source code
-
Command arguments: provide additional arguments to execute the target
Screenshots below shows an example of Ant execution mode configuration
Windows:

Linux or Mac
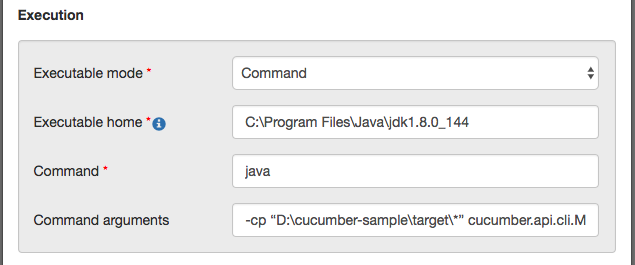
Execution mode: Command
-
Executable home: input the path where JAVA/JDK is installed
-
Command: the command to execute your scripts
-
Command arguments: target directory where all built outputs are located plus any needed arguments
Below are examples of Command execution mode configuration.
Windows:
-
Executable mode: Command
-
Executable home: C:\Program Files\Java\jdk1.8.0_144
-
Command: java
-
Command arguments: -cp “D:\cucumber-sample\target\*” cucumber.api.cli.Main -g "com/glue" -p "pretty" "D:\cucumber-sample\resources\feature”
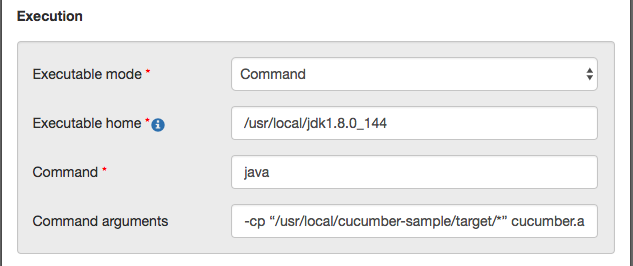
Linux or Mac
-
Executable mode: Command
-
Executable home: /usr/local/jdk1.8.0_144
-
Command: java
-
Command arguments: -cp “/usr/local/cucumber-sample/target/*” cucumber.api.cli.Main -g "com/glue" -p "pretty" "/usr/local/cucumber-sample/resources/feature”
Click Save to finish creating Cucumber for Java agent.