Convert Test Case to Tosca
qTest provides the ability to convert a manual qTest Test Case into a Tosca automated Test Case. Use the Tosca Integration to connect your qTest Test Cases to Tosca Automated Test Cases.
Note: Each qTest Project can be integrated with one Tosca Workspace.
Tosca Integration Prerequisite
You must turn on and configure the Tosca Integration in Automation Settings prior to converting manual Test Cases to automated Test Cases.
Tosca Test Case Conversion
Once you have activated the Tosca Integration settings, you are ready to get started.
Conversion Process
To convert an individual Test Case, follow these steps:
-
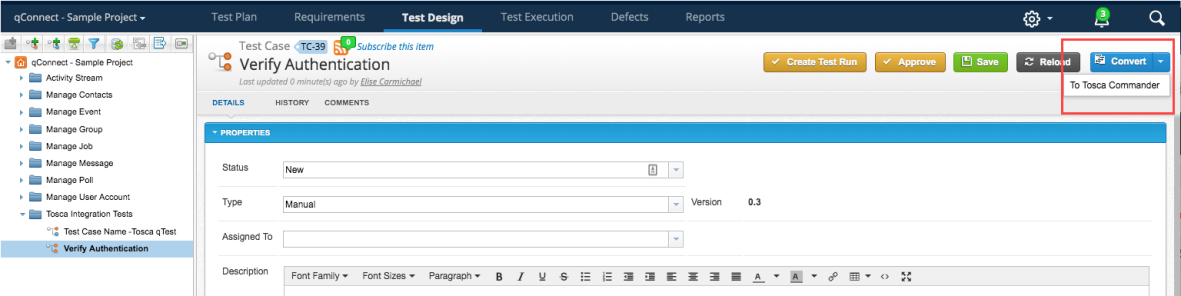
Select the drop-down menu on the blue Convert icon, and choose 'To Tosca Commander' from the drop-down menu.
-
A "Converting Tosca Automation" message is received. Select Ok, and refresh your screen.
-
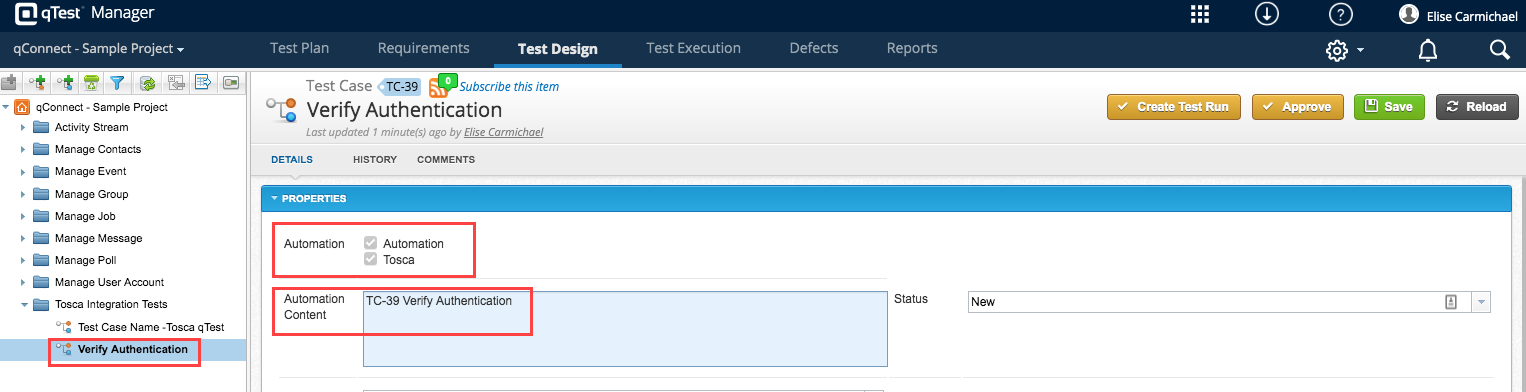
When a Test Case is converted successfully, you will see the following information in qTest:
-
the Automation: Automation Test Case Type checkbox is automatically selected
-
the Automation: Tosca Test Case Type checkbox is automatically selected (when the conversion is successful)
-
the icon in the Test Design tree changes from an orange dot to a blue dot
-
the Automation Content field is populated with the ID and name of the Test Case.
The information entered in the Automation Content field is the identifier that is used to match your automation execution results and should be unique to the Test Case.-
Match the automation execution results in the following scenarios:
to a Test Run that is linked to this Test Case
newly created Test Cases with the corresponding Test Runs
add a Test Log to an existing Test Run
-
-
Once the Test Case is converted successfully, you can view it in your Tosca Workspace.
qTest Information Available in the Converted Test Case
When you convert a manual qTest Test Case to a Tosca Automation Test Case, you will see the following information:
-
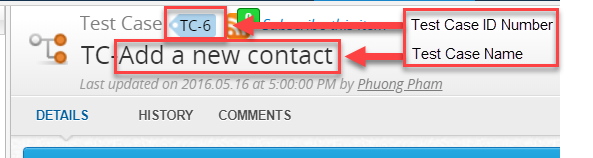
Tosca Test Case Name= qTest Test Case Name and Test Case ID number
-
Tosca Test Case Description= qTest Test Case Description (will not display any rich text formatting)
qTest Test Steps will append to the description (will not display any rich text formatting) Note: The Test Case description in Tosca is limited to 400,000 characters. If the combination of description and test steps of the qTest Test Case is longer then 400,000 characters, the overage does not display.
Conversion Notification
When the conversion is successful, the Tosca Test Case checkbox will be selected in the qTest Test Case Properties.
Access Converted qTest Test Case in Tosca Workspace
Initially, an 'Imported from qTest' folder will be automatically created within the TestCases folder in your Tosca Workspace. Each additional converted qTest Test Case will be added to the same 'Imported from qTest folder that is initially established.
You can rename the folder in your Tosca Workspace if you would like. The integration/ conversion will remain intact.
Note: You will need to make sure that the Viewing/Owning permissions for the "Imported from qTest" folder are set so to allow you to add/view Test Cases.
Execute Converted qTest Test Case
Prerequisites
-
Install the Automation Host if you have not done so already.
Execution
-
Create a Test Case in qTest. so that you can use this to kick off Tosca tests directly from qTest Launch. Example: Name the Test Case "Execute all Tosca Tests" or another logical grouping, such as "Execute Tosca Smoke Tests", or "Execute Tosca Regression Tests."
-
Manually create and setup your ExecutionLists in Tosca, that you’ll want to execute from this special test case. The ExecutionList needs the appropriate entries in Tosca and ensure the ContinuousIntegration flag is set to 'True'. Read these instructions for a more detailed explanation on how to create an ExecutionList in Tosca.
The config file needs to be set up per each logical grouping.
A different Agent will need to exist per test case logical grouping so that the ToscaCI command line in the universal agent execution area can have a different config file attached.
Additionally...
You can create a Test Suite within qTest with all the Test Runs that you want results for – after they’re executed from the RUN in your single "special" Test Case in qTest. the results should appear in the appropriate Test Run in this Test Suite.
Receive Tosca Test Results Back into qTest
Refer to Integrate Tricentis Tosca with Universal Agent to integrate Tricentis Tosca with the Universal Agent
Known Limitations:
-
Currently, we cannot inform you via a pop-up message when either a qTest Test Case is converted successfully, or, if there have been any errors while converting the Test Case.
-
You are not able to convert a Tosca Test Case back into a qTest Test Case.