Create and Assign Custom User Groups
While qTest Manager includes a set of system-generated user groups to manage user permissions and Project access, you can create custom user groups to more specifically meet the needs of your organization. Once you create a custom user group, you can modify the permissions, users, and Projects that are assigned to that user group. You can also delete a custom user group if it is no longer needed.
Create a custom user group
To create a custom user group:
-
In qTest Manager, hover over your user name and select Administration from the User Profile menu.
-
Click the Groups tab.
-
Click the Add Group button in the Custom Groups section.
The Configure Group screen appears.
-
Enter the user group name in the Group Name field and the user group description in the Group Description field.
-
(Optional) Select the Set group as default for new users check box to indicate that new users should be assigned to this user group by default.
-
On the Permissions tab, select the check boxes for the permissions to assign to the user group.
-
Click Save.

Assign a user to a user group
To assign a user to a user group:
-
In qTest Manager, hover over your user name and select Administration from the User Profile menu.
-
In the Administration section of Manager, click the Groups tab.
-
Click the Action icon
 for the user group that you want to add the user to. Then select Assign Users.
The Configure Group screen appears.
-
Click the Users tab.
-
On the left side of the tab, search for the user that you want to add to the user group.
You can search for a user by name or email address.
-
Select the check box next to the user's name, and then click the right arrow to move the user to the list of existing users in the user group.
You can also press the Tab key to select the right-arrow and the Enter key to move the user. -
Click Save.

Assign Projects and User Profiles to a user group
You can assign Projects to a user group, which grants users in the user group access to the selected Projects. In addition, you can select a User Profile for each Project, which indicates the permissions that the users will have in the Project. For example, you can create an Admin user group for administrators, and then assign all Projects to the user group with the Admin User Profile. This will grant all users in the Admin user group access to all Projects with Admin permissions.
To assign a Project and a User Profile to a user group:
-
In qTest Manager, hover over your user name and select Administration from the User Profile menu.
- In the Administration section of Manager, select the Groups tab.
-
Click the Action icon
for the user group that you want to assign a Project and User Profile to. Then select Edit.The Configure Group screen appears.
-
Click the Projects tab.
-
On the left side of the tab, search for the Project that you want to assign to the user group.
-
Select the check box next to the Project name, and then click the right arrow to move the Project to the list of existing Projects for the user group.
You can also press the Tab key to select the right-arrow and the Enter key to move the Project. -
Click the User Profile field for the Project to display a drop-down menu, where you can select the User Profile to assign to the Project.
or
To assign the same User Profile to multiple Projects, select a User Profile in the Select User Profile field, and then click Apply for All Selected Projects.
-
Click Save.

Filter users by user groups
User groups allow administrators to search for users by using their associated user groups as filters.
To filter users by user group:
-
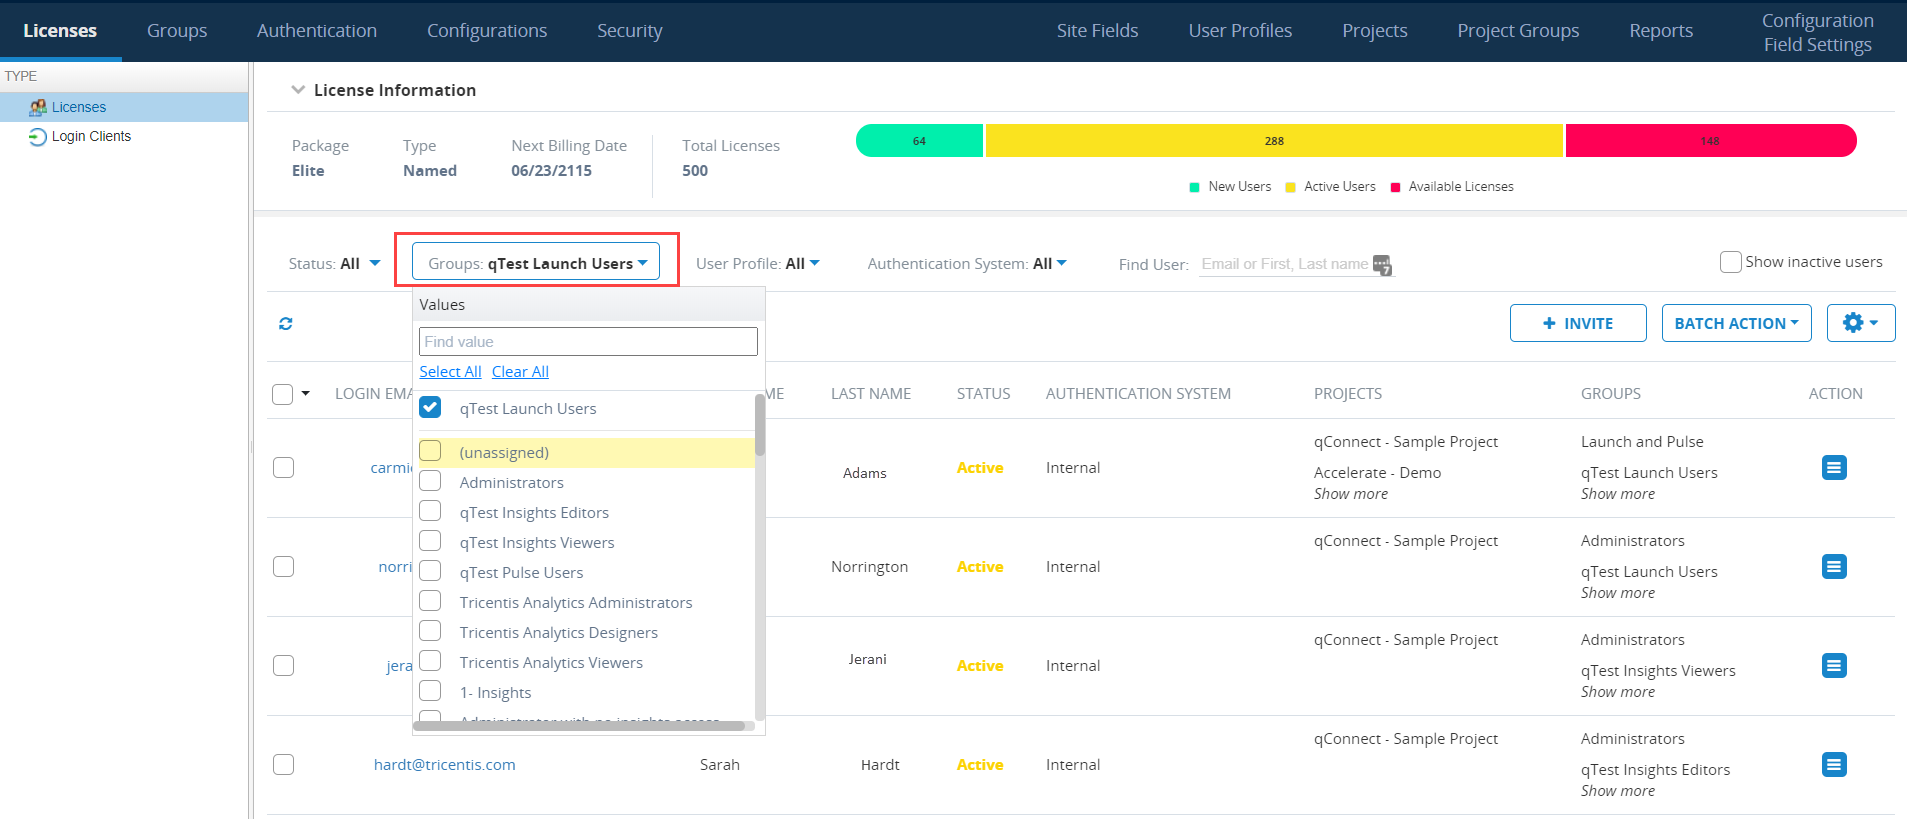
In the Administration section of Manager, click the Licenses tab.
The License Information screen appears.
-
Click the Groups filter.
-
In the drop-down list that appears, select the check boxes for the user groups that you want to use as your filters.
-
Click outside of the drop-down list to apply the selected filters.
The License Information screen refreshes to display only users that are assigned to the selected user groups.