qTest Manager 101
qTest Manager is a best-in-class test management solution, providing testing teams with streamlined interactions with each other and the rest of the development organization. Built with enterprise teams in mind, qTest Manager is easy to set up for your company’s specific needs. Your site can consist of multiple projects. Each project can be configured as its own workspace, with its own set of data and reporting. Users can be assigned to multiple projects and have different permissions within each project.
qTest Manager Organization
qTest Manager is organized by project. To switch in and out of projects, click the Projects drop-down menu. To prioritize certain projects to display at the top of the projects list, you can click the Star icon next to the project name(s). You can quickly search Projects in the Search bar using keywords. Starred projects containing those keywords appear at the top of the search results.

Objects in Projects are then viewed and managed using the main tabs, each of which offer unique functionality for different areas of testing.

The following is a brief overview of each tab:
| Tab | Use |
|---|---|
| Test Plan |
Create a plan with Releases and Builds to define the testing objectives for each Release or Build. Add specific Requirements to the Release and Build scopes. While Release and Build are the qTest Manager terms, these objects can be used for other time periods, such as sprints for Agile projects or different phases of testing for Waterfall projects. |
| Requirements | Create and import Requirements. Build a repository using a nested folder structure. Link Requirements to Test Cases for traceability. |
| Test Design |
Create and import Test Cases. Build a repository using nested folder structure. Link Test Cases to Requirements for traceability. Test Design helps you save time when designing similar tests by allowing you to reuse Test Steps and copy and share Test Cases. Modifying Test Cases over time is easy with Test Case versioning and Test Case approvals to help you track changes. |
| Test Execution | Plan and coordinate Test Execution activities across your team. Select Test Cases to execute under specific Releases, Test Cycles, or Test Suites based on different scenarios, such as environments, test data parameters, or Test Run configurations. Easily view expected results from Test Design and record actual results along with Defects. |
Collaboration
Object History
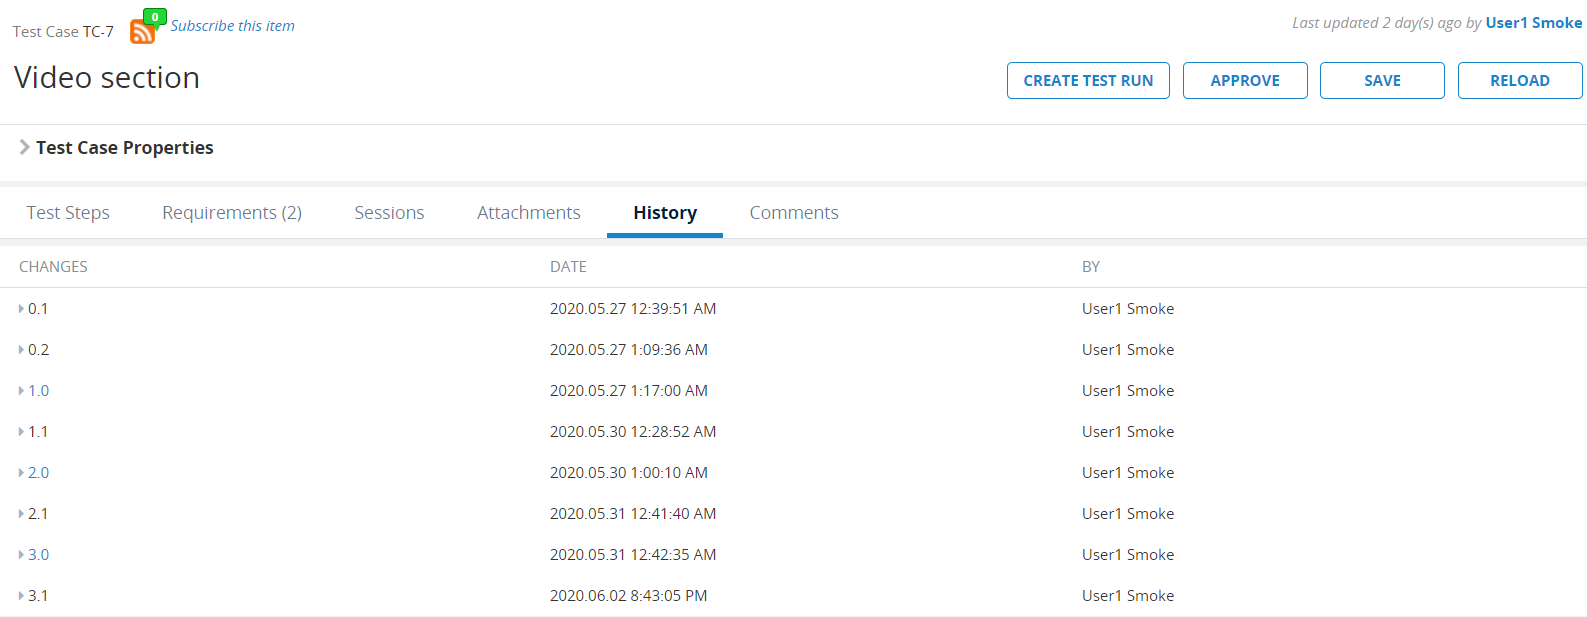
Viewing changes over time is easy. This allows you to easily see who made a change, when that change was made, and what changed. The History tab is located in the information associated with the object.
Objects that track history include:
-
Requirements
-
Test Cases
-
Test Suites
-
Test Runs
-
Defects
Test Case history enables you to track the changes between different versions of the Test Case as well as any version approvals.
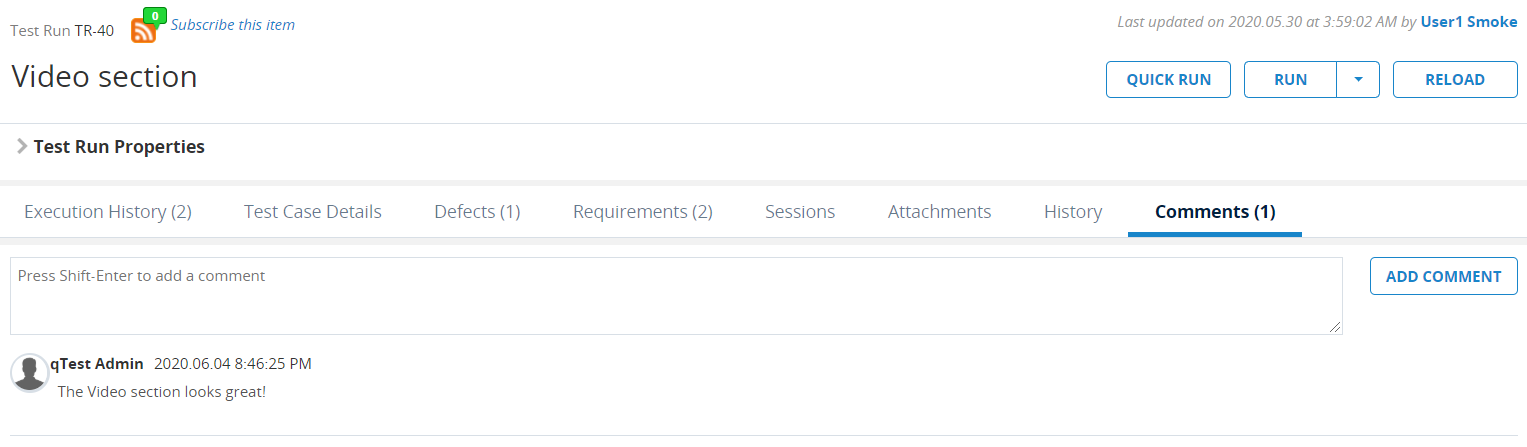
Comments on Objects
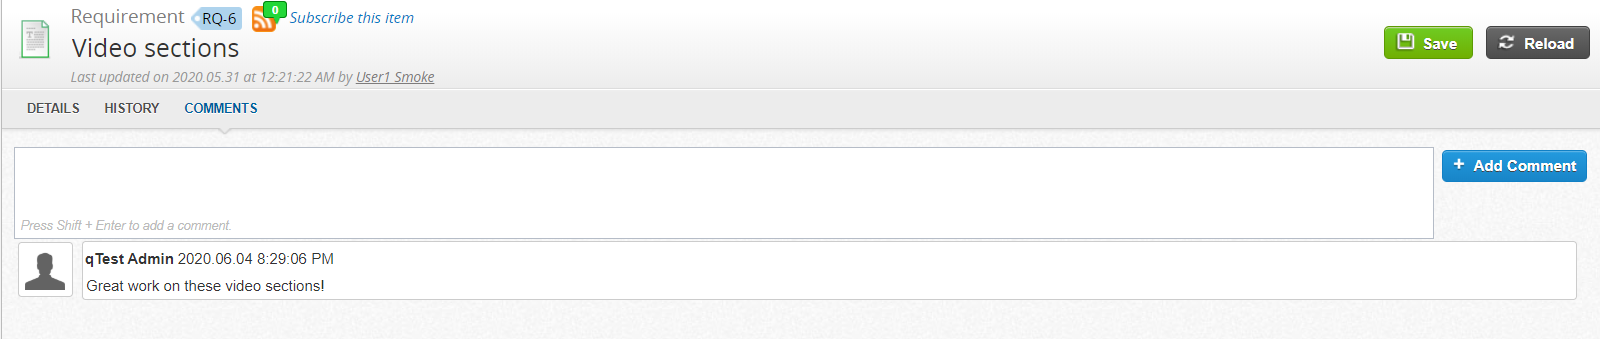
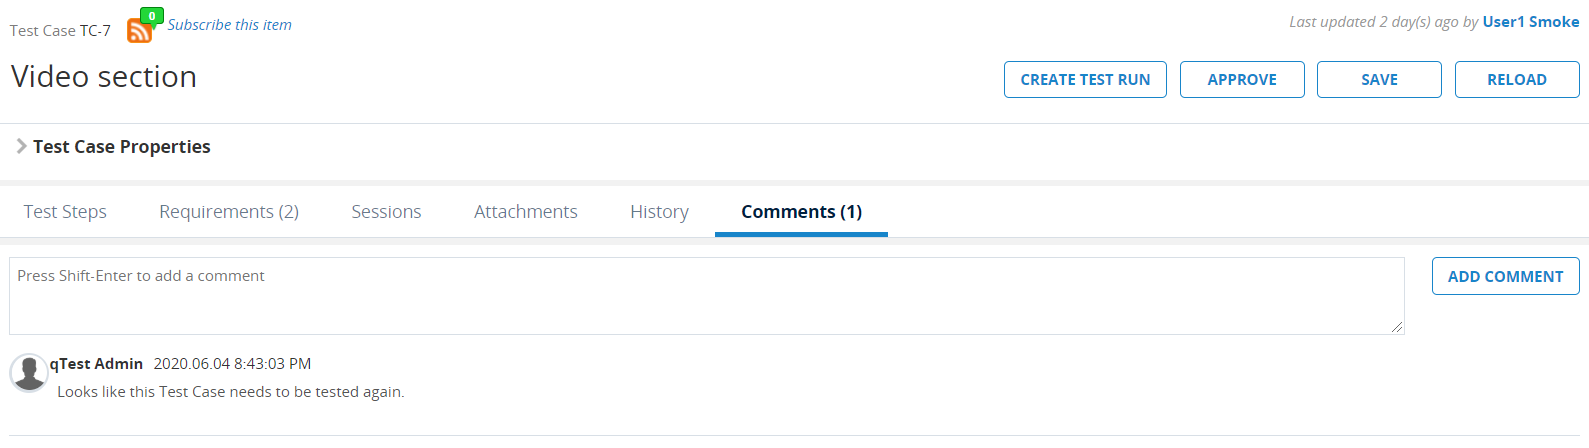
Add comments to the following objects to easily collaborate with your team. To alert your team members with email notifications when a comment is added, make sure to turn on the appropriate email notification in Notification Settings. When you add a comment to an object, your name and a time stamp are included.
-
Requirements
-
Test Cases
-
Test Runs
-
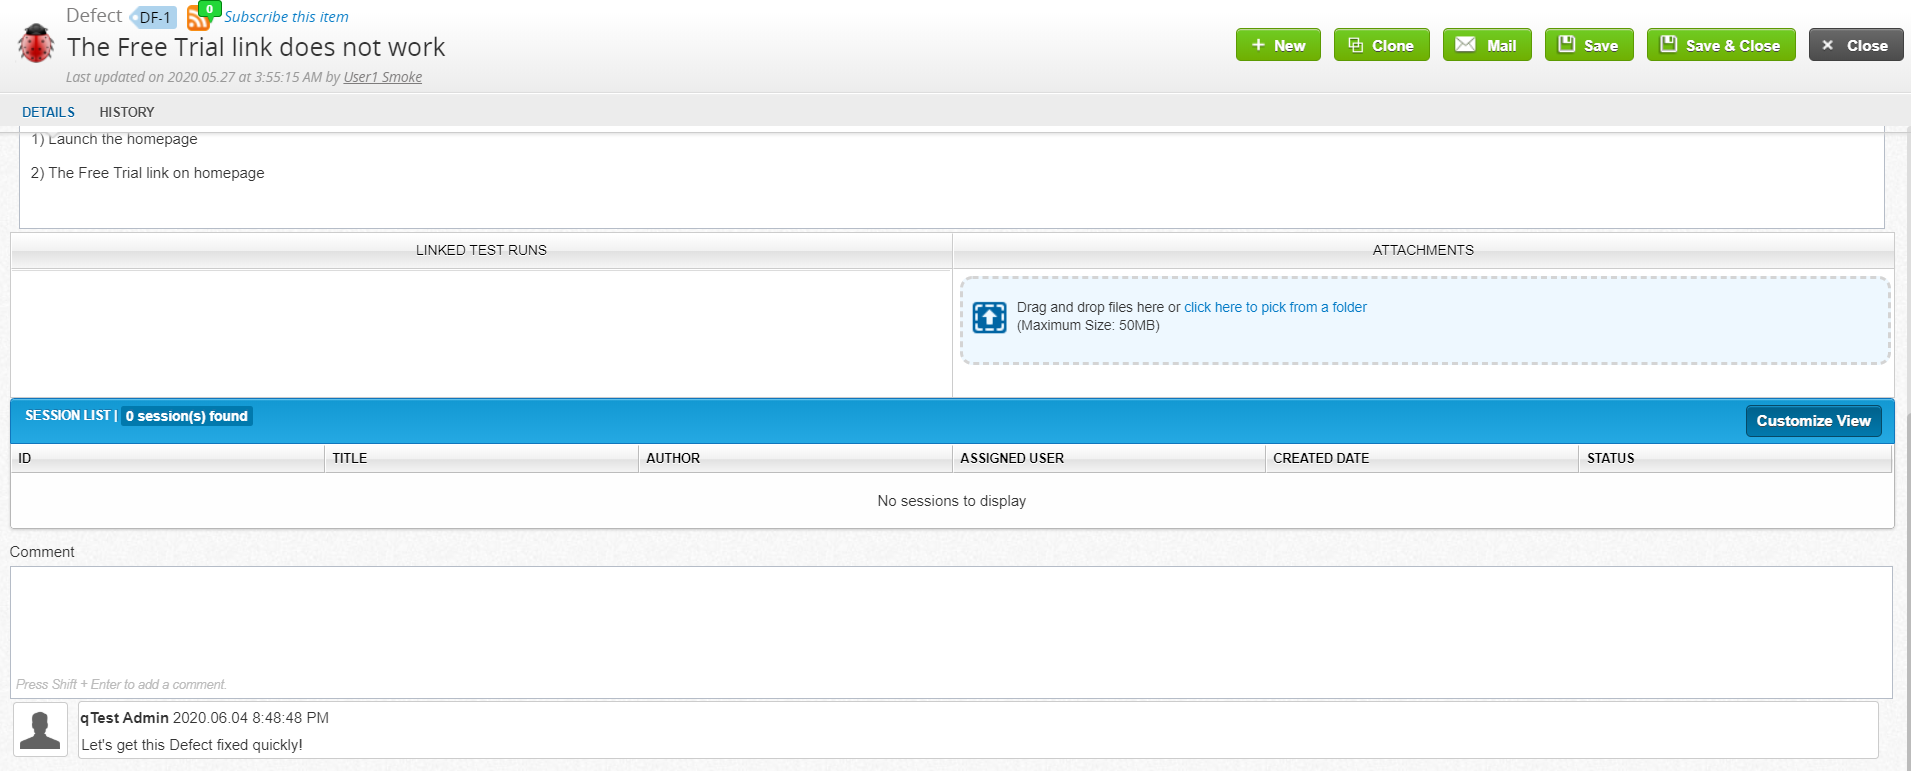
Defects
The Defects tab and the Comment field are only used when you do not have a Defect integration. Save the Defect to enable the Comment field.
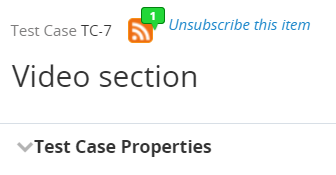
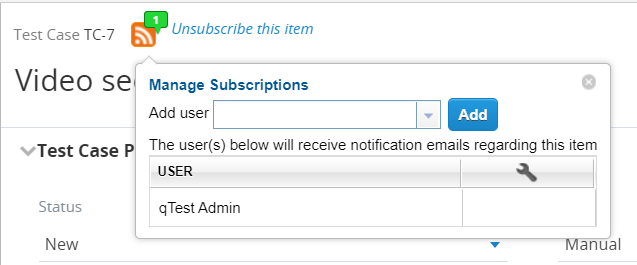
Subscribe to Objects
You can subscribe to objects so you are notified of any updates related to that object. You can also subscribe other people to objects, which can be useful to direct someone's attention to a particular object. To use this functionality, make sure to turn on the appropriate email notifications in Notification Settings.
Finding Data Using Data Query
Data Query is a powerful feature that enables you to find objects based on certain criteria. This tool can also be used for Batch Edit, Batch Approve, and generate Custom Reports that can be shared with other users and exported to a spreadsheet. Read Data Query for additional information.
Free-Text Search
You can quickly search for an object by entering keywords into the Search box located in the top-right corner of any page.
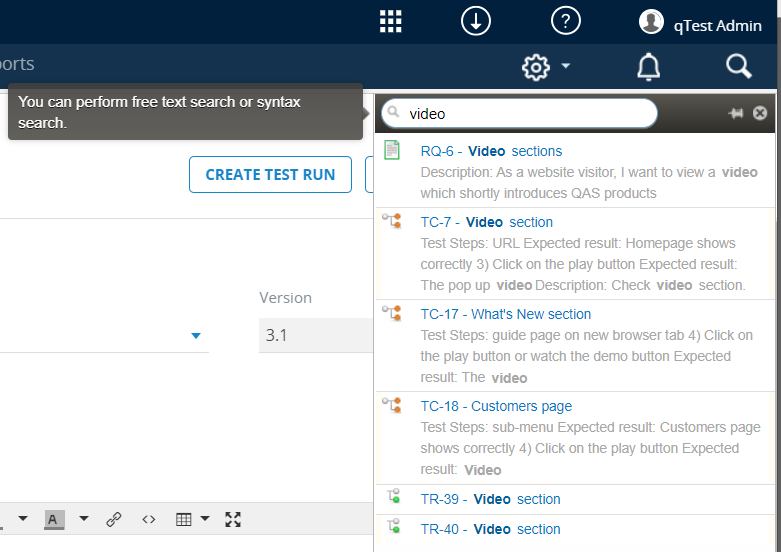
The system searches for this free-text and returns all object's fields containing the free-text, including:
-
Release: ID, Name, Status, Description, Release Note
-
Build: ID, Name, Status, Build Note
-
Requirement: ID, Name, Status, Description, Type, Comment
-
Test Case: ID, Name, Description, Status, Type, Test Step Description, Test Step Expected Result, Comment
-
Test Suite: ID, Name, Description, Execution Type
-
Defect: ID, Summary, Description, Status, Type, Comment
-
Test Run: ID, Name, Status, Execution Type, Test Step Description, Test Step Expected Result, Test Step Actual Result
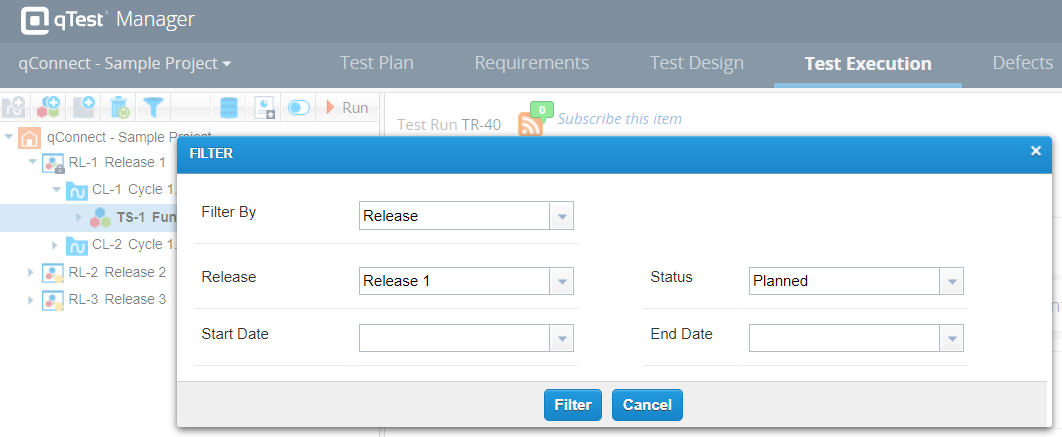
Filters
You can apply filters to narrow down items in the tree panels on the Test Plan, Requirements, Test Design, and Test Execution tabs.
-
On the tree panel toolbar, select the Filter icon
 .
. -
On the drop-down menu appears, click Set Filter.
The Filter window appears.
-
Select your desired filter criteria.
-
Click Filter to apply the filter criteria.
Exporting Data
You can export your data to an .xls file:
-
Select the objects to export in the tree panel. You can select multiple objects by pressing and holding Ctrl while clicking the objects.
-
Click the Export Reports icon
 in the tree panel toolbar. On the menu that appears, click the report that you want to export.The name of the icon will differ based on the tab that you are selecting objects on.
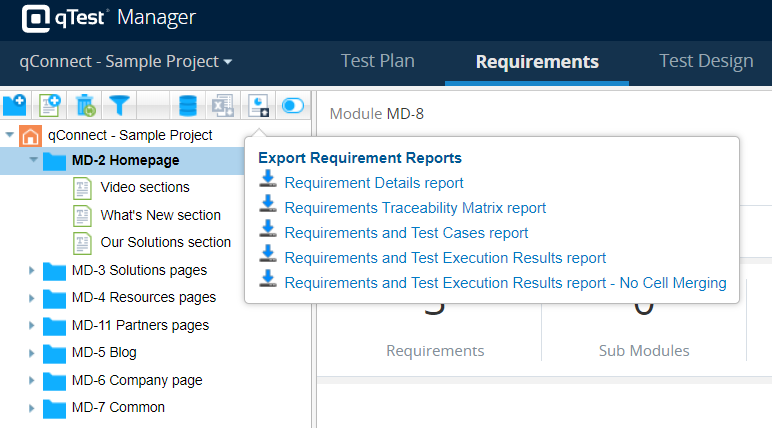
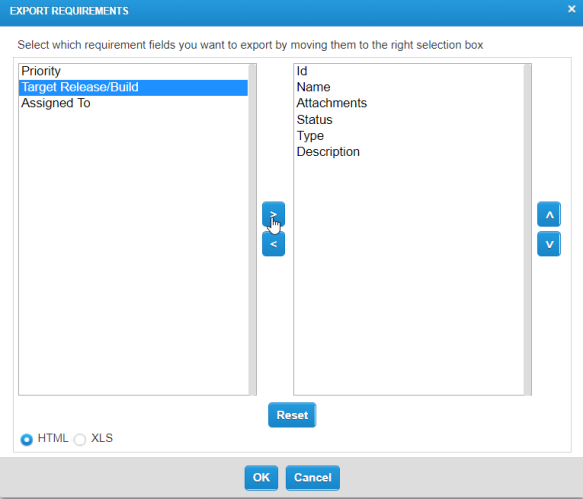
An Export window appears.
-
Using the Right Arrow button, move available fields from the left box to the right box to indicate which fields you want to include on the exported report.
You can reorder the fields using the Up Arrow and Down Arrow buttons.
 You can export data from the Test Run Grid in Test Execution as well as from the Data Query.
 -
Click the OK button.
The reports downloads as a .zip file to your computer.
Additional information
For additional information about qTest Manager reports, refer to the following articles:
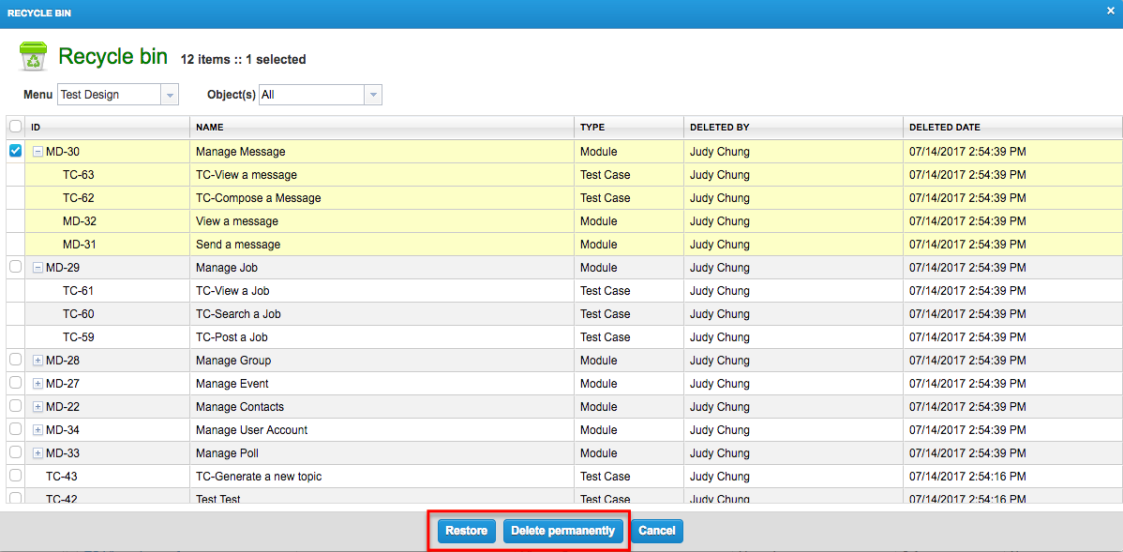
Recycle Bin
If you accidentally delete objects, you can restore them later from the Recycle Bin of that project. To access the Recycle Bin, click the Recycle Bin icon ![]() on the tree panel toolbar of the Test Plan, Requirements, Test Design, or Test Execution tabs.
on the tree panel toolbar of the Test Plan, Requirements, Test Design, or Test Execution tabs.