Manage and Schedule Reports
This topic provides instructions on how to manage and schedule your saved reports using the Report Scheduler.
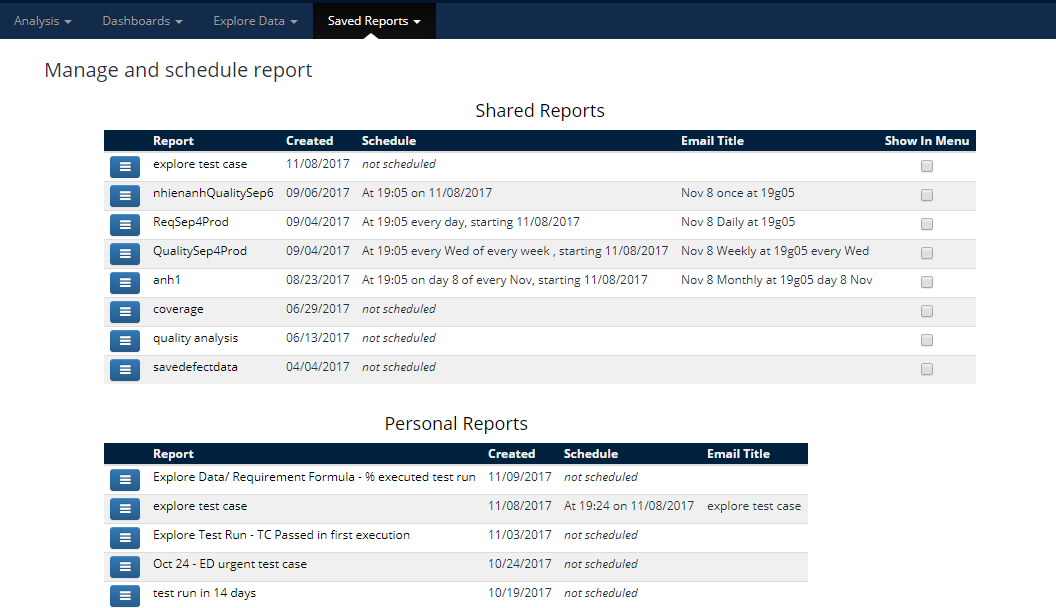
Manage Reports
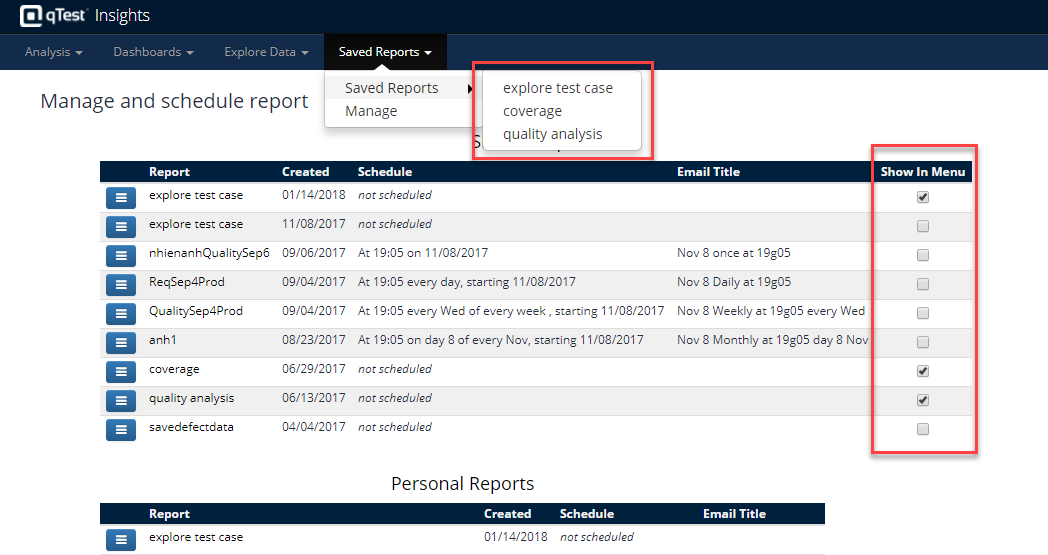
Select the Saved Reports tab and choose Manage from the drop-down menu. From here, you can manage all of your saved reports.
Your saved reports will display in the Personal Reports section by default (only you can see it).
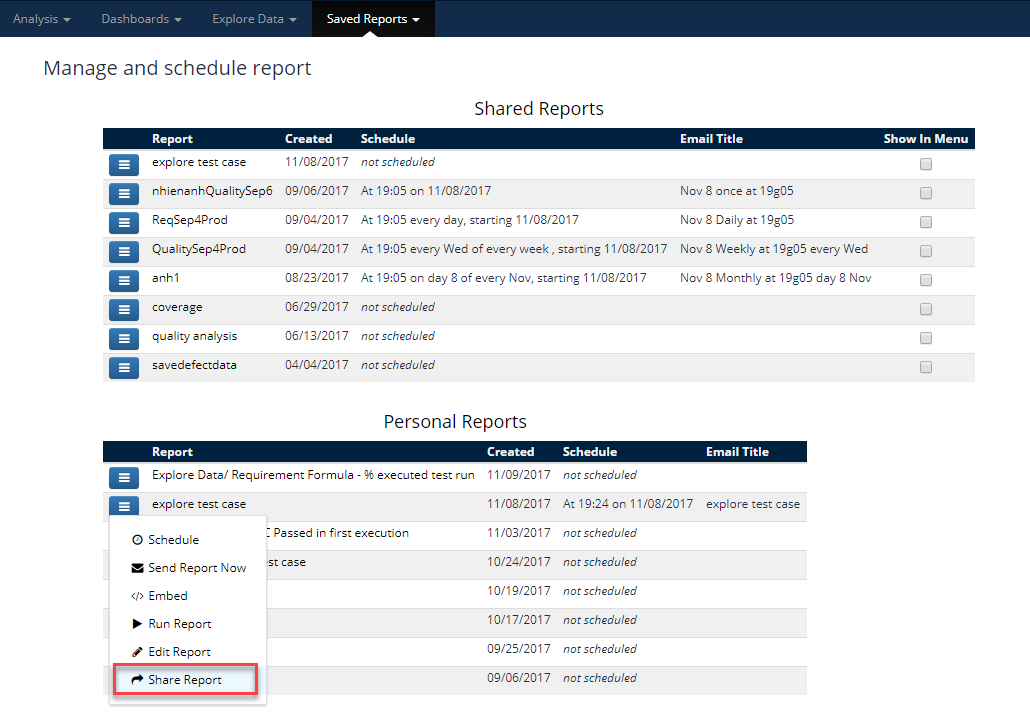
To share a report with others, do the following:
-
Right-click on the blue, filter icon.
-
Select the 'Share Report' option.
-
The report(s) will be cloned to the Shared Reports section.
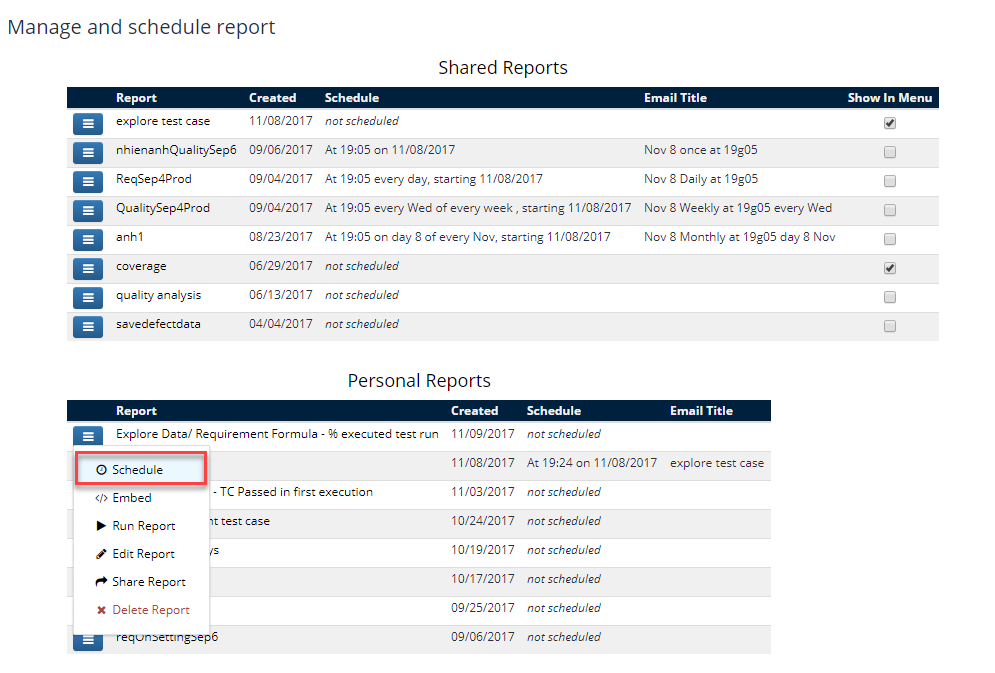
Below is an example describing the functionality you can perform on a saved report.
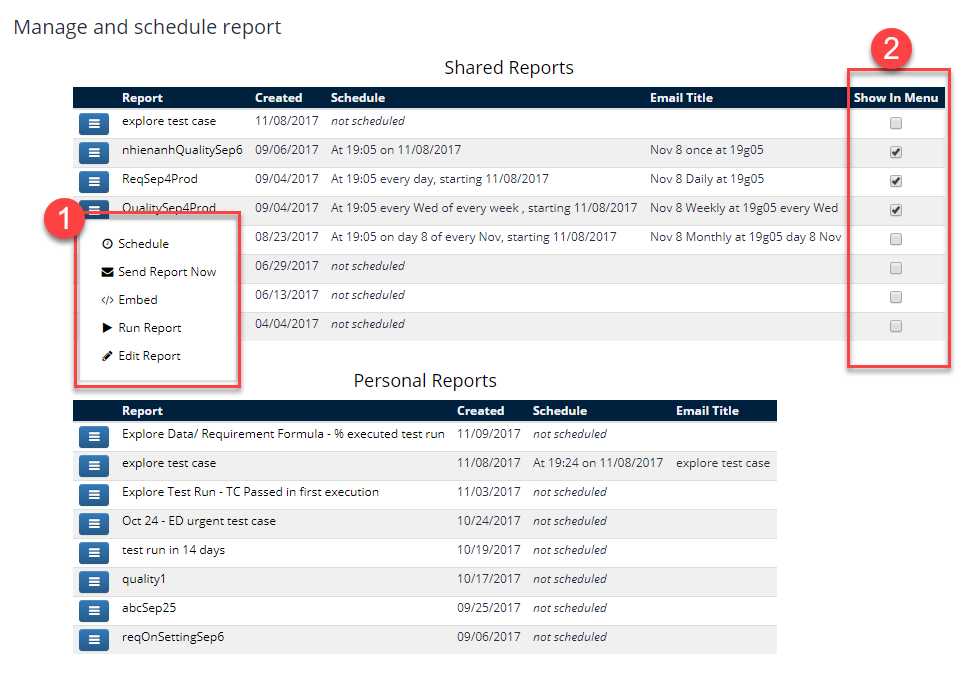
1. Select the action you want to perform:
-
Schedule: schedule your report. This function be described in the next section.
-
Embed: Copy the generated script and embed the report onto your website
-
Run Report: Open the report
-
Edit Report: Rename the report
-
Delete Report
2. Show/Hide the report in the menu: tick the checkbox on which reports you want to be displayed in the Saved Reports dropdown.
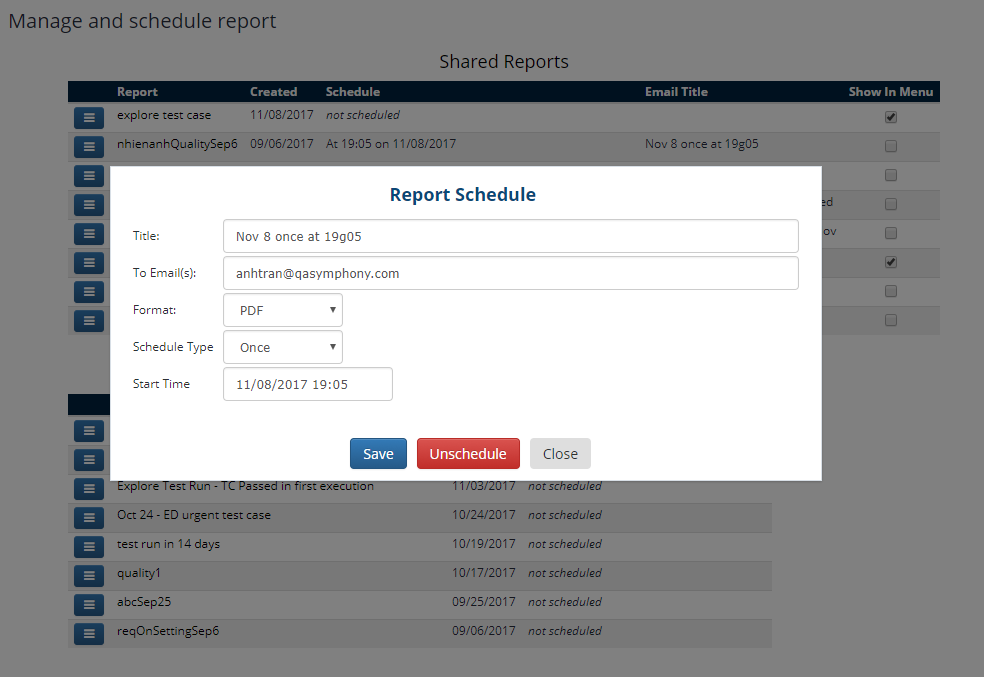
Schedule Reports
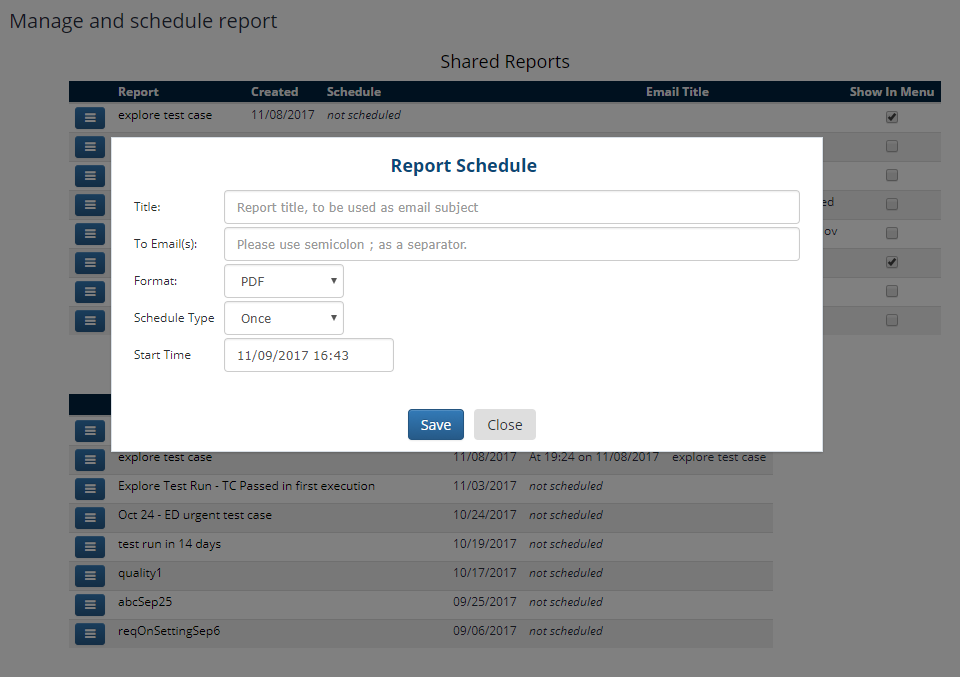
From the Manage Report page, click the Clock icon  to open the Report Schedule dialog.
-
You can customize subject of the report email by inputting into the field "Title"
-
To email your report to yourself or others, enter the recipients (separated by semicolon)
-
The report can be sent to your emails in different formats: PDF, HTML, XLS, CSV
-
The report can be scheduled in many different intervals: Once, minutes, hourly, daily, weekly, monthly
Some examples: run once at <start time> <Run On Date>, Every x minutes, Every x days, Sun and Monday every 2 weeks, day 3 of Jan and Feb
Edit/ Delete your schedule
Click the icon  again to open the schedule dialog in order to edit or delete a schedule.