View and Edit Host Machine
View Host Machine
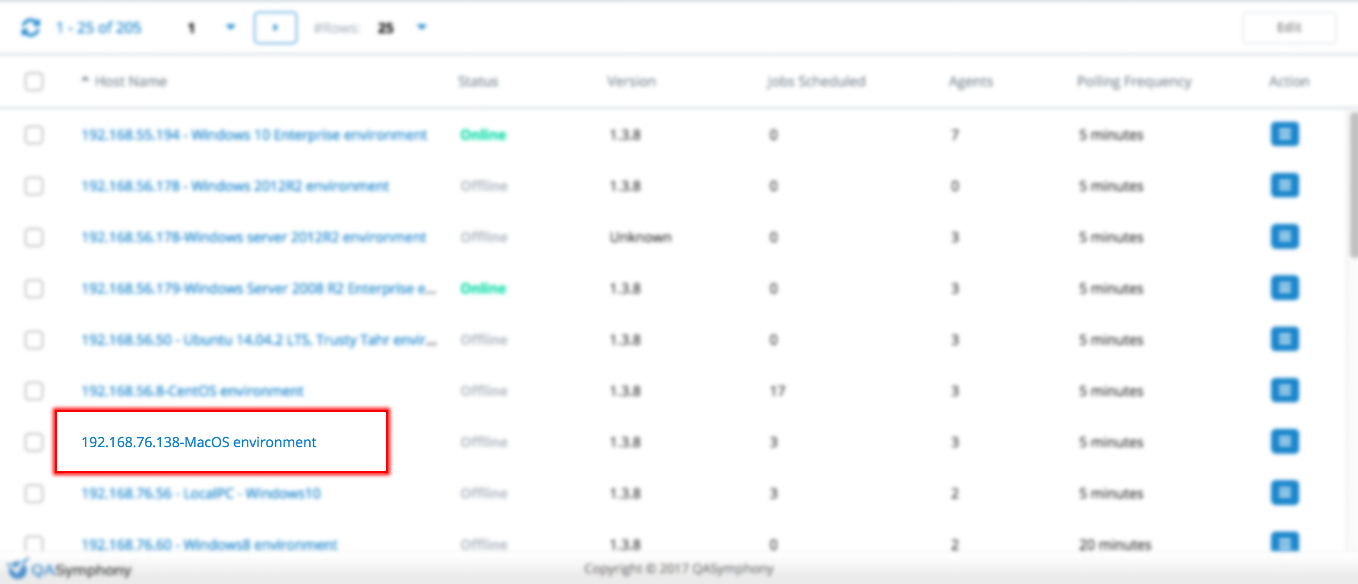
To view the details of a specific host machine, click the host name in the Hosts list, as shown in the screenshot below.
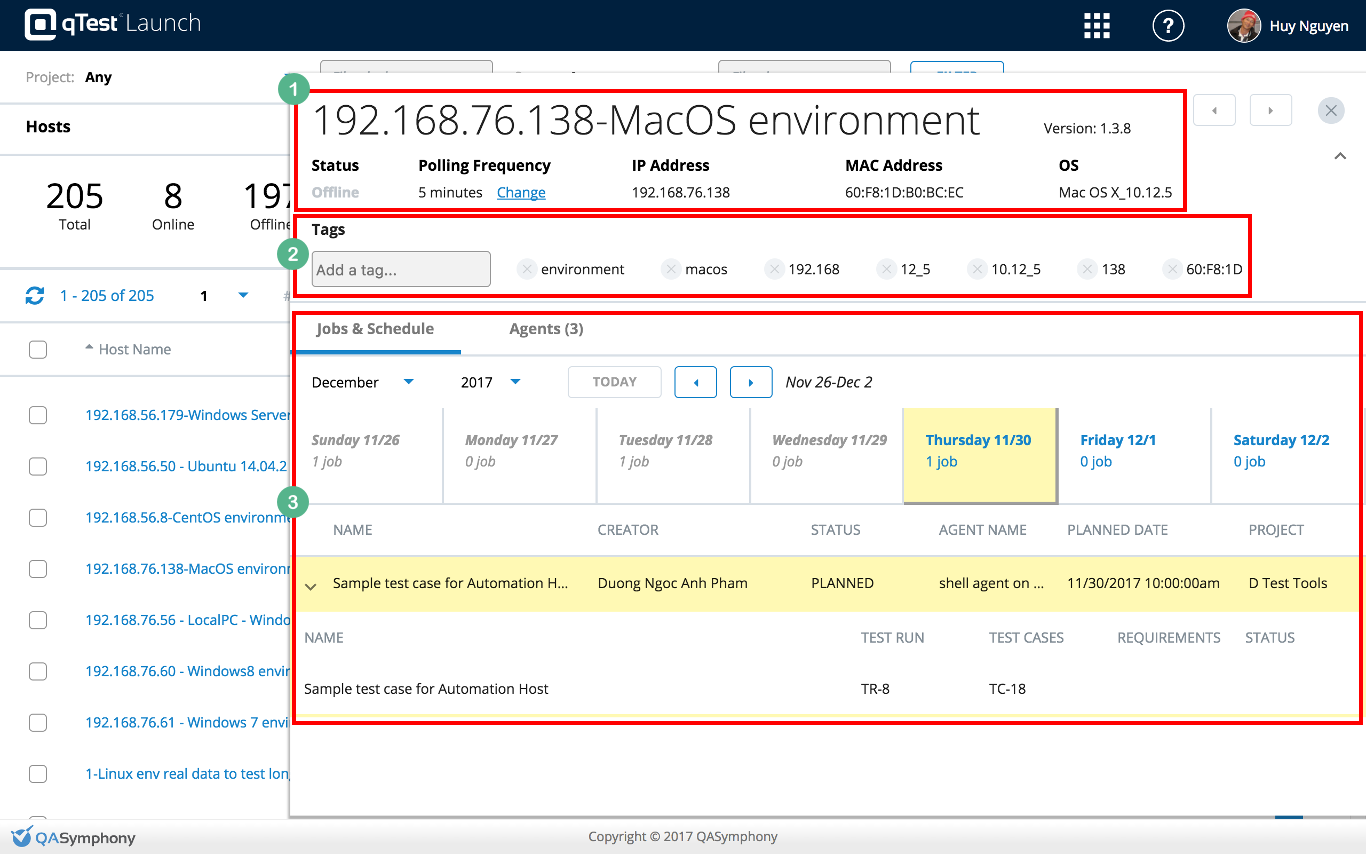
The host detail pop-up will show:
-
Basic information of the host, including: Host Name, Version, Status, Polling Frequency, IP Address, MAC Address, Operating System
-
Tags: Tags that are associated with the host
-
Jobs & Schedule tab: Shows jobs being scheduled at the host within 7 days of the current per week. You can navigate back and forth between weeks to view jobs and schedule. You can also select a specific weekday to view the jobs and schedule in that day. By default, jobs and schedule of current day is shown in the list.
-
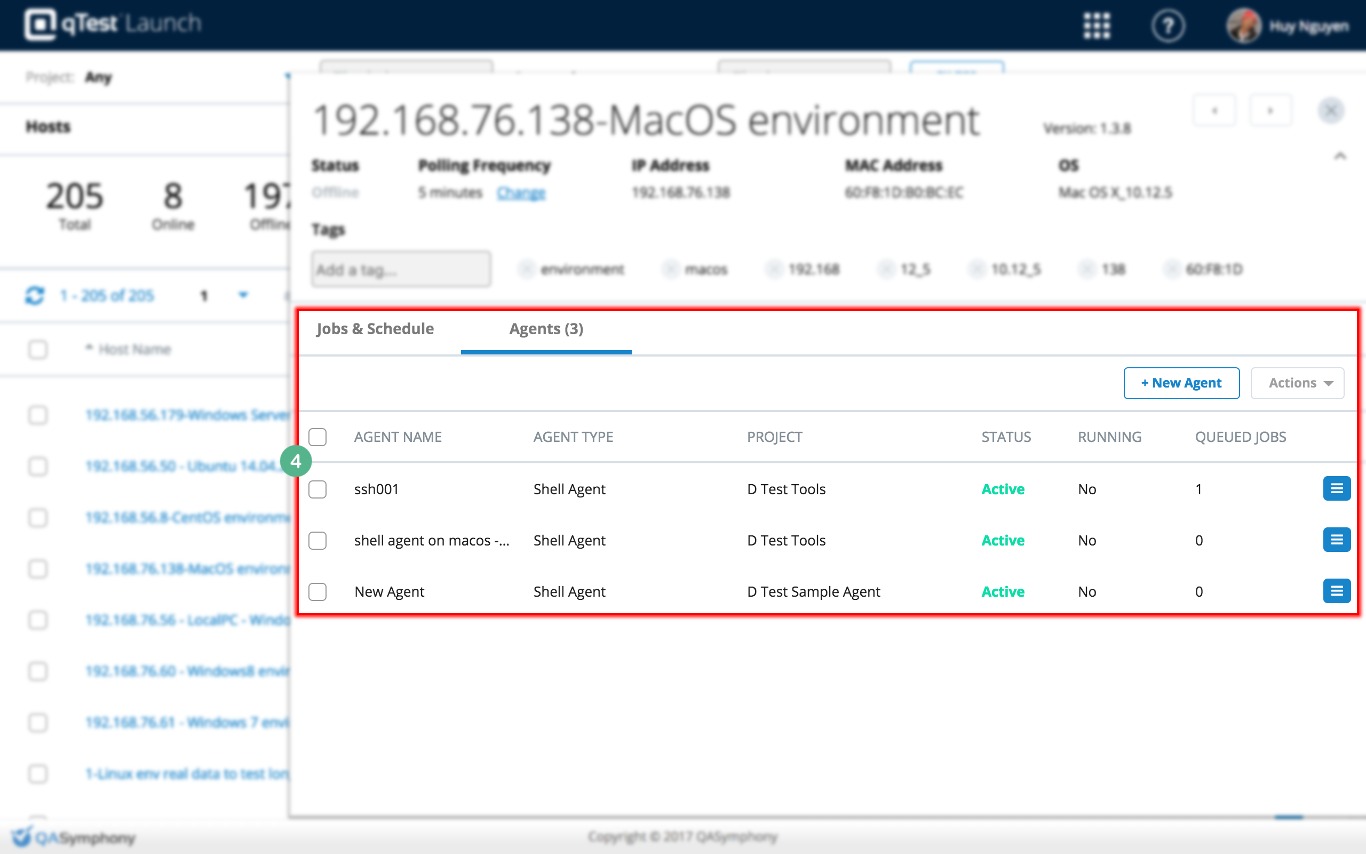
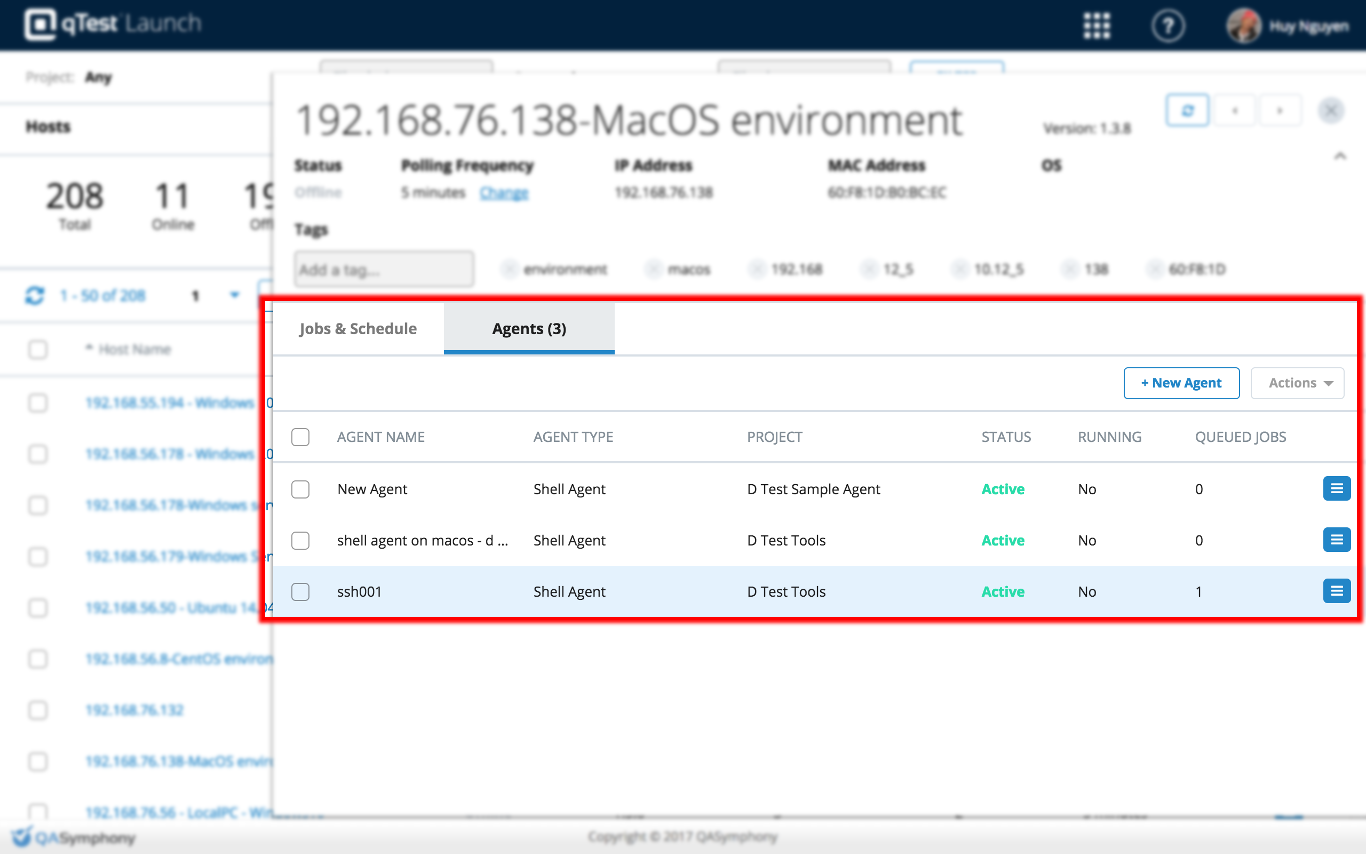
Agents: Shows all agents running at the host including: Agent Name, Agent Type, Project that the agent is associated to, its status and # of jobs being queued from that agent
Navigate to the host machine
To navigate to the host machine, click on the Go to host button.
Notes:
-
To be able to navigate to the host UI, the host must be Online, or running
-
Your machine must be in the same network with the host machine, otherwise, your browser will shown an error page

Edit Host Information
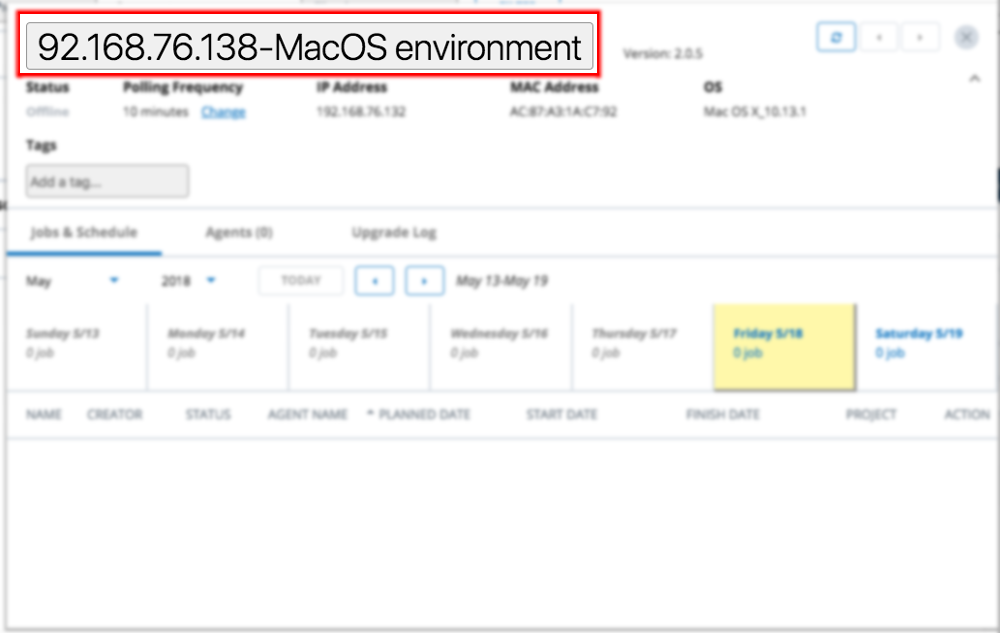
Rename Host Machine
-
Click on the host name
-
Enter new name for the host
-
Click outside the host name field to finish renaming host
Edit Polling Frequency
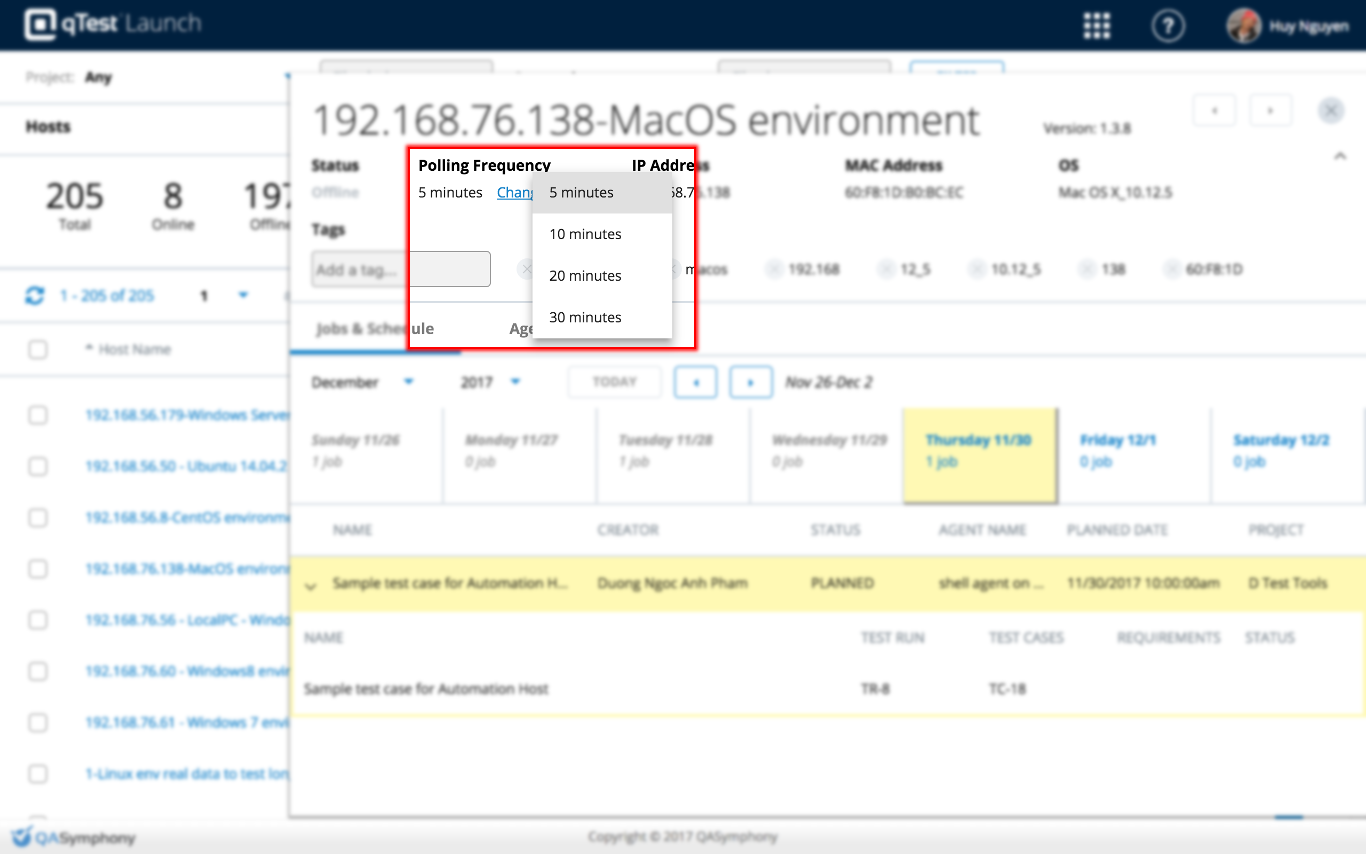
To edit Polling Frequency, click on the Change link next to the Polling Frequency field and select one of the pre-defined values: 5 minutes, 10 minutes, 20 minutes or 30 minutes.
Note: The change is saved automatically and will take effect next time the host machine polls to the Launch.
Edit Tags
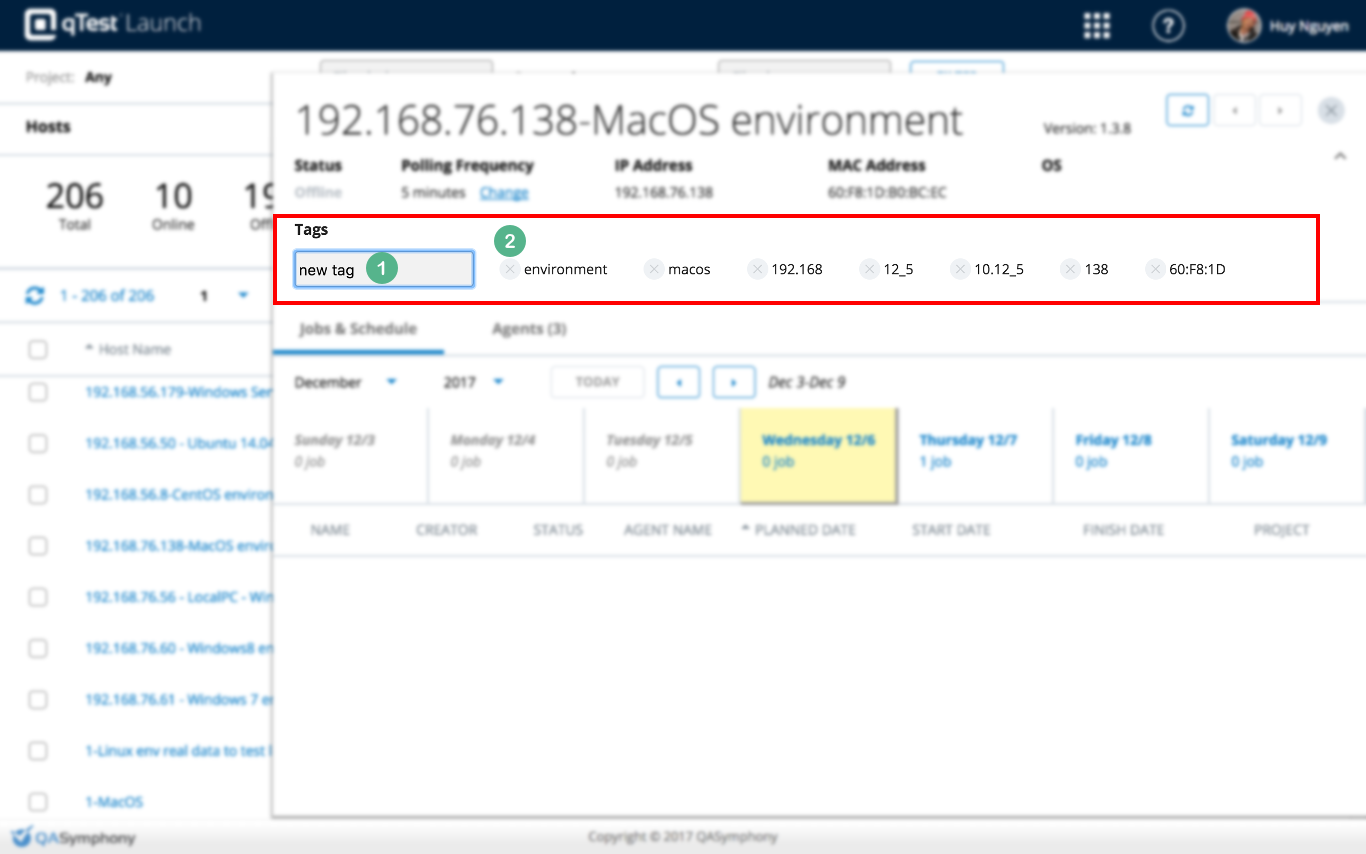
Tags are additional information on a host machine. They are useful for searching for hosts that contain specific tags from the Launch homepage.
1. To add a new tag to the host, enter the tag name in the Tags field and click Enter. If the input name does not exist, a new tag with that name will be created and associated with the host. You can add as many tags as you want.
2. To remove an existing tag from the host, click on the X icon next to the tag name. The change will be saved automatically.
Manage Jobs & Schedule
Jobs & Schedule tab allows you to view, filter and manage jobs being scheduled from qTest Manager.
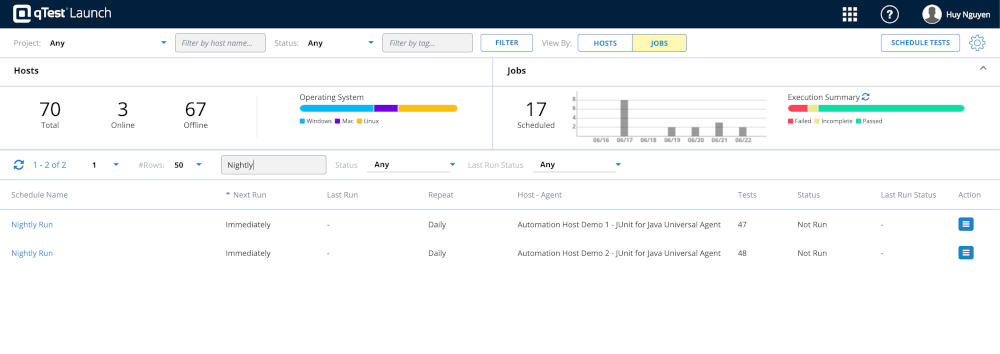
View and Filter job schedules
The schedule job list allow you to:
-
view and navigate thru schedule jobs in pages
-
sort schedule job by clicking on the column header
-
filter schedule jobs by name, status and last run status
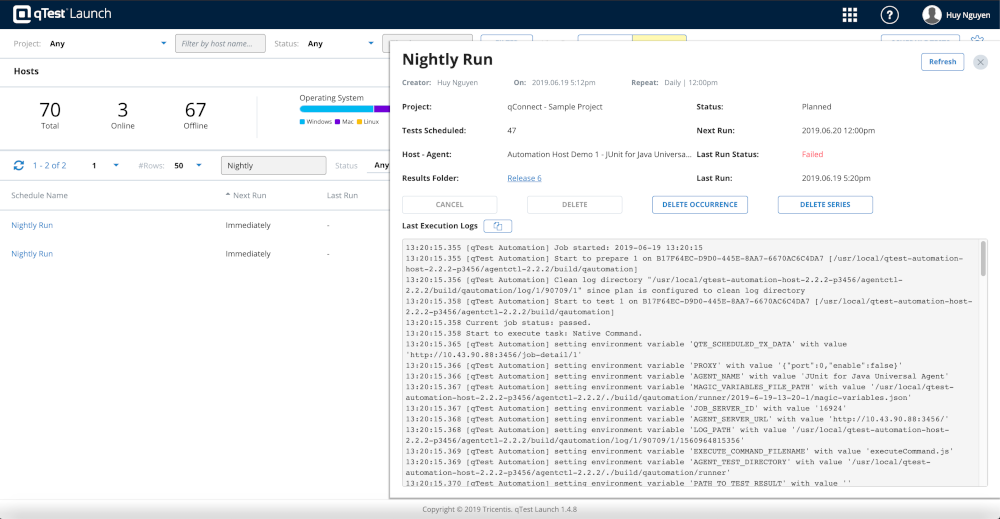
View and manage job schedule detail
To view schedule job detail, click on the schedule name in the list. The schedule detail will display. From here you can:
-
View the detail of the job schedule
-
Cancel a Planned job. Notes: You must have sufficient permission to be able to delete scheduled jobs
-
Delete schedule job. Notes: only job having Cancelled status can be deleted.
-
Delete occurrence: deletes the job(s) being scheduled for execution on the current date
-
Delete series: deletes all jobs being scheduled for execution today AND in the future. In other words, the selected jobs and its following Planned events in the series are deleted, the historical events are retained
-
View the last execution logs of the job, if any. You can also copy execution logs to clipboard and save it somewhere you desire or attach it to a support ticket
Manage Agents From the Host
To view and manage agents from the host, click on the Agents tab. All the agents running in the host are shown in the agent list.
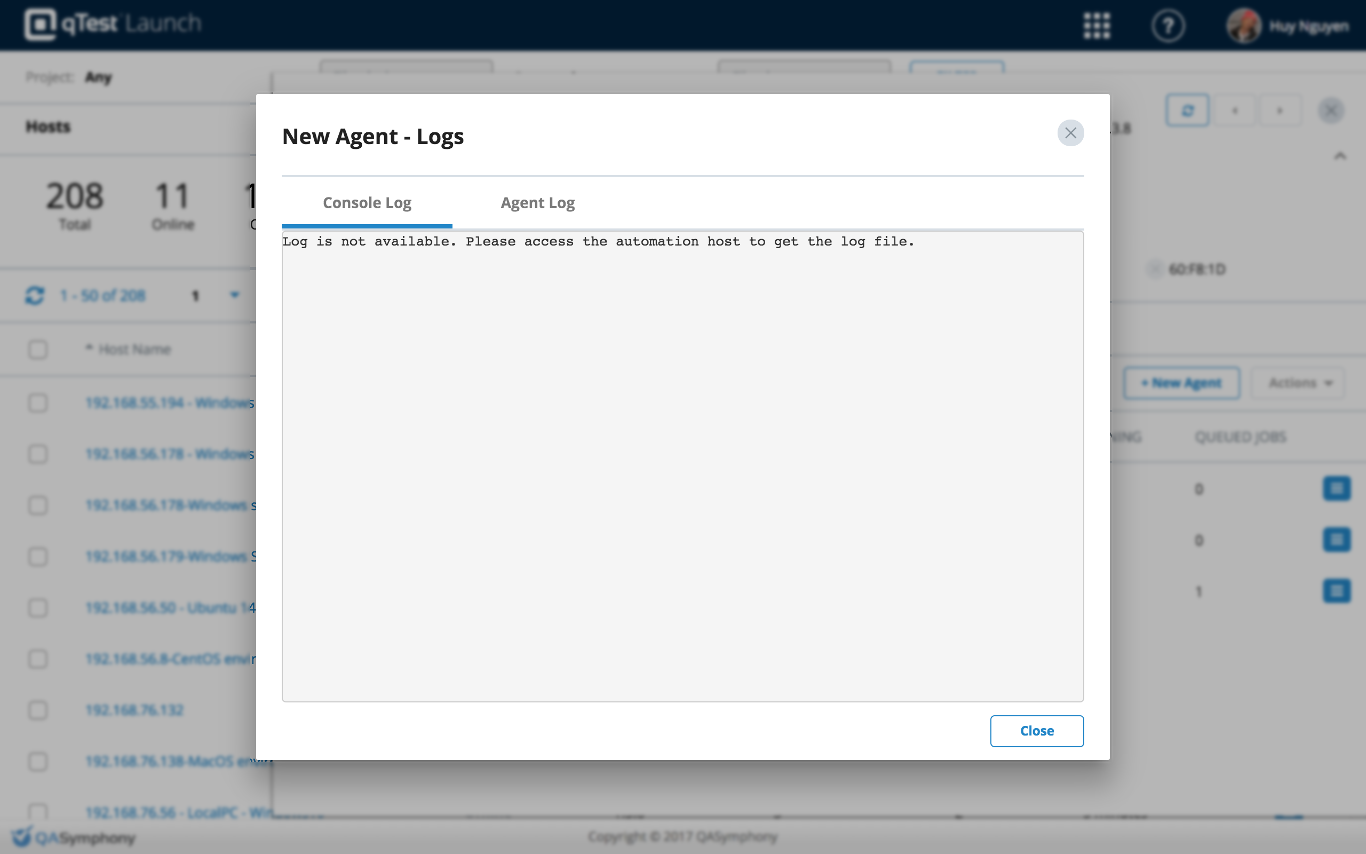
View Logs of an Agent
You can view the latest logs of an agent by clicking on the icon ![]() in the last column of the agent and selecting View Logs from the pop-up menu.
in the last column of the agent and selecting View Logs from the pop-up menu.

The console log and agent log dialogs will be displayed.
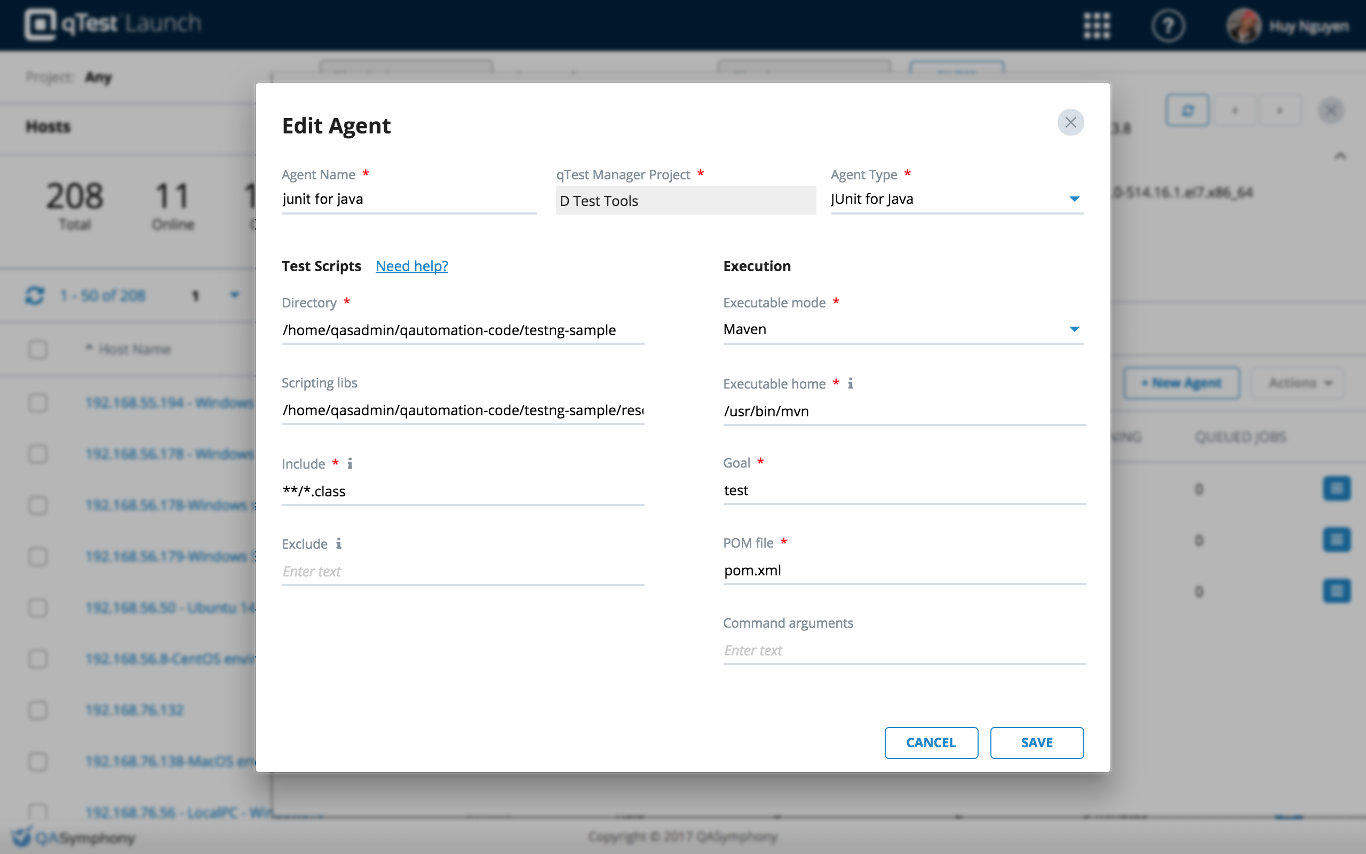
Edit Agent
To edit an agent, click on the icon  in the last column and select Edit from the pop-up menu.
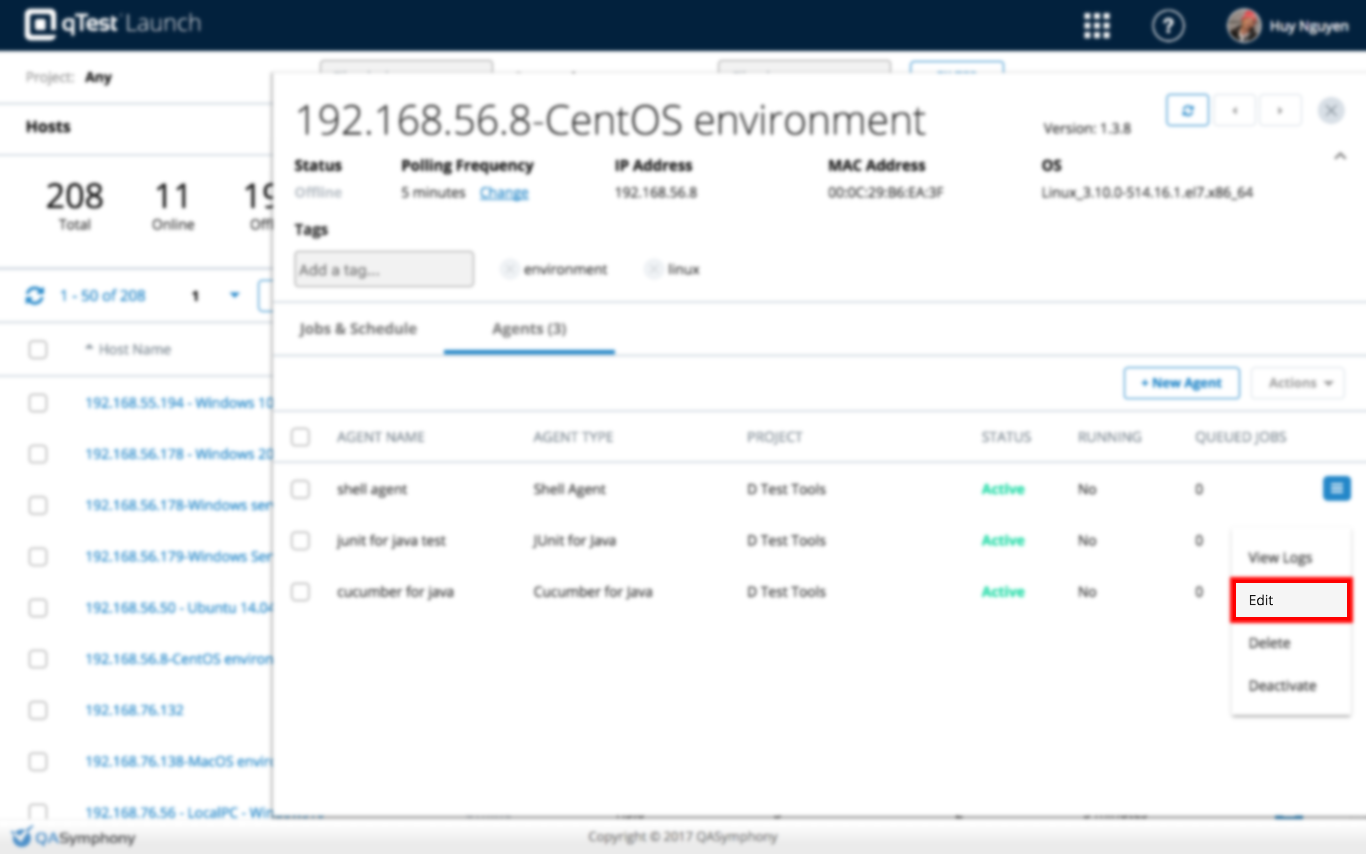
The edit agent will be presented, which allows you to edit the agent information.
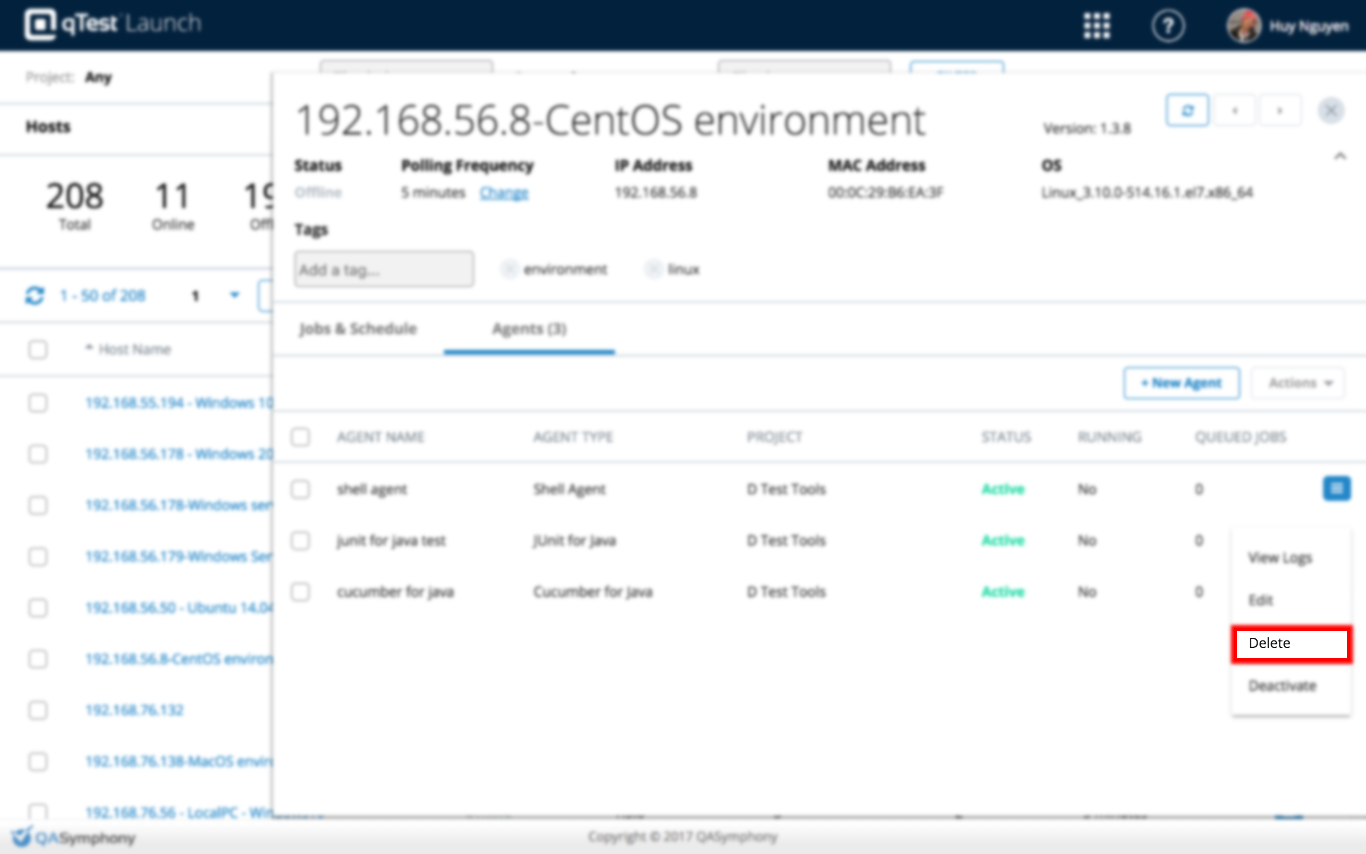
Delete Agent
To delete an agent, click on the icon  in the last column and select Delete from the pop-up menu.
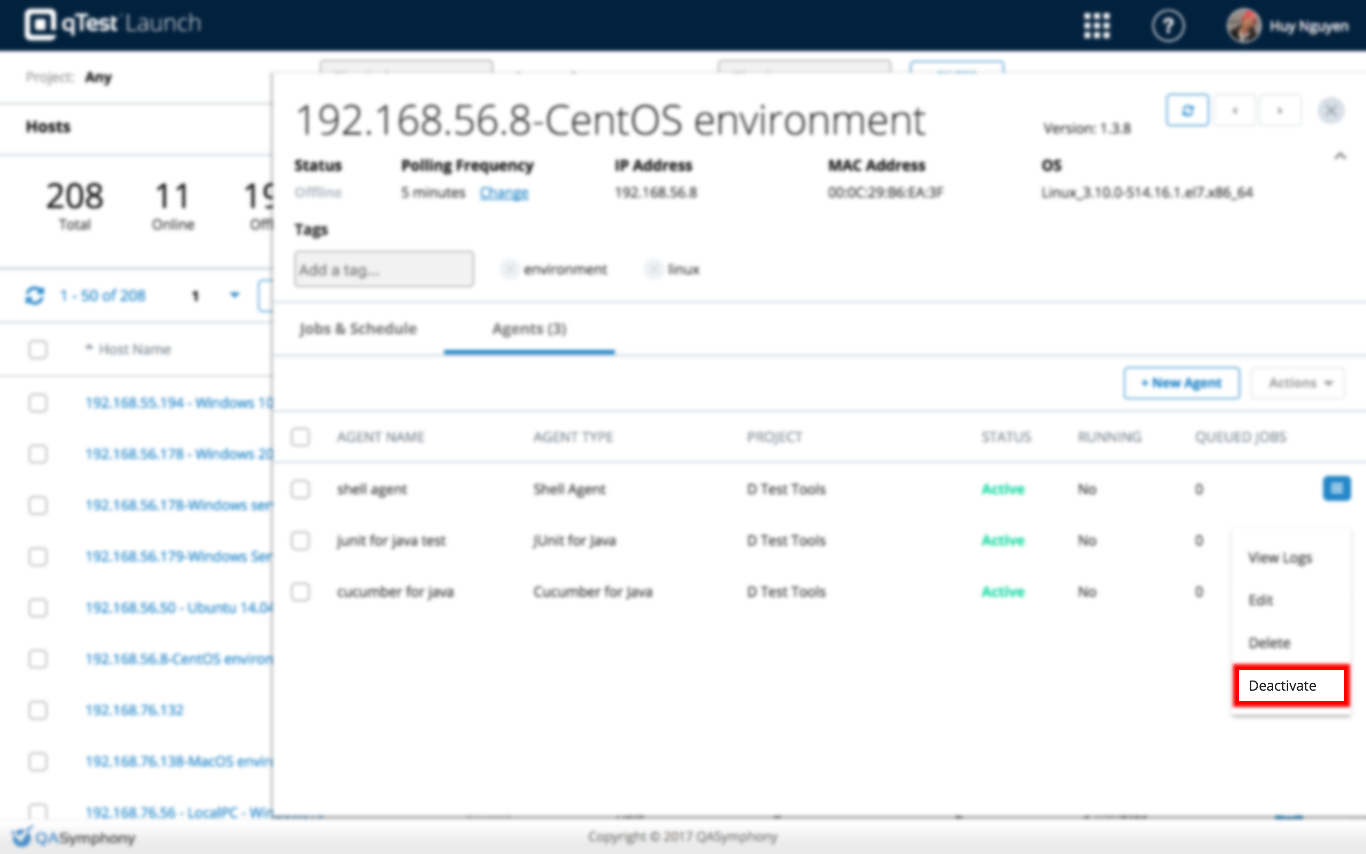
Deactivate Agent
To deactivate an agent, click on the icon  in the last column and select Deactivate from the pop-up menu.
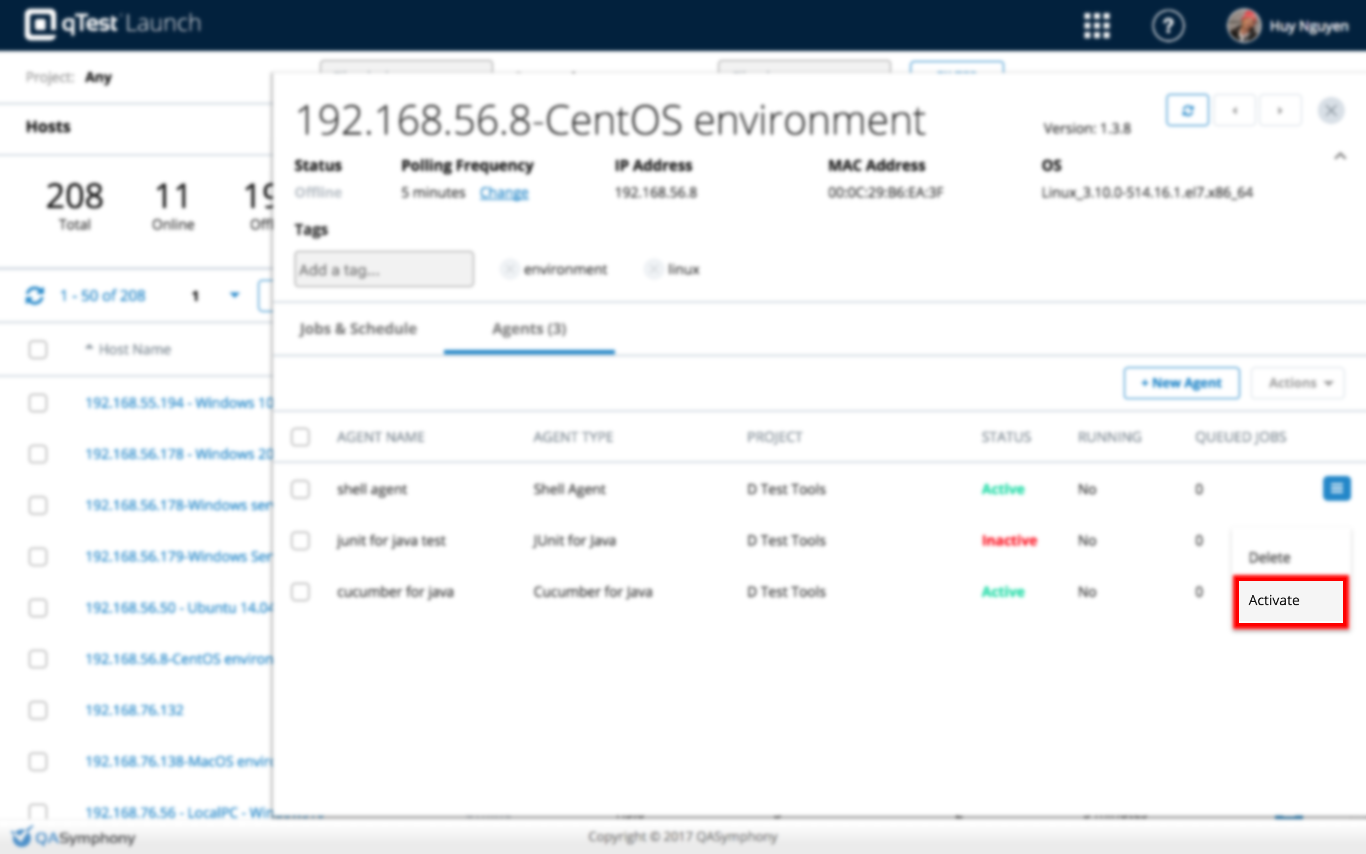
Activate Agent
You can activate an inactive agent by clicking on the icon  in the last column and selecting Activate from the pop-up menu.
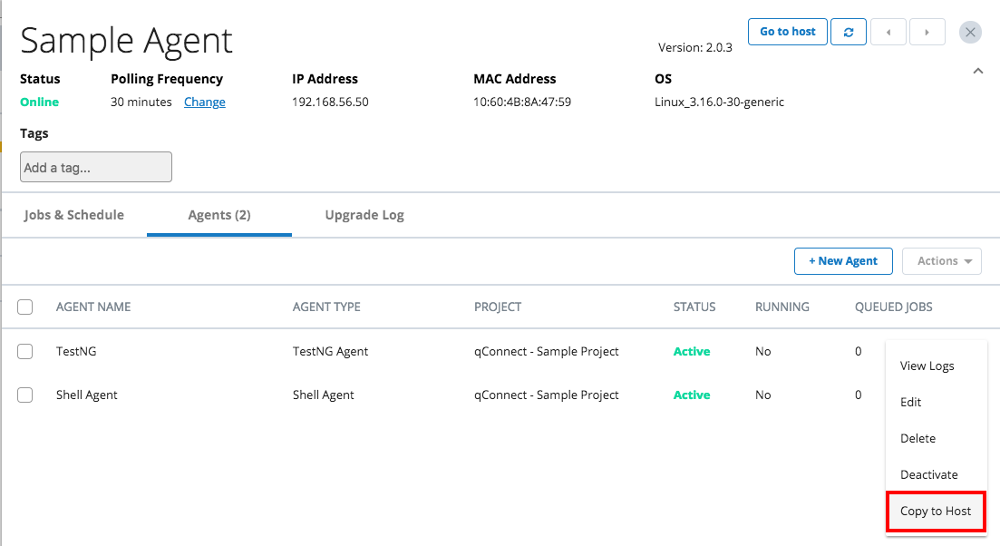
Copy agent(s) between host(s)
To copy agent from a one host to another, locate an agent from the Agents list. Click on the  icon and select Copy to Host menu item
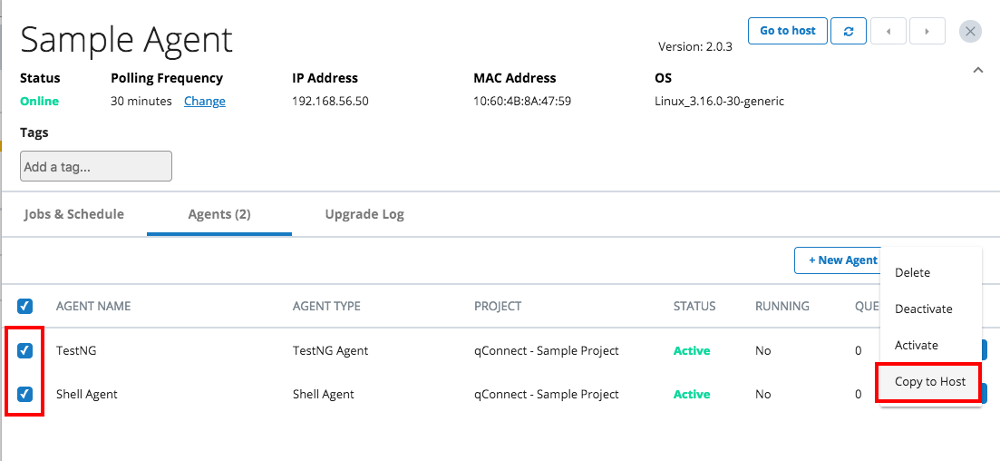
To copy multiple agents from one host instance to another, select the agents you want to copy to, then click on Actions button and select Copy to Host
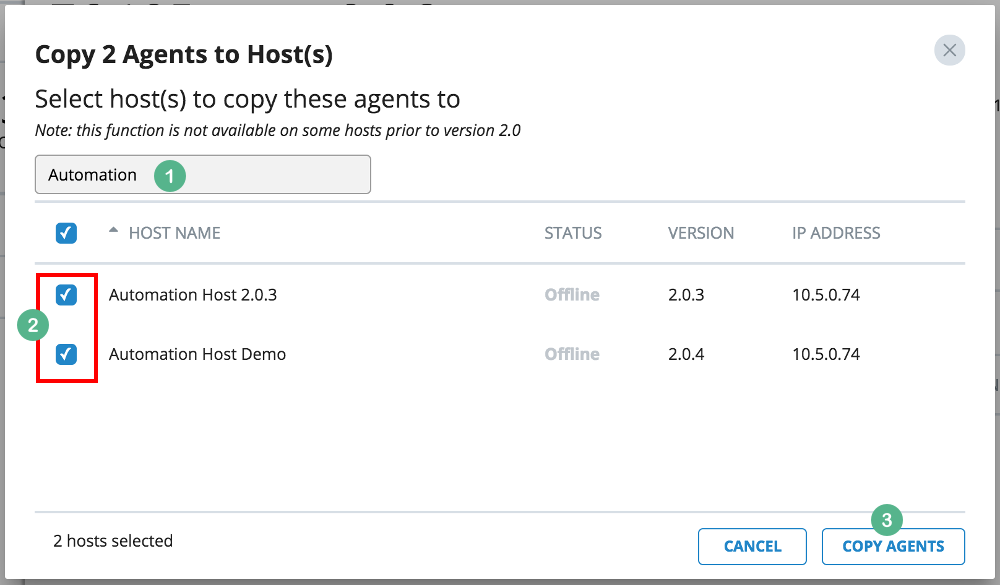
You will be presented with a dialog for you to select host(s) you want to copy the selected agents to. From this dialog you can:
-
enter the host name to Filter by host name... field to search for the host(s)
-
select one or multiple host(s) in the host list to copy the agent(s) to
-
click COPY AGENTS to complete the copy
Screenshot below shows how to copy 2 agents to 2 selected hosts.
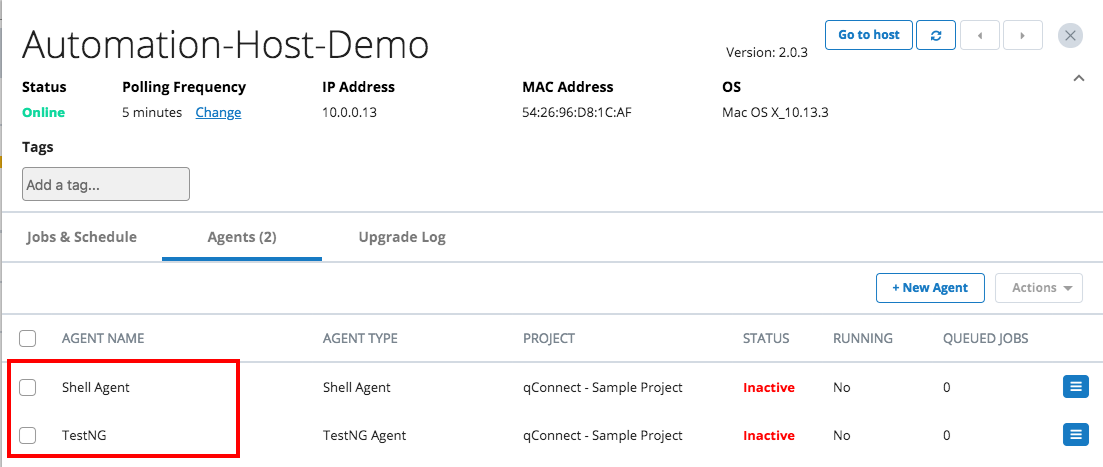
Now access to the host that you just copied the agent to, you will see the agents being copied to that host. Screenshot below shows the host named Automation-Host-Demo now has the two agents copied to it.
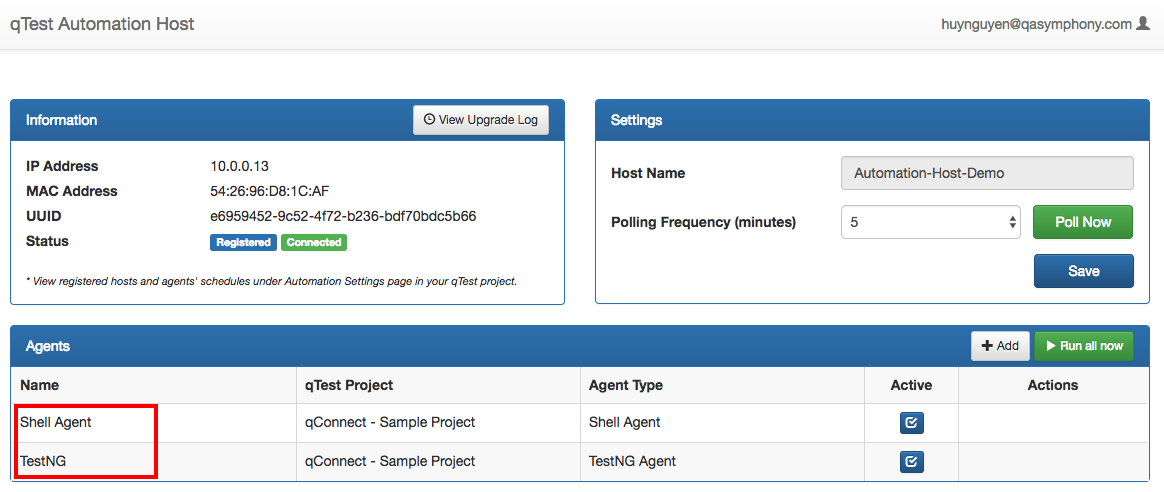
Now access to the host machine UI, you will also see the two agents being copied to it.
Notes: you might want to click on Poll Now button or refresh the host UI in order for it to update latest information from Launch.
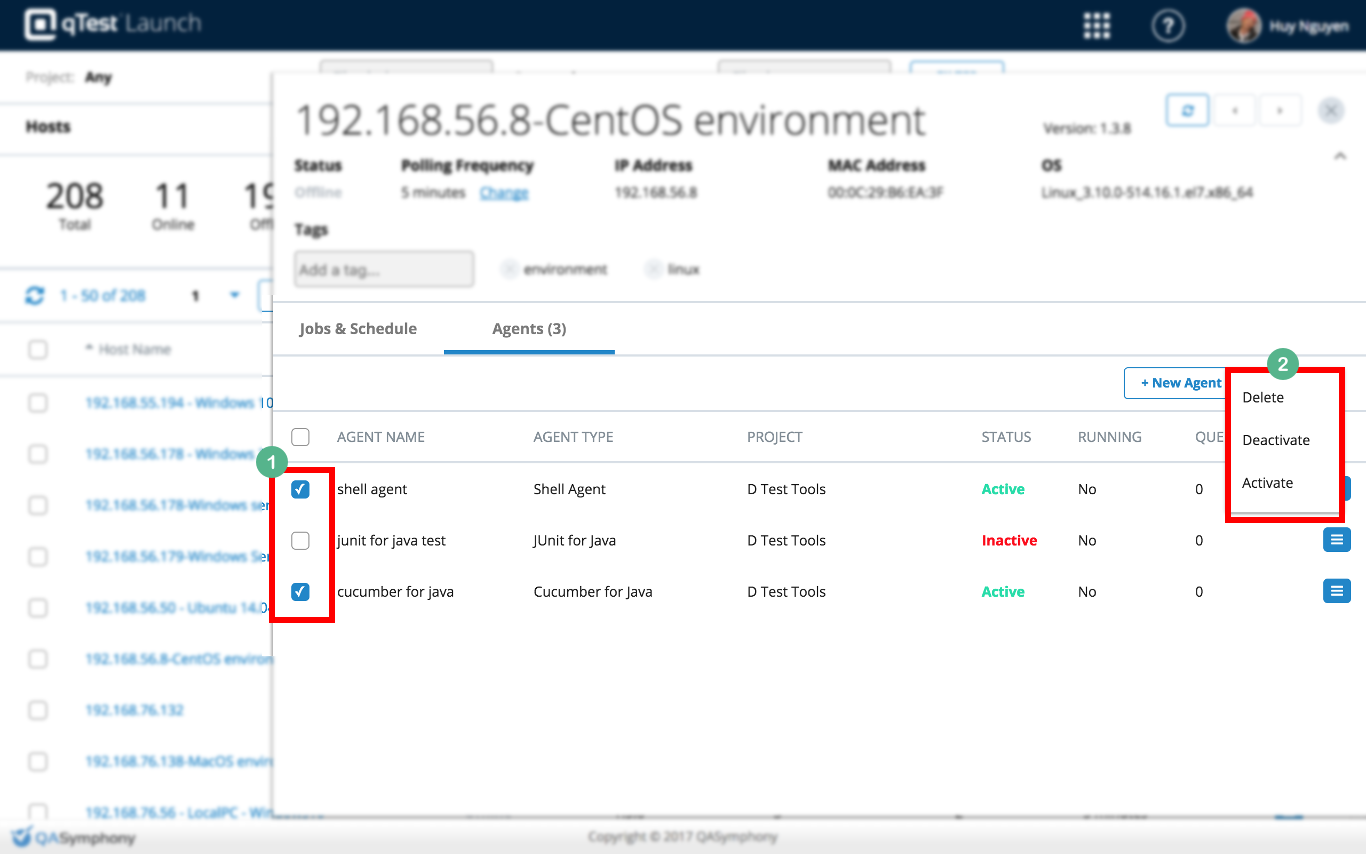
Bulk Edit Agents
To apply an editing action, e.g. Delete, Activate or Deactivate to a multiple agents at a time, select agents from the list by checking the checkbox in the first column of each agent, then selecting an action from the Actions group.
Add New Agent to the Host
To add new agent to the host, switch to the Agents tab and click on the + New Agent button. Enter information for the new agent in the New Agent dialog.
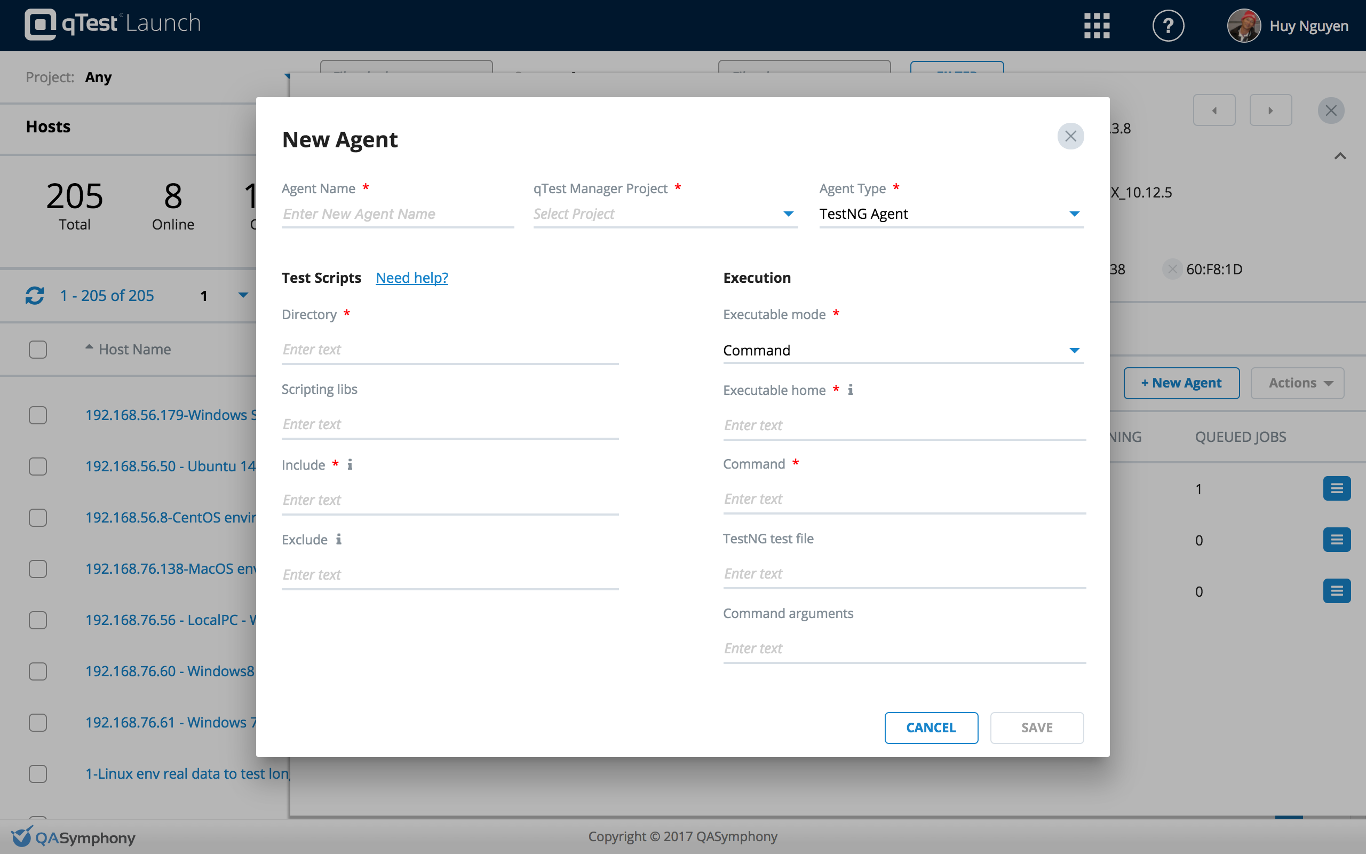
The following articles demonstrate how to create an agent specific to each of these agent types: