Security
The Security page allows the Site Administrator to configure the advanced security rules for the qTest Manager instance. These configurations are optional and can be disabled at any time. Only users that are assigned an admin profile can access the Security page.
How to Get Here
From the Site Administration page, select the Security tab to access the Site Administration-Security page.

Account Login Management
This section is used to manage your qTest account password criteria for your organization.

Setup Password/Login Rules
-
Select the Users are requested to update password after checkbox to enable/disable the password rules. Once selected, the three subsequent fields are required.
-
Enter a numeric value in the Users are requested to update password after field to specify the number of days after the date the current password is set for which users are notified to change a password.
-
Enter a numeric value for the Unchanged passwords will be invalid and accounts will be deactivated after field. This value is the number of days from the date the current password was set on which accounts with unchanged passwords are deactivated. The system will send notifications to users to request password updates until the password is changed, or their account is deactivated.
Example: you want users to change their password every 75 days, and the account to be deactivated after 90 days if no password update is completed. qTest will send notifications to users to update their password for 15 days until the password is changed. After 15 days of pending, if the password is still not updated, the associated account will be deactivated. -
Enter a numeric value in the User can reuse an old password after field to dictate the number of consecutive unique passwords that must be used before a previous password can be reused.
Example: if the value is 8, the first eight passwords a user sets for their account MUST be different from each other, but the ninth password can be identical to any of the first eight passwords. The subsequent cycles of eight distinct consecutive passwords continue in the same manner. -
Select the Maximum # of login attempts with invalid password checkbox to enable/disable this password rule. Enter a numeric value (greater than zero) in the associated field to define the number of login attempts with invalid passwords a user can input before their account is deactivated.
-
Select Save to activate the configurations.
Password Policy
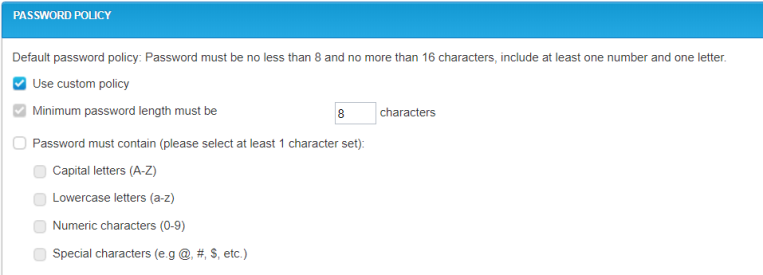
As a Site Admin, you can configure your qTest password requirements to follow stricter guidelines, than what is provided by qTest as the default password policy. The default password policy follows these conditions: ‘Password must be no less than 8 and no more than 16 characters, include at least one number and one letter.’ To change the default password requirements to a custom policy, follow these instructions:
-
Select the Use Custom Policy check box to begin configuration for the following:
Minimum Password Length: you cannot reduce the default password length from 8 characters, but you can increase the password length.
Password Must Contain: Select this check box to include additional characters in your password requirements.
The more character set options you choose, create a stricter password policy.
-
Save.
Audit Log
qTest Manager includes Audit Logging of key Site Admin Events, as well as User Events for security purposes. You can export the audit log(s) to a CSVfile.
The result for the Audit Log export is based on the selected 'Event' checkboxes and contains the following information:
-
Timestamp of the Activity
-
Application Code Example: Manager, Explorer. etc.
-
Username
External Username (if applicable)
Authentication System(if applicable)
-
Event Category (selected checkboxes associated with this audit log export)
-
Source IP of User
-
Login Source Example: Web, API
Details of Login Source Example: qTest-web, qTest-api, web-Explorer, etc.
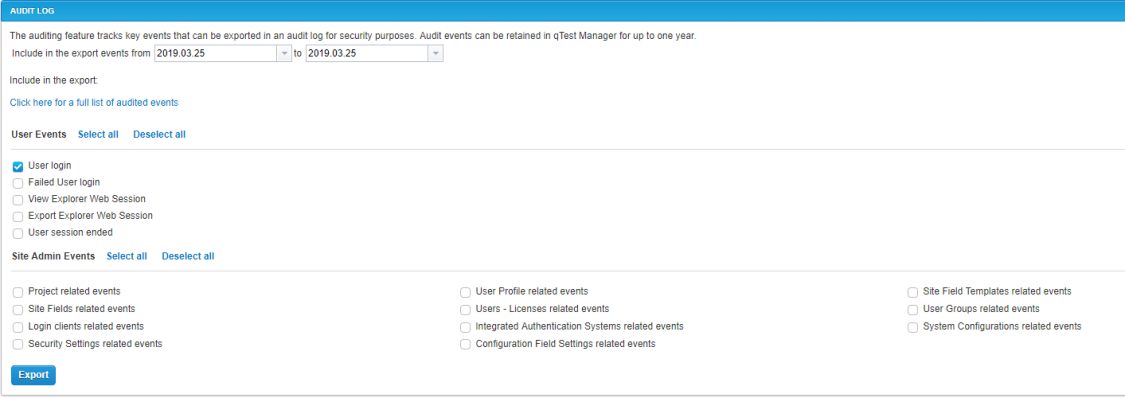
To produce an Audit Log report, do the following:
-
Select the date range for the events you want to include in the exported file.
NOTE:qTest Manager audit log was not available until the Release of 8.4.6 (May 24, 2017). Therefore, you can only export data beginning on May 24, 2017, and afterward.
Audit log events are retained for up to one year.
-
Select the event types you want to include in the exported file.
-
Select Export to download the CSV file.
Mail Recipients Management
This section is used by the Site Administrator to manage external email addresses for which qTest Manager can send reports. External email addresses that are not associated with an active qTest Manager user can be entered here. Use a semicolon (;) to separate each email address.
qTest Manager notification emails, user invitation emails, and other emails which are sent to qTest Manager users will not be blocked, because those email addresses are stored in the Licenses-User tab.

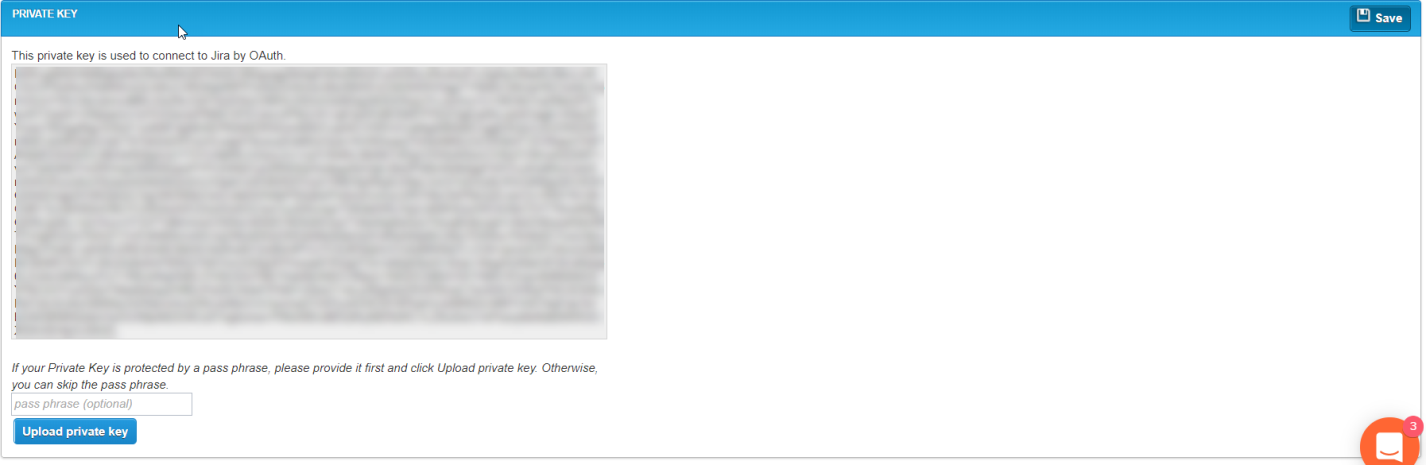
Private Key
This section is used for customers wishing to use a private key for JIRA OAuth. This is not a required field if you are using a public key for your JIRA OAuth. The private key displayed here is read-only. You will see the qTest default private key displayed here upon initial load of the screen if you are already using JIRA OAuth.
openssl pkcs8 -topk8 -in [server.key] -out [server-pkcs8.key] –nocrypt
-
[private.key]: name of your non PKCS #8 key
-
[private-pkcs8.key]: name of the converted key
To upload your own private key, follow these instructions:
-
Select theUpload Private Key icon.
If your private key is passphrase protected, enter the passphrase in the Passphrase field before selecting Upload Private Key. -
Select the file containing your private key. Your private key must be an open SSL.
-
Your private key will replace the qTest default private key.
The private key will display in the UI decrypted, but will display encrypted within your database. -
Save.
-
Once your Private key is saved, you will need to reconfigure yourJIRA Integration for JIRA OAuth.