Bugzilla and Fogbugz Integration
qTest supports Integration with OnDemand/Local Bugzilla (version 4.0+) and OnDemand/Local Fogbugz (version 8.1.1+) for Defect submission.
Prerequisite Information
If the Defect Trackers you are using are deployed on the Local Server and behind firewall protections to secure sensitive project data as well as prevent unauthorized access from the Internet, you need to check the following Configurations to ensure a successful connection with qTest Manager for Defect Integration. Follow these steps:
-
Make sure your Defect Tracker Local Server's IP address is configured to be a public IP address, so your Defect Tracker's instance is accessible from the public Internet.
-
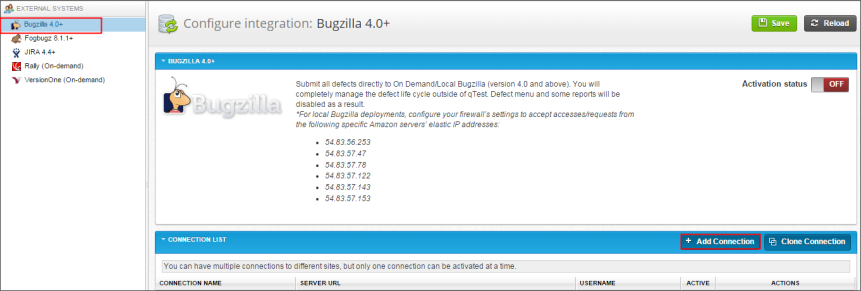
Configure your firewall's settings to accept accesses/ requests from the following Amazon servers ' elastic IP addresses.
54.83.56.253
54.83.57.47
54.83.57.78
54.83.57.122
54.83.57.143
54.83.57.153
Set up Connection
This section describes one way to create a connection with either Bugzilla OnDemand or Local.
-
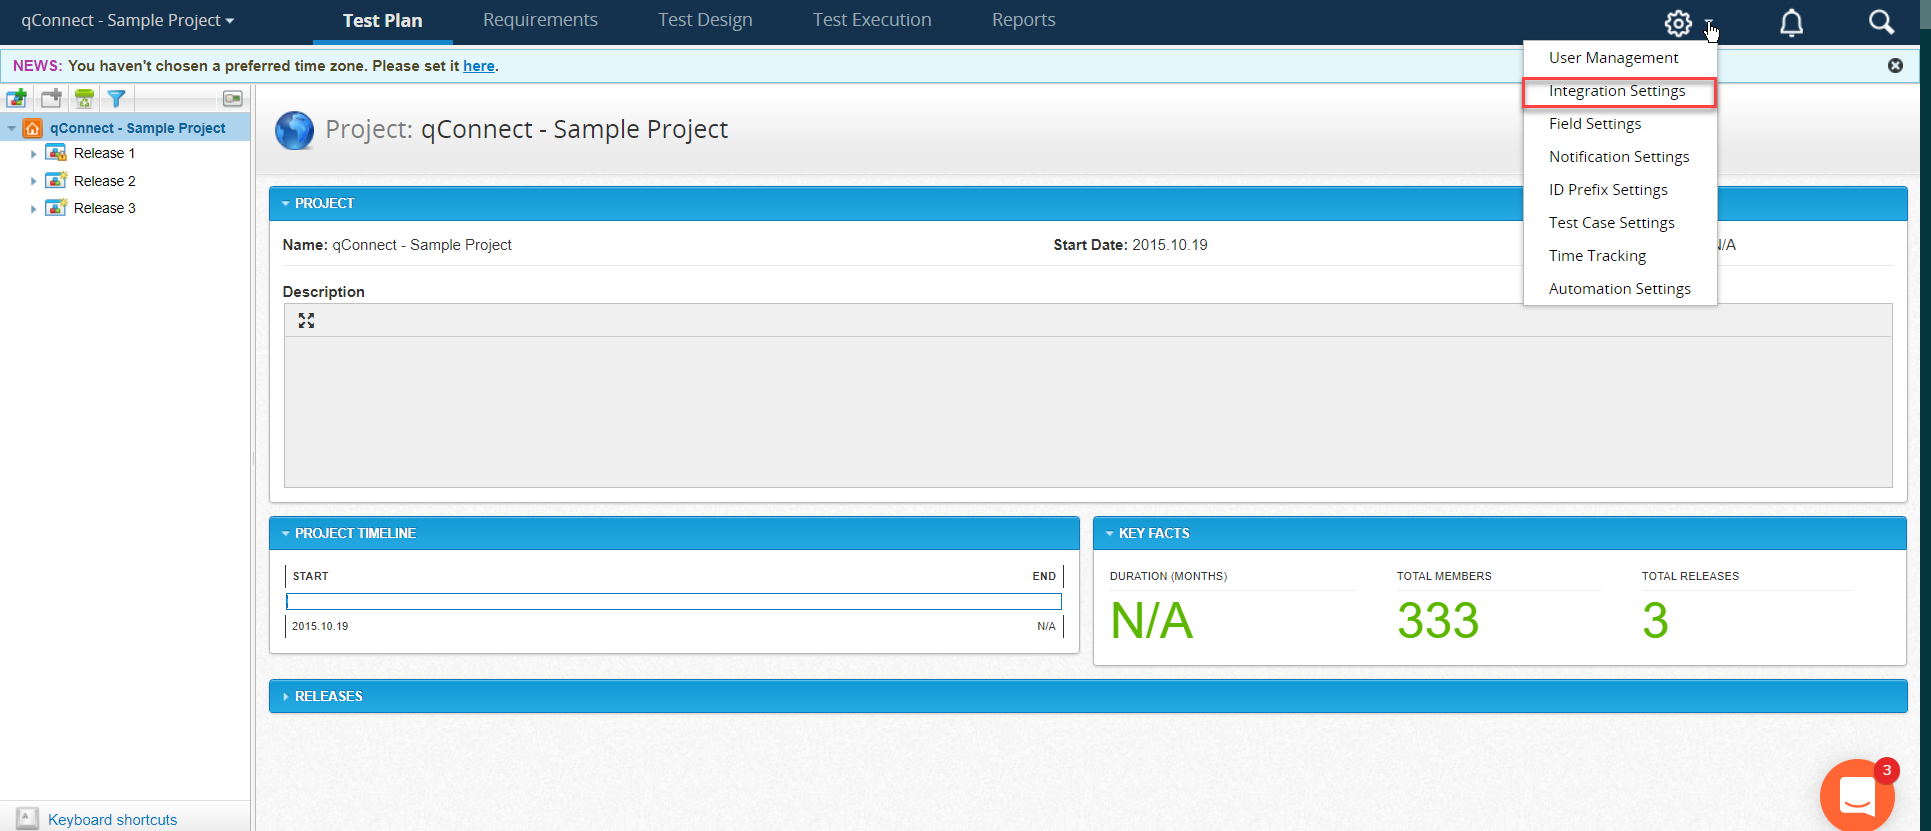
Go to the qTest Manager instance and access Integration Settings under Project Settings.
-
Select Bugzilla 4.0+ from the External Systems list.
-
Select the Add Connection icon to define a connection with Bugzilla.
-
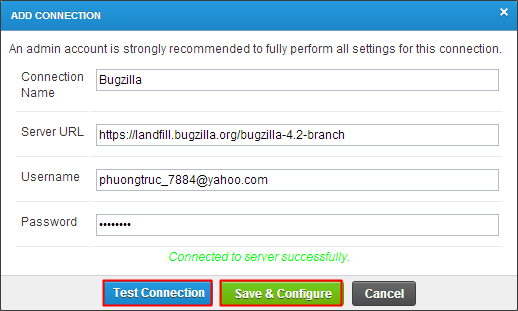
Enter the Connection Name, Server URL, and Account Credentials.
-
Select Test Connection to assure that the connection is successful.
-
Select Save & Configure to finish adding the Connection and begin the Integration Configuration.
-
Turn on the Activation Status and check Active one of Connection in the list. You can Save & Activate the connection after the Integration Configuration.
-
The Integration with Bugzilla will be set as "In Use" upon successful activation.
Hints
-
You can add many Connections to Bugzilla with duplicate Accounts and URLs, but only one Connection can be activated at a time.
-
We strongly recommend using the Admin Account to have full permissions to access configured projects for Defect Integration.
-
If a user is submitting Defect internally while another Admin user is switching to Integration with External Defect Trackers, the data entered in qTest Defect is still submitted successfully, but user cannot view that internal Defect because the Defect menu is disabled in qTest. Until their the Integration with External Defect Tracker is deactivated, user can view that submitted qTest Defect.
Configure Defect Integration
For each Connection with Bugzilla added, you need a separate Defect Integration Configuration.
-
Select the Configure icon on the Connection. Alternatively, select the Save & Configure icon on the Add Connection pop-up.
-
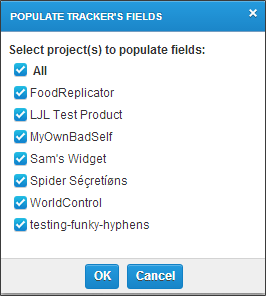
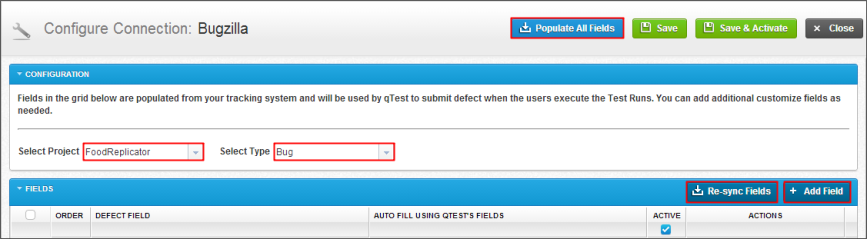
qTest Manager automatically populates all available Projects from Bugzilla. In the pop-up Projects list, select one, multiple, or all projects to populate these selected Projects' fields to configure.
-
Alternatively, select the Populate All Fields icon to reload all available data from the configured Bugzilla connection, including Projects, corresponding Defect Types, Defect Fields, and fields' values in Projects.
-
Select the Project and Defect Type you want to integrate with. The selected types will be treated as Defects in qTest Manager. You have to separately configure the Defect's fields for each populated Project.
-
Select the Re-sync Fields icon to populate all fields and values of the selected Project and Defect Types.
-
Select the Add Field icon to create compulsive fields that cannot be populated from Bugzilla onto qTest.
Enter the field name of Bugzilla you need to add.
select the Populate icon to load all available values of that field in Bugzilla.
Check "Required" according to the Bugzilla Field Settings.
Select Add to create values that cannot be populated from that field in Bugzilla. If you add more field's values, they will NOT be updated back to your Bugzilla.
Set the default value for the field.
Select OK to finish adding the field.
-
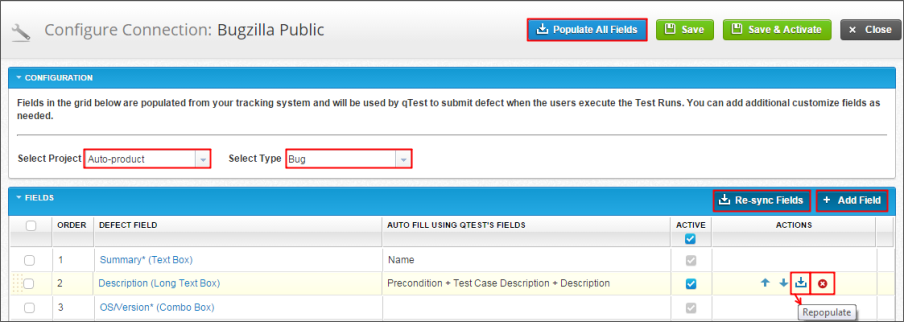
A list of the Defect's fields displays for configuration. You can:
Reorder the fields display on the Defect Submission form using Drag & Drop or Move Up and Down arrow. The order does not affect the display of that Defect type in Bugzilla.
Select the Re-populate icon on each Defect field to load its latest values.
Select on hyperlinks of Defect Field names to edit existing Defect Fields.
Select the Delete icon to remove the display of specific fields from qTest Manager's Defect submission form. Those deleted fields are still shown on the Bugzilla Defect form.
-
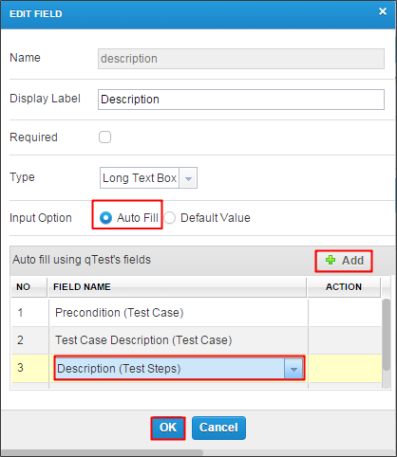
Set Auto-Filling for Defect's fields as Text-box type.
Select a Name Link of the Defect's text-box field to set Auto-Fill.
In the Edit Field box, select the Add icon to create the auto-fill value.
Select the drop-down arrow and select a field of qTest Manager's Test Case or Test Run to be auto-filled in the Defect field.
Select the OK to finish creating Auto-filling.
Hints
-
qTest Manager only supports certain field types. Unsupported field types in the external system will not be populated due to this limitation.
-
If you choose to auto fill a field using many values at once, each value will be separated by a line in the output text box.
-
Some fields from Bugzilla cannot be populated to qTest Manager for Integration Configuration.
Submit Defects
For Integration with external Defect Tracking Systems, the only way to submit Defects is through Test Execution. You can submit Defects during Test Execution or from the Test Log.
-
Select the Bug icon linked to Test Steps or Submit Defect linked to a Test Run in the TestPad.
-
Select the New icon to create a new Defect.
-
Select one of the mapped Project and Defect types from the drop-down list.
-
Select OK, and fill out the Defect Submission form.
-
Select Save & Close to finish submitting a new Defect, and close the Defect Submission form.
-
Select the Save & New icon to finish submitting one Defect and create more Defects linked to the same Test Step or Test Run.
-
qTest Manager will return the Defect IDs with Summaries and latest Statuses of Defects from Bugzilla attached to the Bug icon.
Delete Connection
You can delete any connection you no longer need, as follows.
-
Deactivate the connection you want to delete.
-
In the Action column of Connection List, select the Delete icon on a connection you want to remove from the Configure Integration screen.
-
Select Yes to confirm the connection deletion.
-
Select Save in the Configure Integration screen to submit the deletion.
Hints
-
If there is only one connection you want to delete, turn off the Activation Status to change that connection to deactivated.
-
All configured Defect integrations of the deleted connection will be removed.