Using qTest Test Runs in VERA
qTest includes the ability to integrate with VERA, which is an e-signature tool used for validation testing within a LifeSciences FDA regulated environment.
Route Test Runs to VERA for Approval
Now that the integration is enabled, you are able to route Test Runs to VERA for approval.
User Permissions Needed:
-
Edit Test Run
- Edit Test Case
Route Test Run
-
In the VERA integrated project, a Route for Approval button is available on the Test Run after the Test Run has been executed.
-
Select Route for Approval and qTest will send the Test Run to VERA for Approval.
-
A dialog opens to verify you want to lock the Test Run. This means that no changes can be made on the Test Run and cannot be further executed.

-
Select Proceed and the Test Run is routed for Approval. The following VERA fields will populate:
VERA Approval Status=Routing
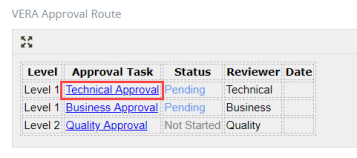
VERA Approval Route=details on the Approval Tasks, Status, Reviewer, Date, and Level for completed or pending Test Run approval
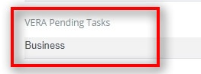
VERA Pending Tasks=shows Approvers with a Pending status
VERA ID=populates with the ID of the Approval Record

-
After routing the Test Run for Approval to VERA. the Test Run is locked and you will receive a red, banner notification.

Approve a Routed Test Run
User Permissions Needed:
-
Edit Test Run
Approve a Test Run
-
Open the Test Run that has been routed for Approval.
-
In the VERA Approval Route field, select the hyperlink associated with your Reviewer title.
-
The hyperlink redirects you to VERA and you will enter your login information and select Continue.

-
Enter your password and select Login.

-
After reading through the relevant details in VERA, approve the Test Run. There are two ways to do this:
Select Approve to the right of the "Approval Task" within the "Approval Route" OR
Select Approve in the blue banner at the bottom of the window

-
After selecting Approve, the Approve Selected Entity dialog opens. You will apply your Electronic Signature, by typing in your username and password and selecting Submit.
 Under Title 21 CFR Part 11 of the Code of Federal Regulations, this is considered your "electronic signature" and therefore validates your approval.
 -
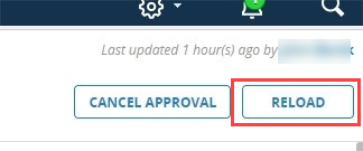
In qTest, select the Reload icon on the Test Run and the browser will refresh.
-
VERA fields will reflect the status of the current Approval process.
VERA Approval Route

VERA Pending Tasks
-
This same Approval process will continue until all Reviewers have applied their e-signature.
-
Once the VERA Approval process is completed the Test Run Properties display the following:
VERA Approval Status=Approved
VERA Approval Route=details on the Approval Tasks, Status, Reviewer, Date, and Level for completed Test Run approvals
VERA Pending Tasks=emptied
VERAID=ID of the Approval Record
When post-execution is enabled in Integration Settings, Test Runs that have been approved in VERA cannot be deleted from qTest even if you have Delete Test Run permissions.
Reject a Routed Test Run
User Permissions Needed:
-
Edit Test Run
Reject a Test Run
-
Open the Test Run that has been routed for Approval.
-
In the VERA Approval Route field, select the hyperlink associated with your Reviewer title.

-
The hyperlink redirects you to VERA and you will enter your login information and select Continue.
-
Enter your password and select Login.
-
After reading through the relevant details, Reject the Test Run.
Select the Reject icon to the right of the "Approval Task" within the "Approval Route" OR
Select Reject in the blue banner at the bottom of the window

-
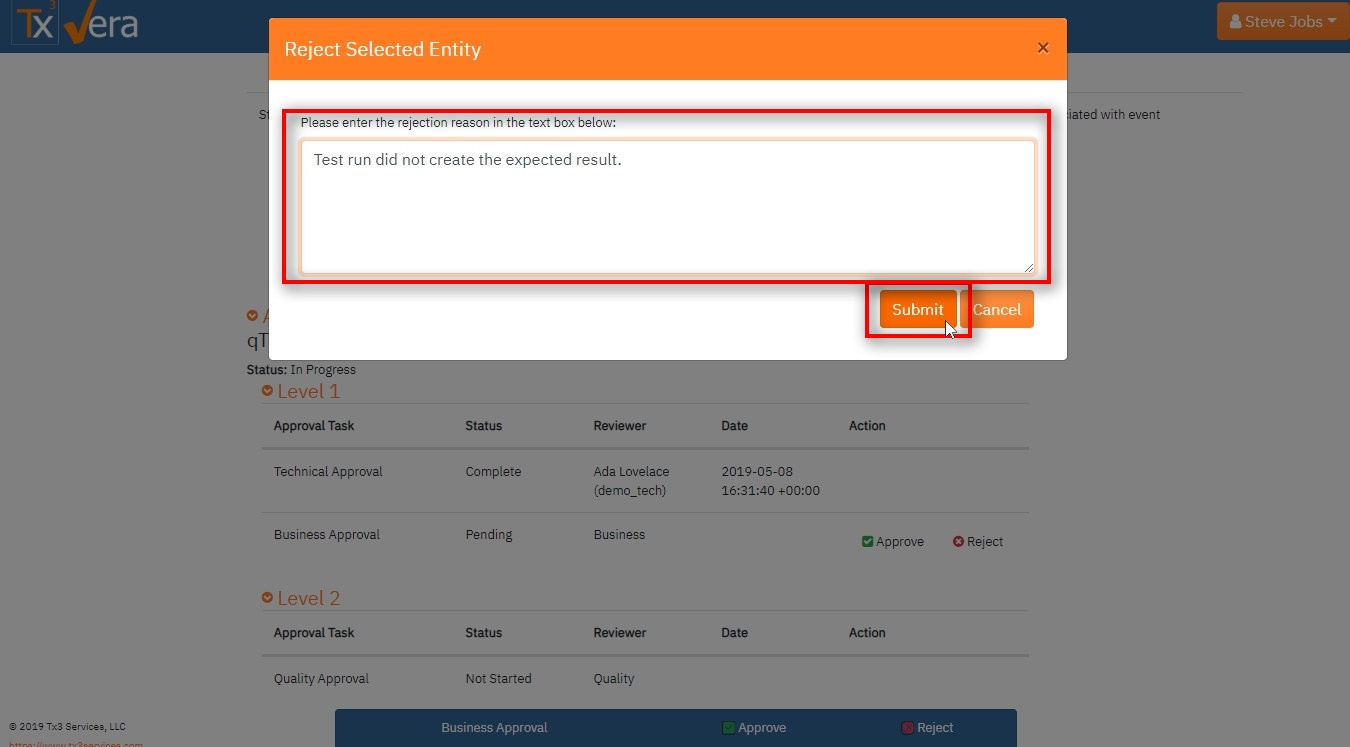
The Reject Selected Entity dialog opens.
-
Enter your Rejection Reason and Submit.
-
In qTest, select the Reload icon on the Test Run and the browser will refresh.
-
VERA fields will reflect the status of the current Approval process.
VERA Approval Route

VERA Approval Status=Rejected
VERA Pending Tasks=emptied
Cancel an Approval Route
User Permissions Needed:
-
Edit Test Run
In the event you need to cancel an approval, follow these instructions:
-
In the Test Run, you have routed for approval, you will notice the VERA Approval Status has updated to Pending and the Test Run is locked for modification or execution.

-
Select Cancel Approval, and a pop-up confirming you want to cancel the route for approval will open. Select Proceed.
-
The Test Run Properties will update to reflect the cancellation and the Route for Approval button is enabled, as seen in the image below.

Additional Configuration Options
qTestTest Run Properties
Tx3 has the capability to configure additional qTestTest Run properties, that are not returned by default, to populate in the VERA UI. However, this must be configured through your Tx3/VERA contact.
Multi-Level Approval Requirement
In the event, you want to incorporate a single Approval process for a Test Run, not the default multi-level, you will need to setup a custom Site Level Field in qTest. This use case would be for a low-priority Test Run or for an item that only requires one e-signature.
This custom Site Level Field allows you to distinguish, at the Test Run level, whether a Single Reviewer, or Multiple Reviewer process is required. Tx3 can configure VERA to pull this custom Site Level Field as a Test Run Property, and return the VERA Approval Route field to only require a single Reviewer e-signature for Test Run completion.
Follow these instructions on how to create this custom Site Level Field and apply it at the Test Run level.
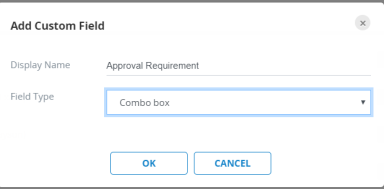
Example Custom Site Level Field:
-
Display Name=Approval Requirement
-
Field Type=Combo Box
-
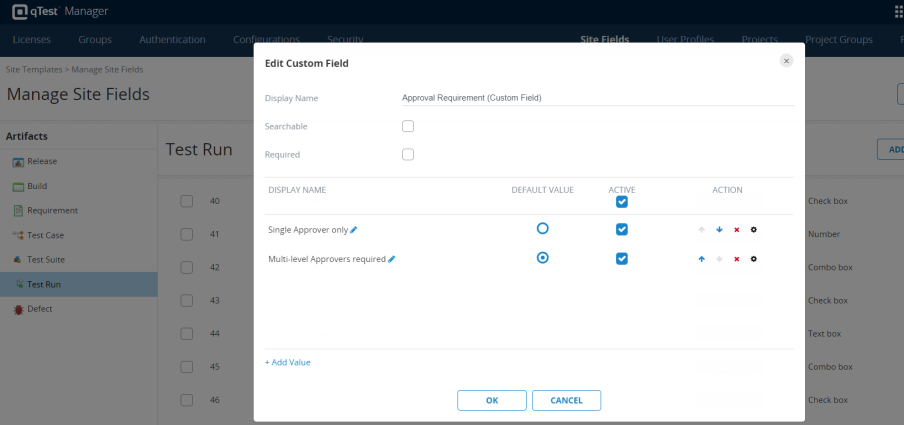
Display Name (value)=
Single Approver only
Multi-level Approvers required
-
Default Value=you choose
-
Active=select all options for selection on the Test Run
For additional information on Tx3 and VERA, please refer to their user guides.