Executing Test Runs
There are several ways to execute Test Runs in qTest Manager:
-
Quick Run
-
TestPad Only
-
TestPad + Web Explorer
-
TestPad + Desktop Explorer
-
Schedule Test Automation
Executing Test Runs Video
Quick Run
The Quick Run option is a fast way to mark the overall execution of a Test Run without filling in further details. Quick Run allows you to:
-
Mark overall status of the Test Run (e.g. Pass or Fail)
-
Submit time-tracking details; both planned and actual time
-
Submit a Defect
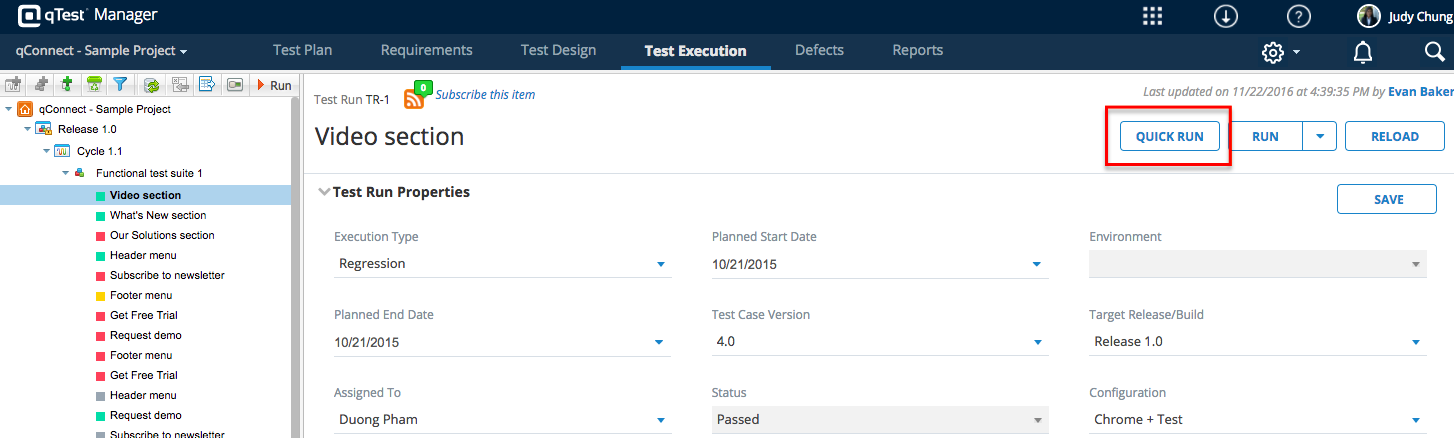
To Use the Quick Run Option for a Single Test Run:
-
Select Quick Run.
-
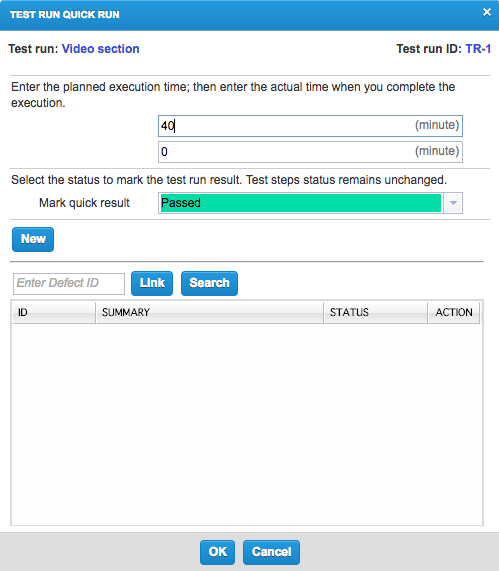
In the "Test Run Quick Run" window:
Mark the overall status of the Test Run (e.g. Passed)
Enter the planned and actual time (optional)
Enter necessary Defect ID's in the "Enter Defect ID" text field
Select OK to save, and return to the "Test Run" page
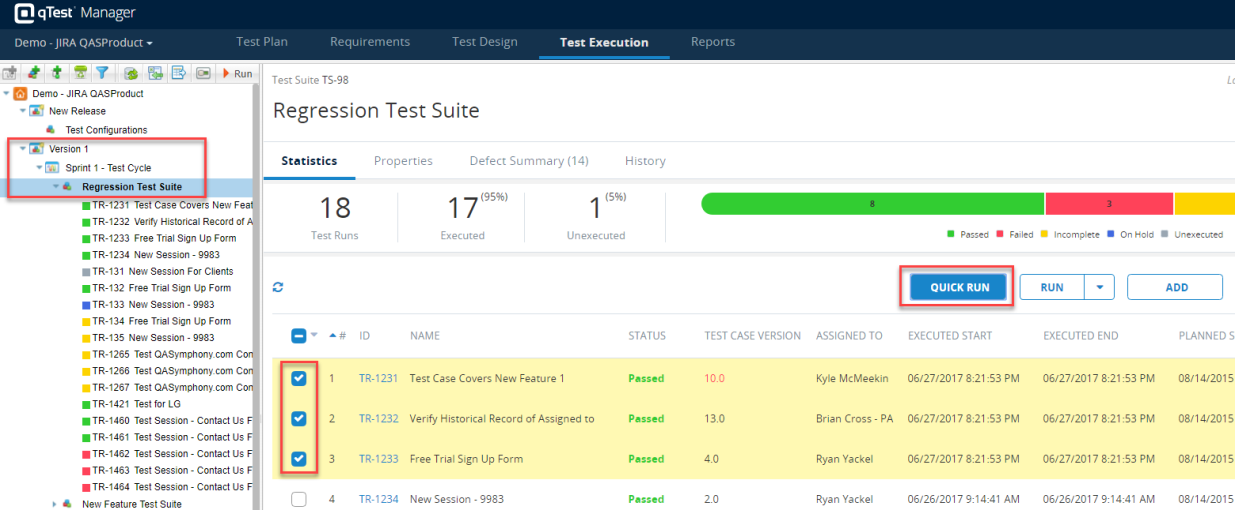
Using the Quick Run Option for Multiple Test Runs:
-
Use the checkboxes to select multiple Test Runs from the Test Run grid of a Release, Test Cycle, or Test Suite.
-
Select Quick Run.
OR
-
From the Test Run Data Query, use the checkboxes to select multiple Test Runs and select the Quick Run option.
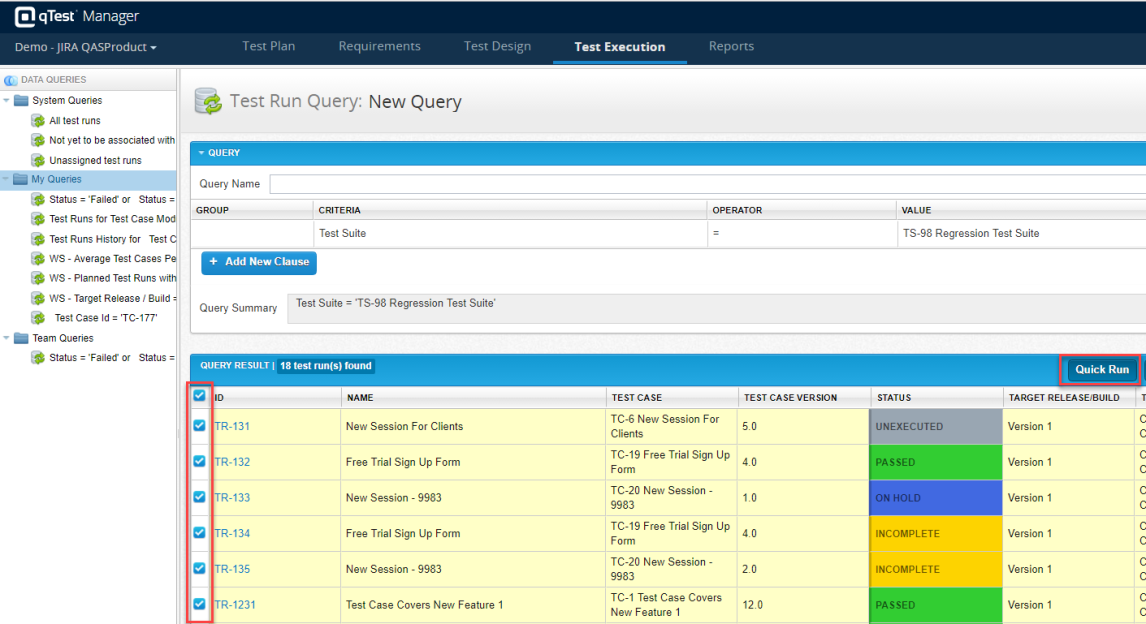
-
In the "Test Suite Quick Run"window, mark the overall status for each Test Run.
To quickly mark all Test Runs with the same status, you can select the checkboxes, select the status at the top of the grid, and then select Apply. Once a status is marked for each Test Run, select OK and Refresh to return to Test Execution.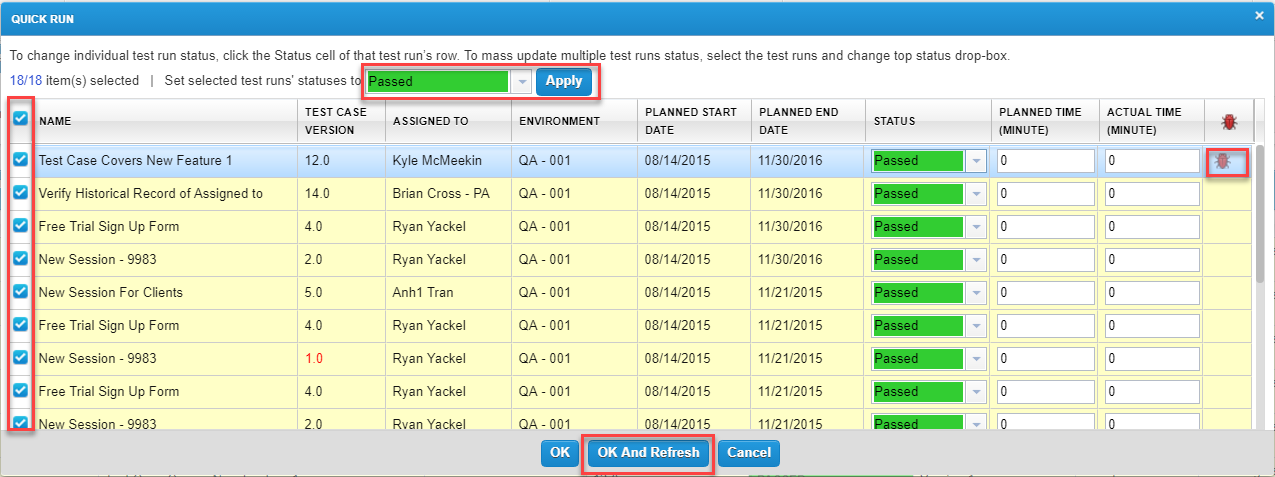
TestPad
TestPad Only
The TestPad is the recommended approach for executing Test Runs, as this option allows the tester to view and submit as much detail as possible.
Note: For more in-depth information on navigating TestPad, refer to Navigating Test Execution.
To Use the Quick Run Option for a Single Test Run:
-
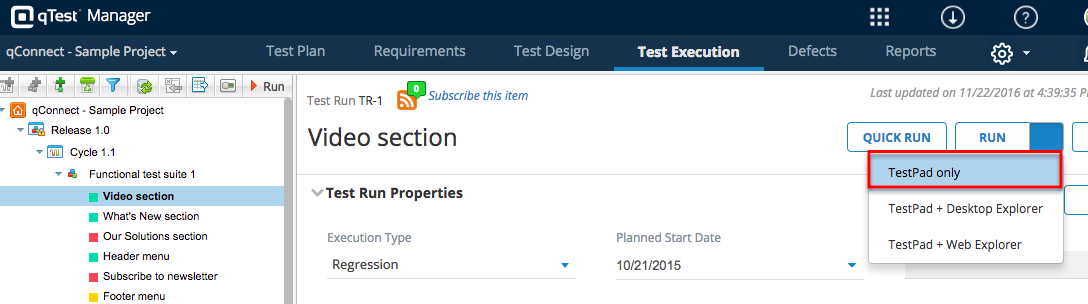
Select Run from the top of the Test Run.
-
Select TestPad only.
-
After you select Run, the TestPad displays in a separate window. For more details, read the "Understand the TestPad" section of this article.
To use the TestPad option for multiple Test Runs:
-
Use the checkboxes to select multiple Test Runs from the Test Run grid of a Release, Test Cycle, or Test Suite.
-
Select Run from the top of the grid.
-
Select TestPad only.
-
After you select Run, the TestPad displays in a separate window.
TestPad + Web Explorer
A Test Run can be executed using Web Explorer. which is a browser plugin that can be installed on Mac, Chrome,or Firefox.
-
To execute with Web Explorer, navigate to a Test Run page and select the drop-down arrow next to the Run icon. Select the TestPad + Web Explorer option, which will launch both windows.
-
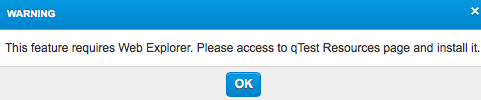
If you do not have the browser plugin installed for Web Explorer, the following warning is displayed. If so, go to the qTest Resources page to download Web Explorer for your browser (Chrome, Safari, or Firefox).
-
Make sure your application under test is open in the same browser as qTest Manager and that Web Explorer is installed in that browser so that it can record the activities on your application.
-
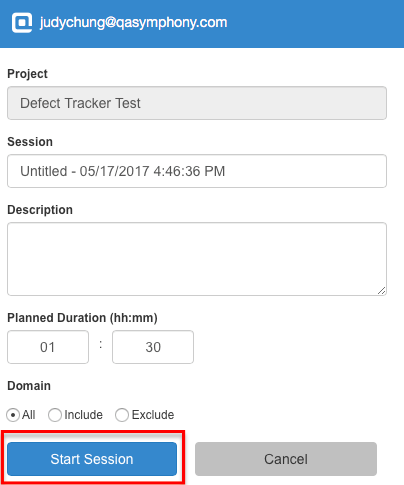
In the Web Explorer pop up window, you can modify the Session name and enter a Description. Select Start Session. The product will record your activities within this browser to capture evidence of what you are testing. An indicator light blinks in the top right of the browser header to indicate the session is being recorded by Web Explorer.
-
To stop the session recording, select Stop. A new tab automatically opens that shows the screenshots captured during the recorded session. Save the recording and close the Session page.
-
Return to the TestPad window and fill in relevant information for your test execution, including whether the Test Run passed or failed.
-
Save button to complete the execution. Return to the Test Run page and select Reload.
On the Test Run page, you can see evidence of this execution in two areas:
-
The Execution History tab shows the Test Log details from the TestPad, which shows the status of the Test Run and Test Steps.
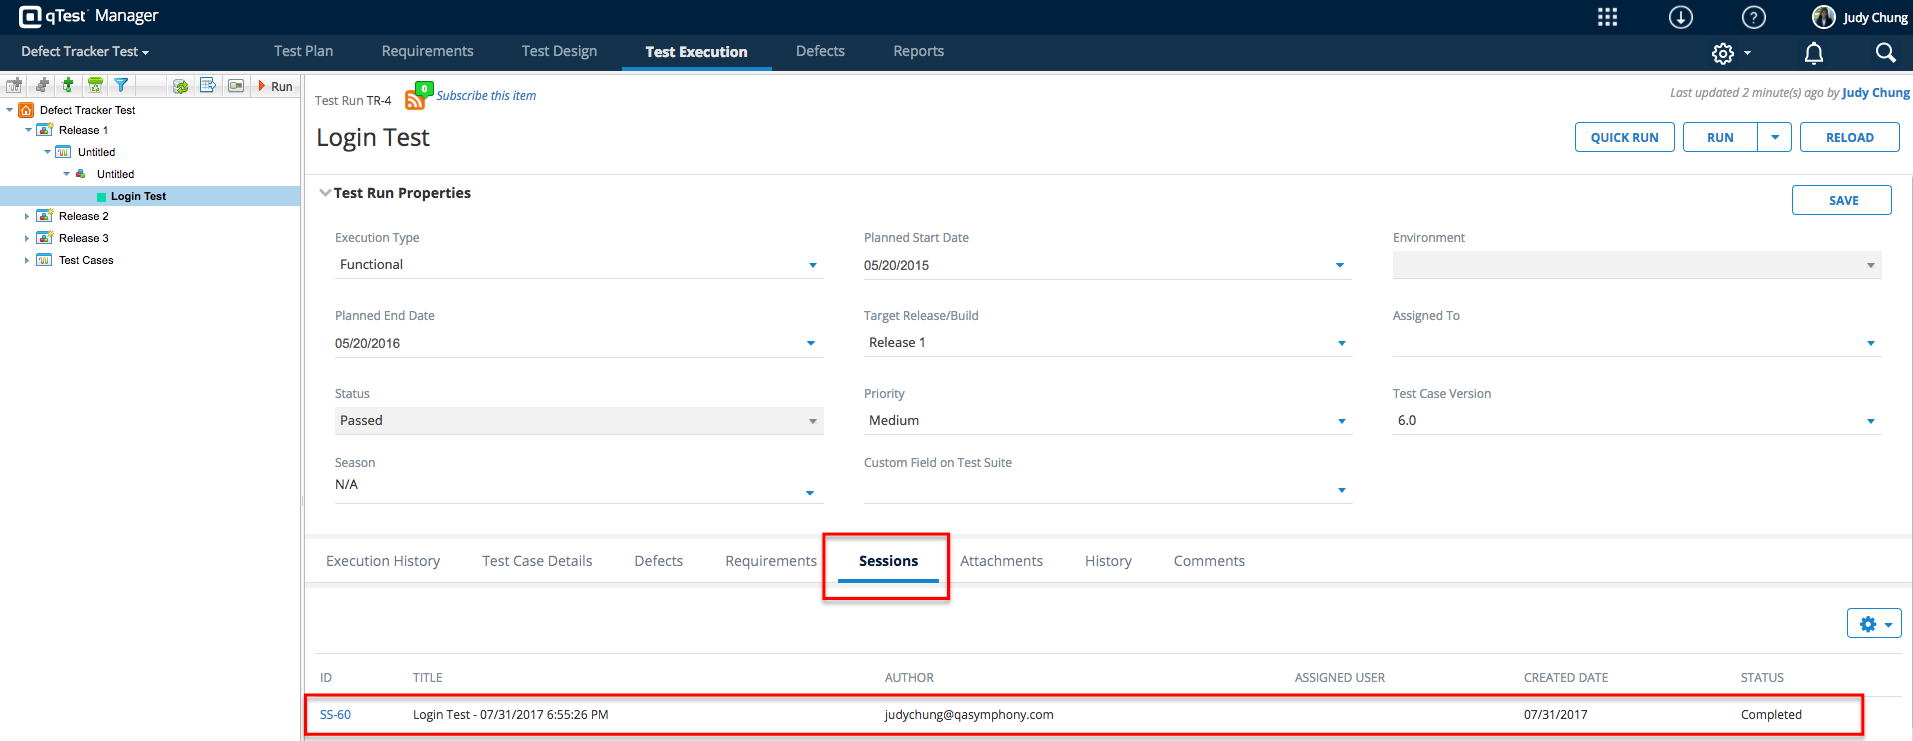
-
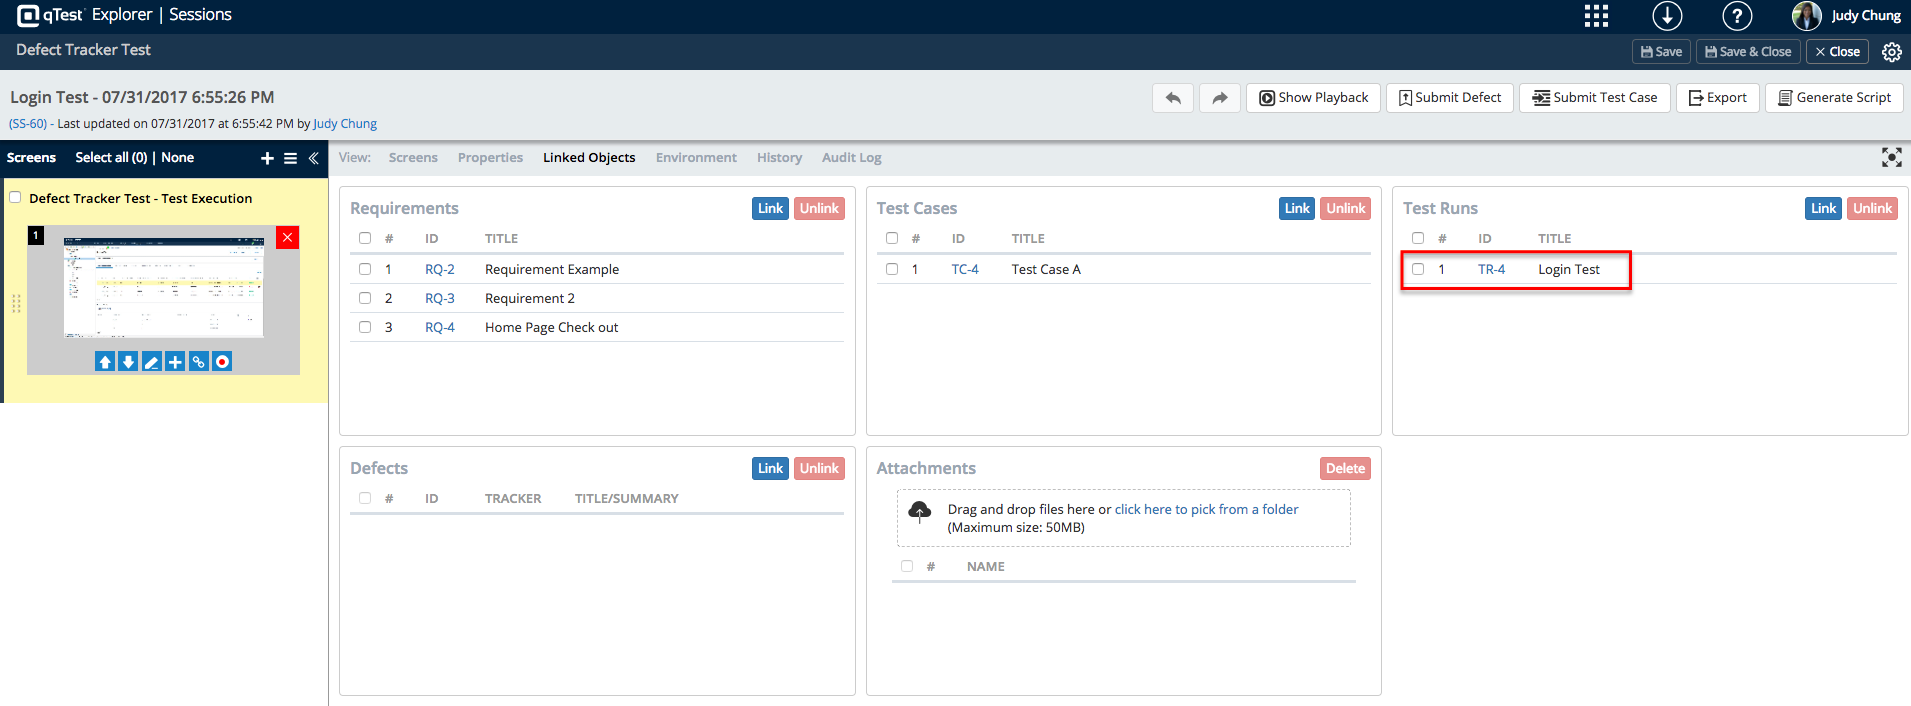
The Sessions tab shows the recorded session from Web Explorer. Select the Session ID hyperlink to be directed to that Session page, where you can see the recorded steps, screenshots, and environment. From this page, if you seelct the Linked Objects section, you can see the Test Run, as well as the original associated Test Case, and any linked Requirements or previously linked Defects.
Test Pad + Desktop Explorer
A Test Run can be executed using the Desktop Explorer which can be installed on Windows. If you would like to use Explorer to execute Test Runs, we recommend using Web Explorer instead.
-
To execute with Desktop Explorer. navigate to a Test Run page and select on the drop-down arrow next to the Run icon. Select the TestPad + Desktop Explorer option, which will launch both windows.
If you do not have Desktop Explorer installed on your machine, the following warning is displayed. If so, select the link to download Explorer.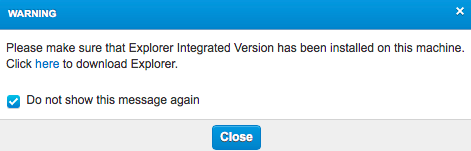
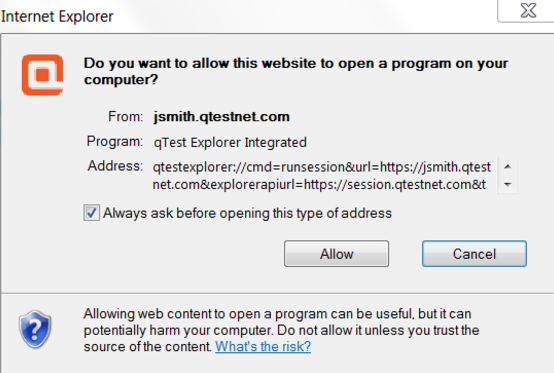
-
When prompted to open Explorer. select Allow.
-
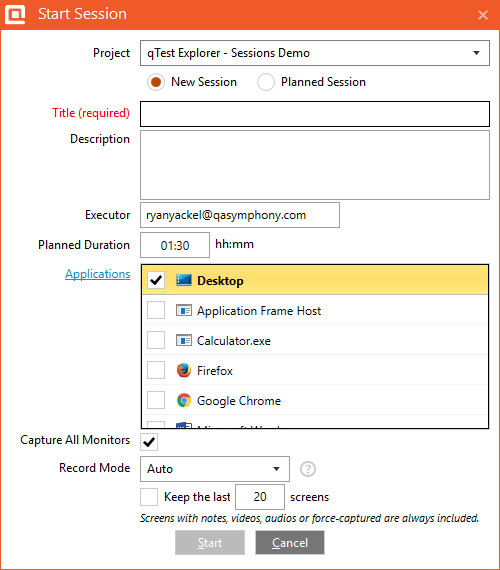
In the Desktop Explorer pop up window, you can modify the Session name and enter a Description. Select Start.
-
To stop the session recording, select Stop. A new tab automatically opens in your browser that shows the screenshots captured during the recorded session. Save the recording and close the Session page.
-
Return to the TestPad window and fill in relevant information for your Test Execution, including whether the Test Run passed or failed.
-
Select Save to complete the execution. Return to the Test Run page and select Reload.
-
On the Test Run page, you can see evidence of this execution in two areas:
The Execution History tab shows the Test Log details from the TestPad, which shows the status of the Test Run and Test Steps
The Sessions tab shows the recorded session from Web Explorer. Select the Session ID hyperlink to be directed to that Session page, where you can see the recorded steps, screenshots, and environment. From this page, if you select the Linked Objects section, you can see the Test Run, as well as the original associated Test Case, and any linked Requirements, or previously linked Defects.
Edit Test Case During Execution
Sometimes, when you're ready to execute the Test Run, you may notice that the Test Case needs to be changed as well. For example, the Test Case may be missing some important test steps or you may need to modify the Precondition. If you have the Approve Test Case permission, you can make changes on the Test Run during execution (from the TestPad), which will automatically update the corresponding Test Case as a newly approved version in Test Design. This functionality will save you time instead of requiring you to update the Test Case in Test Design first then re-launch the TestPad.
In the TestPad, you can:
-
Edit Test Cases' Descriptions and Preconditions.
-
Add or remove Attachments.
-
Select individual Test Steps to edit Step Descriptions, Expected Results, and Actual Results.
-
Re-order Test Steps by using the Move Up or Move Down icon in the Action column.
-
Add/Remove Test Steps by selecting the Add or Remove icons in the Action column.
-
Add/Remove Attachments of individual Test Steps.
Modify Test Log After Execution
You can modify a Test Log after execution provided you are the Tester of the Test Log or a Project Admin.
To modify a Test Log:
-
From the Execution History grid, select the pencil icon in the Action column which will load the Test Log to the TestPad.
-
A notification will display at the top of the TestPad that indicates which Test Log number you are modifying.

-
Once the TestPad loads, you can modify the following Test Log data:
Test Log properties
status of the overall Test Log or each Test Step Logs (this will automatically update the Executed End Date to when you save the modification)
Link Defects
Add or remove Attachments of the Test Log or Test Step Logs
-
Save your changes.
-
In Execution History, an asterisk will appear next to the Test Log number as a visual indicator that the Test Log was modified.
You cannot modify the following items as they would create a new Test Case version:
Test Case description and precondition
Test Step description and expected result
Re-order, add or remove Test Steps
Add or remove Test Step attachments
