Record Testing Sessions using Web Explorer
Note: Capturable areas and actions
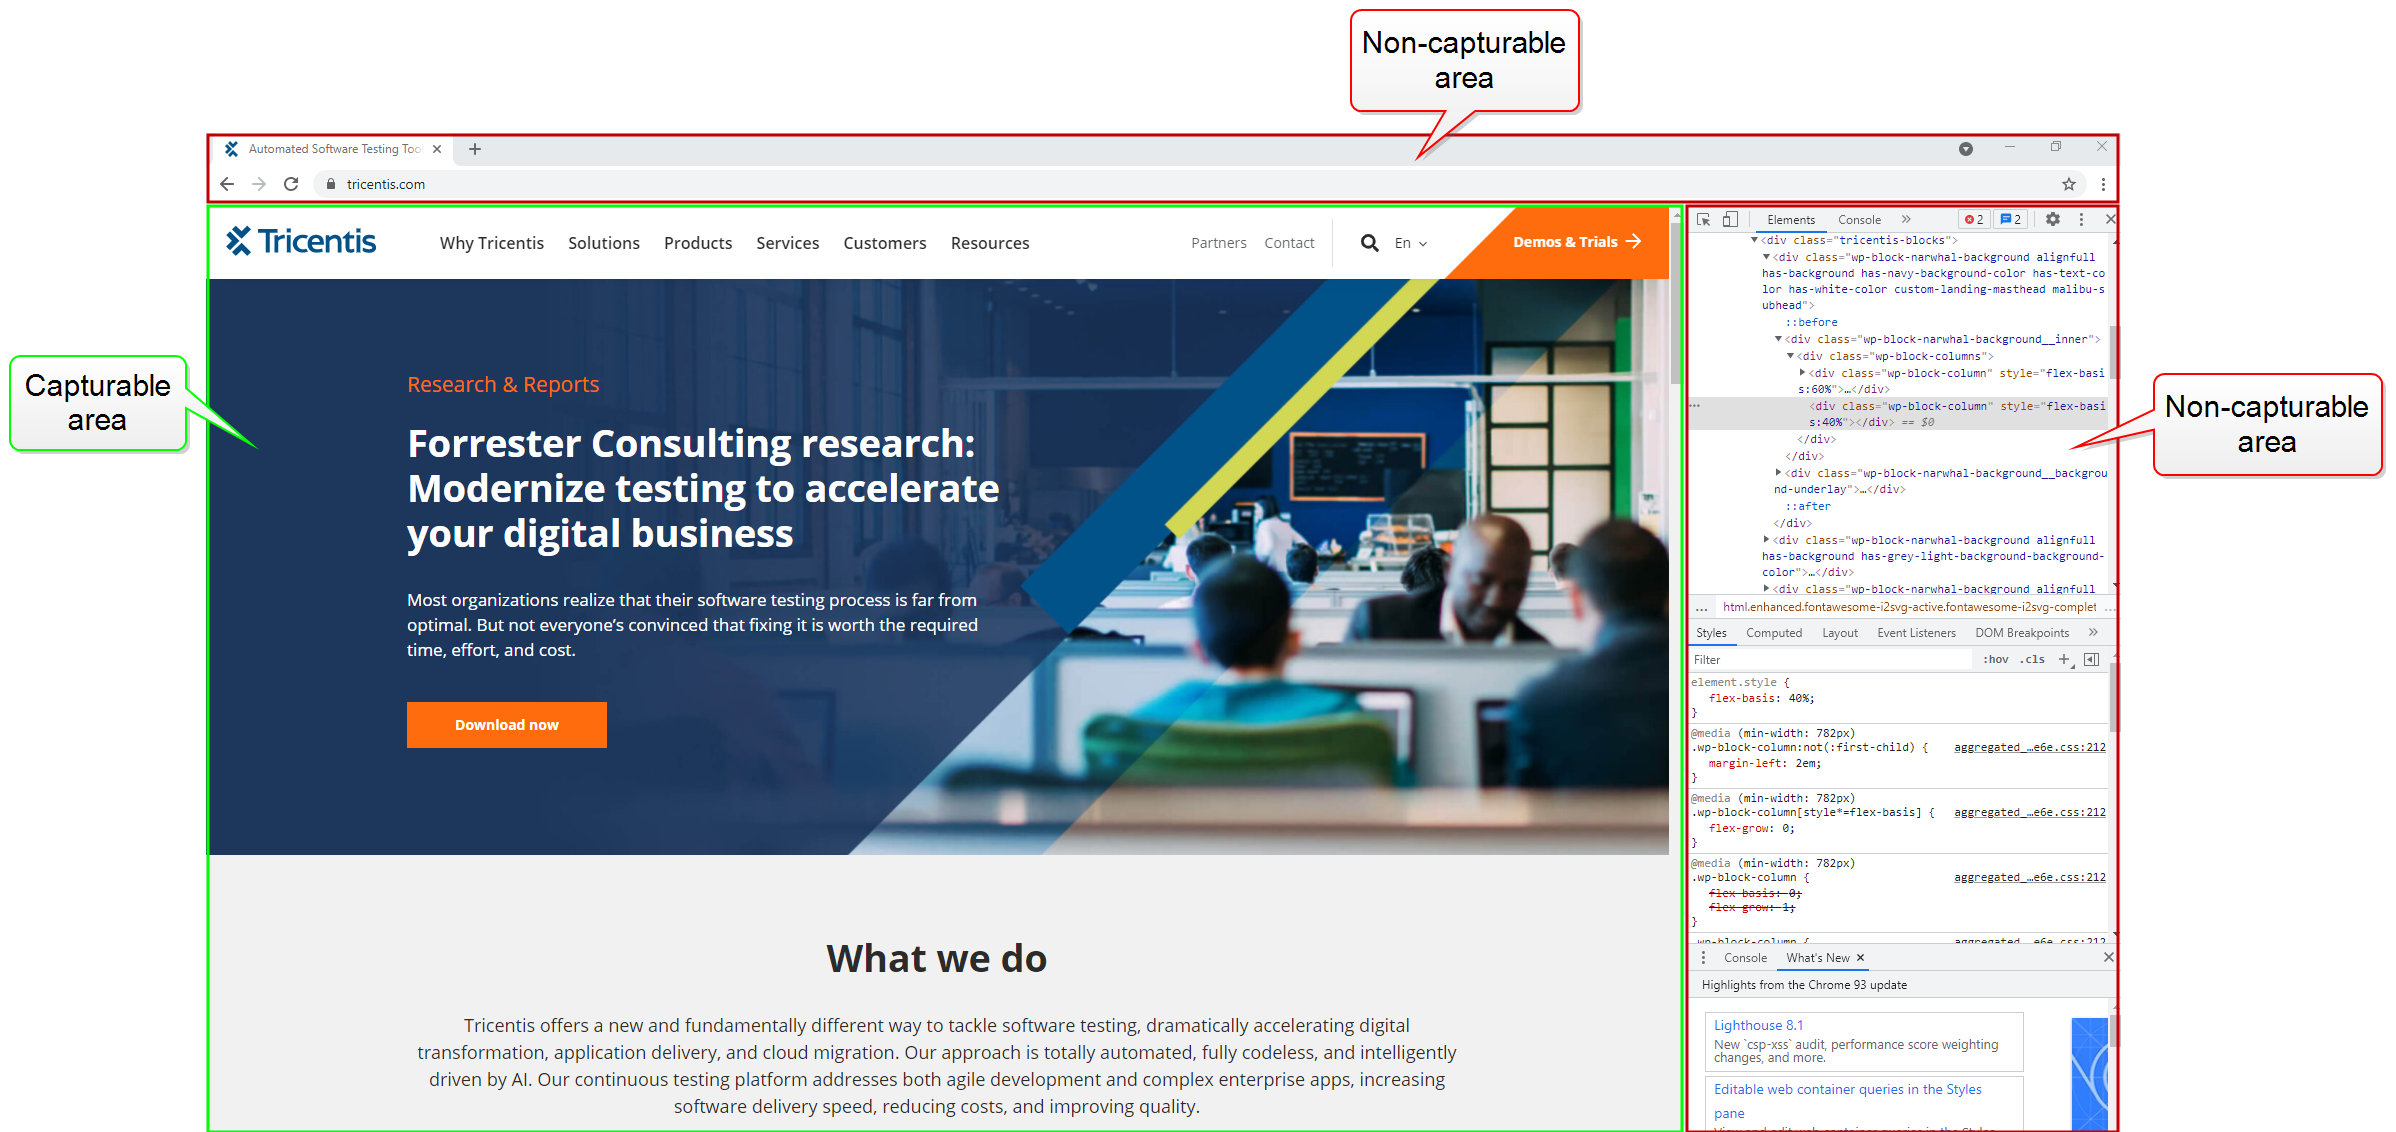
Web Explorer can only be used to record and capture actions that occur on the content of a web page. Web Explorer cannot be used to record and capture actions on other elements in the browser, such as the address bar or developer tools.
Start Test Session
After you log in, click the Web Explorer icon in the browser toolbar to display the Start Session dialog. From this dialogue, you can create a new session or pick from a planned session that was created in the Sessions Module.
Enter the below information for the new session:
-
Select project.
-
Enter session name and description.
-
Log an estimated planned duration for testing.
-
Set preferred Domain option to be captured. You can select All to capture all detected domains or restrict Explorer to specific domain using Include/Exclude options.
-
Click Start Session to start the recording.
-
After a Session is started, the original Web Explorer icon shall change to a flashing Recording icon to notify the user about being in recording mode.

Record
As you interact with each web page, Web Explorer will automatically record each user action and screen change. Web Explorer contains many useful tools make notes, or record your actions as a video.
Capture Visible Screen
Using the capture visible screen button allows you to instantly capture what is directly in front of your screen.
-
Click Capture Visible Part.

Annotate Screens
Once you have captured the image, click Annotate Last Screen to move into an editor window.
Here you can add notes, add annotations, and call out any bugs or defects you find.

Capture Full Page
Some web pages Web Explorer will scroll your entire page
-
Click Capture Full Page.
-
Use editor to annotate full page.


Record Audio & Video
Sometimes you need to capture dynamic images or movements on the screen you are testing. Web Explorer allows you to record audio and video. In the video below, we are showing how to capture a GIF of Explorer's automated script generator.
-
Click Record Video.
-
Select screen to capture video.
-
Stop video once complete.

You can review captured audio and video in Sessions once you test session has been completed.

Log Time and Notes
Logging testing time is crucial to communicate where your time is allocated on a daily basis. It's also used to show how long it takes for you to navigate opportunities, provide feature enhancements, and report bugs.
With Web Explore, you can log your time and notes at the same time.
-
Select Time Type drop down.
-
Choose Note Type.
-
Click Add Note.


Complete Session
Once you complete your test session, you will instantly be sent to the Session Module where you can review, edit, and share your web test session with others.
-
Click Complete Session.


Generate Automated Script for a Web Explorer Session
Once you have completed a Web Explorer Session, you are able to generate an automated script from the Sessions Module.
For more information on how to create your first automated test script, refer to Automated Script Generator.