Jira Migration
qTest Project Admins can migrate data from an existing Jira instance to a new Jira instance, allowing old data to stay in sync.
To migrate data from an existing Jira instance to a new Jira instance:
-
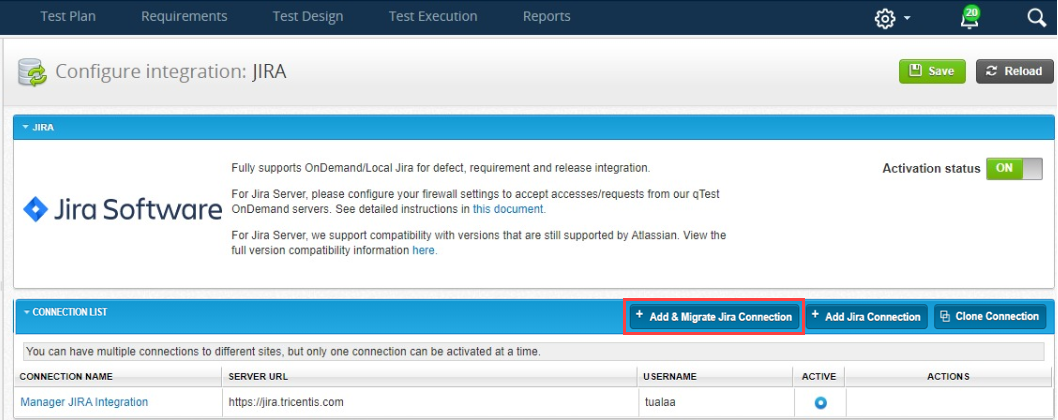
Click the Gear icon, and then select the Integration Settings option from the drop down. The Jira connection screen displays the current Jira instance connected to the qTest Project.
-
Click the Add & Migrate Jira Connection button.
The Add & Migrate Jira Connection button is only enabled when there is at least one existing Jira connection.
-
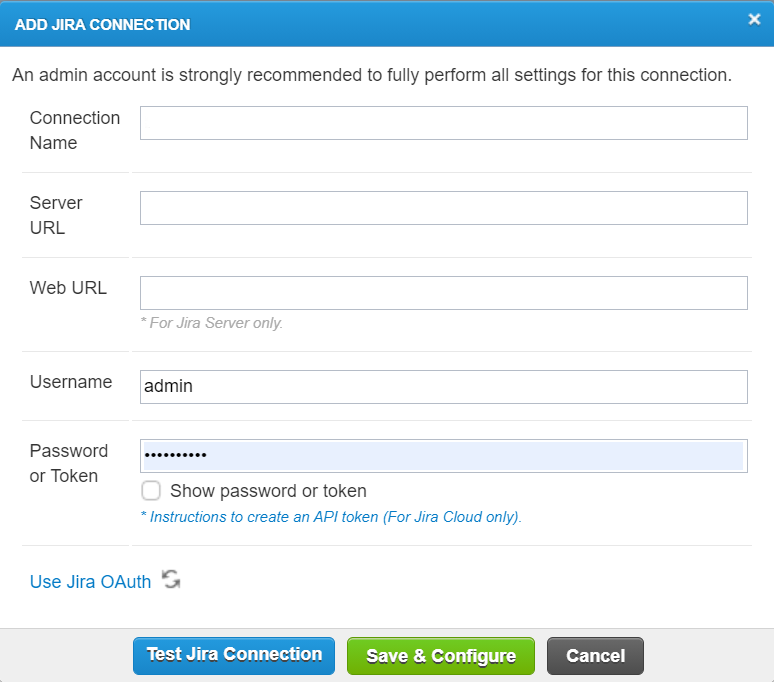
The Add Jira Connection dialog appears. Enter the details for the new Jira instance. For more information on connecting to Jira Server or Jira Cloud, refer to Connect to Jira Server or Connect to Jira Cloud.

-
Click the Test Jira Connection button to test the connection.
-
Click the Save & Configure button to save the information. The newly added Jira instance connection appears in the Connection list.
-
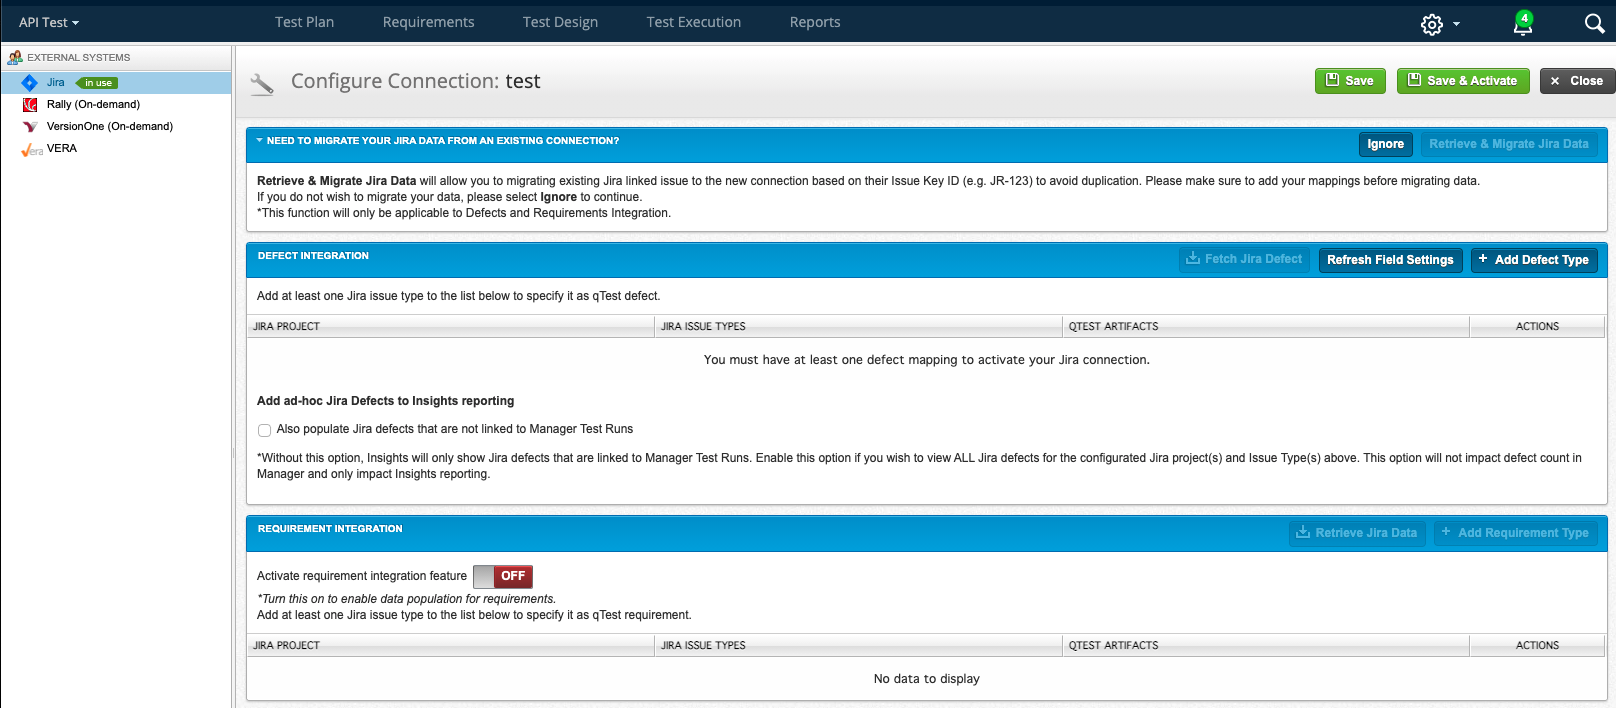
Hover your cursor in the Actions column for the new connection, and then click the Wrench icon to access the Configure Connection screen.
-
Configure the Jira Defect mapping by following steps in Configure Jira Defects.
-
Configure the Jira Requirement mappings, by following steps in Import and Use Requirements from Jira.
-
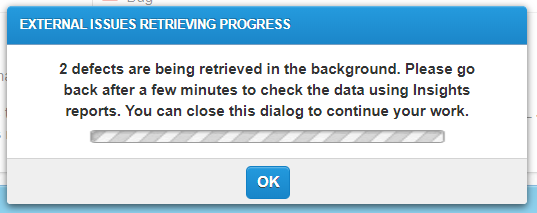
In the Need to migrate your Jira data from an existing connection? section, click the Retrieve & Migrate Jira Data button to start the migration of existing Jira linked issues to the new connection based on their Issue Key ID. Defects will be migrated in the background.
If you no longer want to be able to migrate existing Jira data to this connection, click the Ignore button. A warning message displays: "Are you sure that you want to ignore migrating Jira data?" Click the OK button and the Need to migrate your Jira data from an existing connection? section will be hidden.
-
Click the OK button to close the dialog.
