Licenses and Users
To add a new user to qTest Manager, you will need to invite them to the site via an activation link. The activation link is sent in an email generated from within qTest Manager.
You must be a Site Administrator to use this functionality. If you are using a free trial, you can invite up to four more users by default. If you need access to invite more than four other users, please contact sales@tricentis.com.
New User Set Up Video
Invite a User to qTest Manager
-
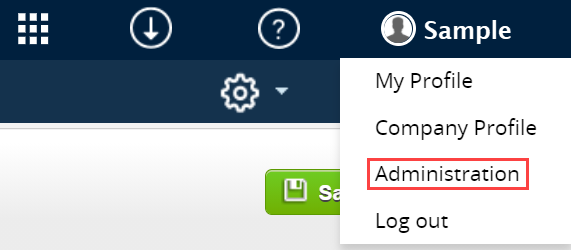
Position the arrow cursor over your username located in the top right corner of the Home page. Select Administration from the drop-down menu.
-
The Licenses tab automatically displays.
-
Click the + Invite button. The Invite Users dialog displays. In the Email(s) field, enter the email addresses for users you want to invite.
 Users can type individual email addresses one by one, but you can also copy and paste email addresses from outside sources such as an email chain or a spreadsheet.
 -
Click the Invite button. The dialog screen confirms successful invitations and a link for manual sending is available, if needed.
-
Click the OK button.
-
The email addresses of the users you invited displays in the Login Email column.
User Profiles
You can assign a user a default User Profile, so they are automatically assigned certain project permissions at the Project level.
For more details, see the article User Profiles.
User Groups
Users can be assigned to User Groups. User Groups grant users batches of permissions at the site level. For more information, refer to User Groups.
Batch Actions
Along with User Groups, Site Administrators have a wide variety of Batch Actions.These Batch Actions help Administrators manage and modify large groups of users simultaneously. You will find the Batch Action button on the License Information page.
To use the Batch Action feature, select the check boxes next to the users you want to act upon and click the Batch Action button. You can choose from the drop-down menu to perform the following actions:
-
Assign Projects
-
Reset Passwords
Resetting a users' password will send that user an email with a link to reset their password. -
Force Password Reset
-
Export Users
-
Update Users
-
Reactivate Users
-
Deactivate Users
Changing a user's Status is performed individually per username or using Batch Actions for multiple usernames. Changing a user's Status does not work with Excel import.
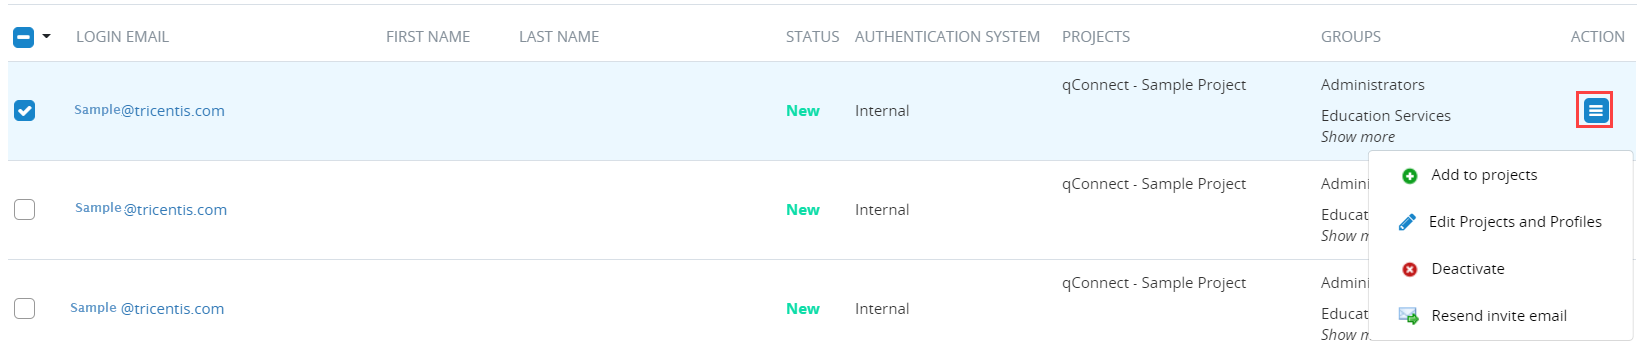
Admins can still perform certain actions upon individual users. To do so, click the Action button for each individual user. A drop-down menu displays with optional actions.
Resend Activation Link to User
When a new user is invited to qTest Manager, they are sent an activation email that contains a clickable link that enables their qTest Manager account. The new user will enter credentials to create and activate their account. If a new user was invited to qTest Manager but can’t find the activation email, and has therefore not activated the account, the activation link can be resent to the user. This function can only be performed by the Site Administrator.
To resend the activation link to a new user:
-
In Site Administration, select the Licenses-Users tab.
-
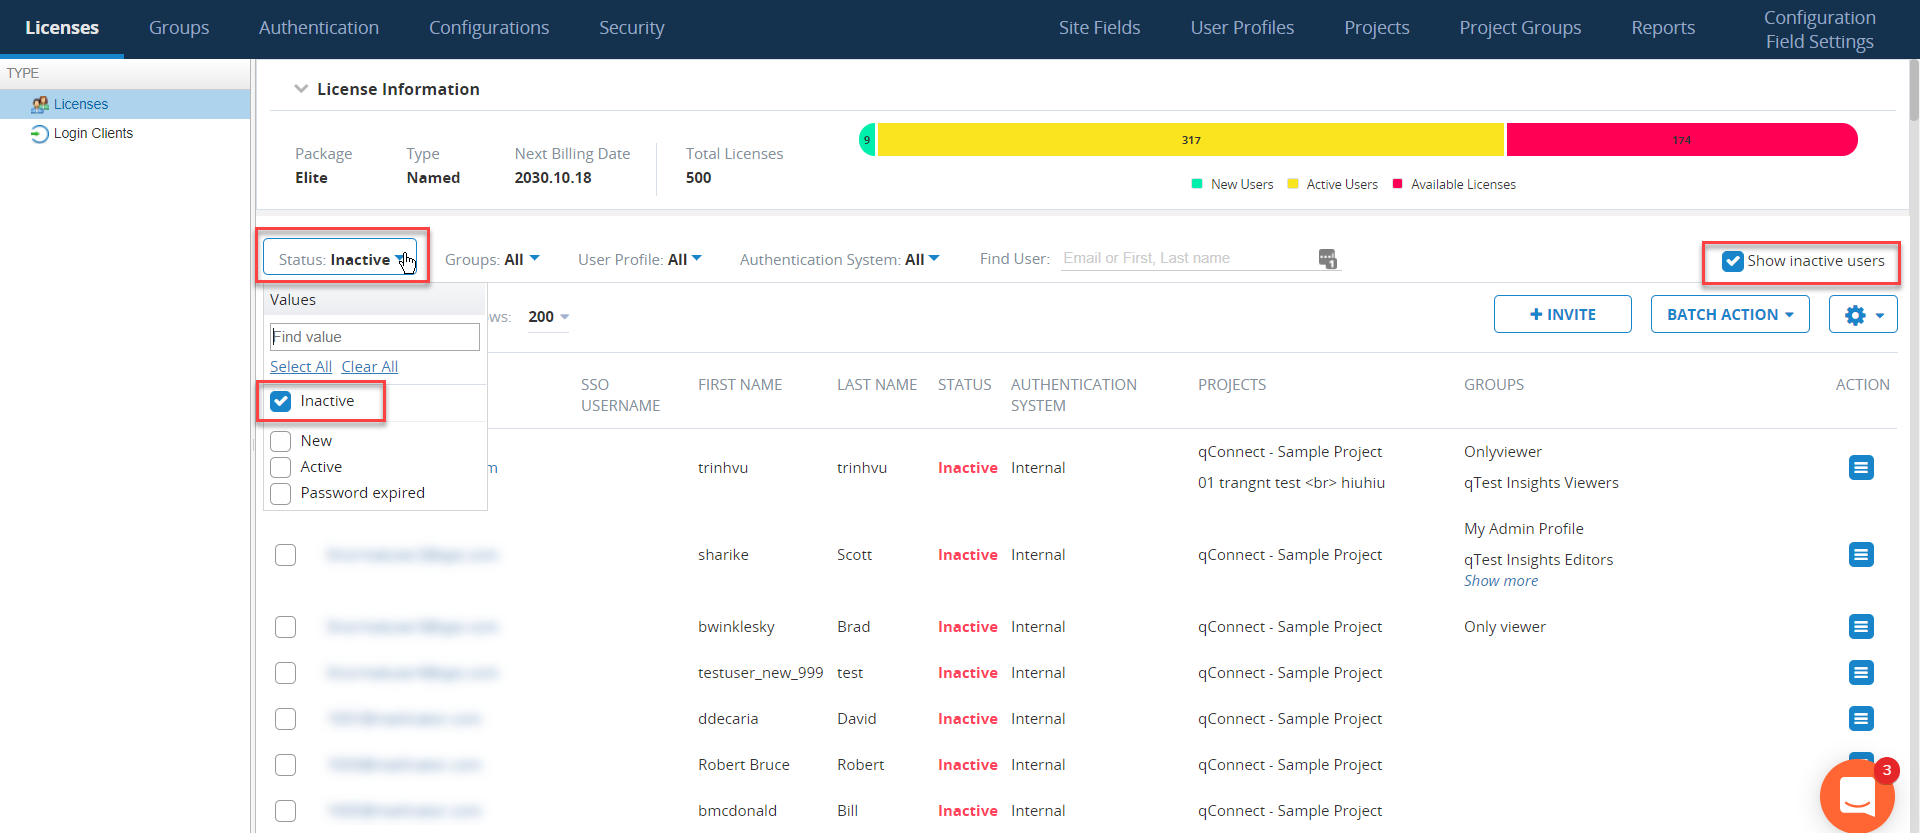
For inactive users to populate in the Licenses page, click the Show inactive users check box. To narrow the search for only inactive users, click the Status drop-down and select the check box next to Inactive.
-
Click the Action icon next to the user you want to reactivate. In the drop-down menu, select Reactivate.

-
A Confirmation dialog displays asking if you are sure that you want to reactive the user. Click Yes.The user is now reactivated.
Modify Users' Projects and Profiles
Site Administrators can modify users' projects directly from Administration:
-
In Administration, select the Licenses tab.
-
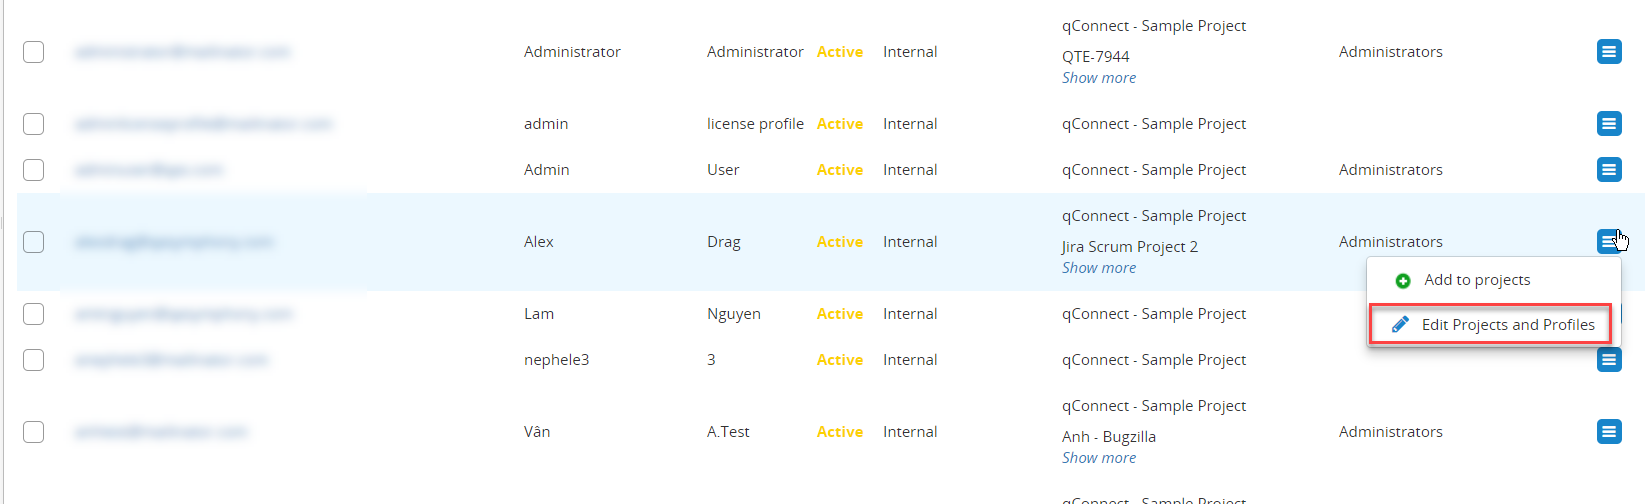
Select the Action icon next to the user whose project(s) you want to modify. Select Edit Projects and Profiles from the drop-down menu.
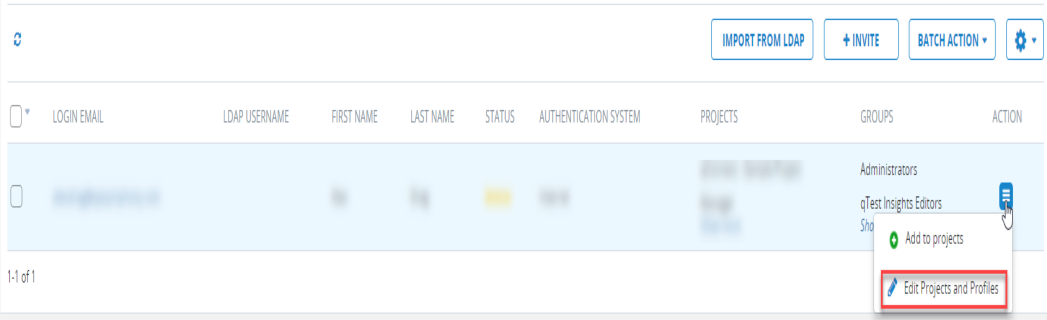
The Edit Projects and Profiles dialog displays. Here, you can add and remove the selected user to and from projects and update user profiles for specific projects.
-
To add the user to more projects, select the Project in the left menu, and then select the right arrow.
-
To remove the user from a project, select the Project from the right menu, and select the left arrow.
-
To edit a user's User Profile within one or multiple projects, select the check boxes next to the projects and then select the Select User Profile drop-down menu. Select the User Profile that you want to apply for the user within these projects.
-
Once done editing your user's projects and profiles, click the Save button.
Updating User Information with Excel
The Batch Action associated with updating user information allows site administrators to export an Excel file from qTest. Users can then modify the Excel file and re-import the file into qTest. qTest will read the file and can update the following user information accordingly:
-
SSO username
-
LDAP username
-
First Name
-
Last Name
-
Auth system
-
Projects (separated by a new-line character)
-
User profile
-
User Last Login (date and time of the most recent log in, in the configured Internalization format)
-
Activation Link column: Activation link for"New"users, only include the data if the status of the user is New
-
Reset Password Link: Active reset password links (active users have NOT accessed them to reset password)
Admins can also check logs for exact error reports for each user. These logs can be exported into Excel, modified, and then re-imported back into qTest Manager to send an invitation with the correct information.
User Authentication
Site Administrators can batch manage User Authentication. The following actions can be performed in batches:
-
The system supports admin importation of user info from an XLS file. Here, an admin can change auth system information.
-
Admins can now save the external username of an internal user. That way, the admin can reuse these usernames if there is a switch from LDAP to SSO authentication. Previously, these external usernames were not imported when changing the authentication system, and if changing back, the admin had to re-enter external usernames.
-
Users are automatically activated when an admin changes their authentication system from Internal to LDAP/SSO using the import tool.
Example Use Case
When changing the authentication system from LDAP to SSO. In most cases, SSO usernames will be the same as LDAP usernames. The site admin may want to export users with LDAP usernames first and then re-use the LDAP usernames as SSO usernames.
In qTest, enabling SSO will automatically disable LDAP, and all LDAP usernames are cleared out. In this case, the site admin should export users BEFORE disabling LDAP or enabling SSO.
Manage user passwords
As an admin, you may have occasions when you need to reset user passwords, such as users who have forgotten passwords, or regular password changes to ensure the security of your information.
Whenever you need to do have users change their passwords, you have a few options available to get users a password reset link.
You can manage password resets for any of your users from the Licenses tab in Administration. Just select the checkbox next to the users who need to change their passwords, then select the option you want from the Batch Actions menu:
-
To send optional password reset links via email, select Reset Passwords.
-
To force users to change their password the next time they sign in to qTest, select Force Password Reset.
This method causes the selected users' passwords to expire after 10 days. If these users don't sign in and change their password before then, they'll have to request a password reset link from you before they can access their account again.
-
To produce a list of custom password reset links for your users, select Export Users.
Send the links from this Excel spreadsheet using any communication method you want. This might be useful if you have a few users who can't access the password reset email you already sent out.
Managing Active Sessions
As the Site Administrator, you can view and manually terminate active sessions. You can also configure the system to automatically terminate sessions which have been idle for a specified amount of time.
-
In Site Administration, select the Licenses - Users tab, and then select Login Clients from the left navigation panel.
-
You can see the number of current Active Sessions in the Session Information field.
-
In the Session Settings field, you can optionally check Auto terminate sessions after users have idled for a set number of minutes and specify a number to enable this option. Click the Save button.
A session is idle when it does not have any requests from the client to the qTest server. -
All current active sessions, excluding Explorer sessions, are listed in the Active Sessions grid.
-
In the Login Email field, enter a log in email in the text box to filter the grid.
-
Select the table's headers to sort the data. Select the X icon to terminate the corresponding session. The system will inform the user their session has been terminated by the admin.

Notes
-
If you open qTest Manager in multiple tabs of the same web browser, they are counted as the same session.
-
If you log in to qTest Manager using the same account on different web browsers, they are counted as different sessions.
-
If you log in to qTest Manager using the same account on different computers, they are counted as different sessions.
-
API sessions do not count towards the user's maximum three session limit.
Set Up a Read-only License
Before assigning a user a Read-Only license, make sure that you have configured the Read-only user profile to your liking. To do so, follow these steps:
-
Access Administration within qTest.
-
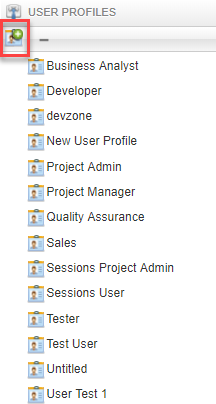
Within Administration, select the User Profiles tab. Here, you can create a Read Only User Profile.
-
To create a new Read Only User Profile, follow these steps:
-
Select the Add new user profile icon.
-
Title your new User Profile as Read Only.
-
Only select the view only permissions.
-
Click the Save button.
-
-
-
Select the Licenses tab.
-
Locate the user to whom you want to give a read-only license. Select the Action icon and choose Edit Projects and Profiles from the drop-down menu.
-
Select your Read Only User Profile from the User Profile drop-down menu. Then, select the projects in which this user will operate.
-
Select Apply For All Selected Projects.
-
Click the Save button.