Send attachments
You can send attachments with your API messages. This enables you to create multipart messages that contain different sets of data.
To send an attachment, you have to add it to your message first. You can add an attachment using the following options:
Add Files
To add a file via the Add Files button, follow the steps below:
-
In API Scan, select a message and click the
 Add Files icon.
 -
To add a file as an attachment, select Attachment from the drop-down menu.

Click Add Files
-
In the subsequent dialog, select the file you want to attach and click Open.
API Scan adds your file as an attachment in the Attachments tab. It automatically uses the file name of your attachment, adds the file path, and populates the field Content-Type based on the file format.
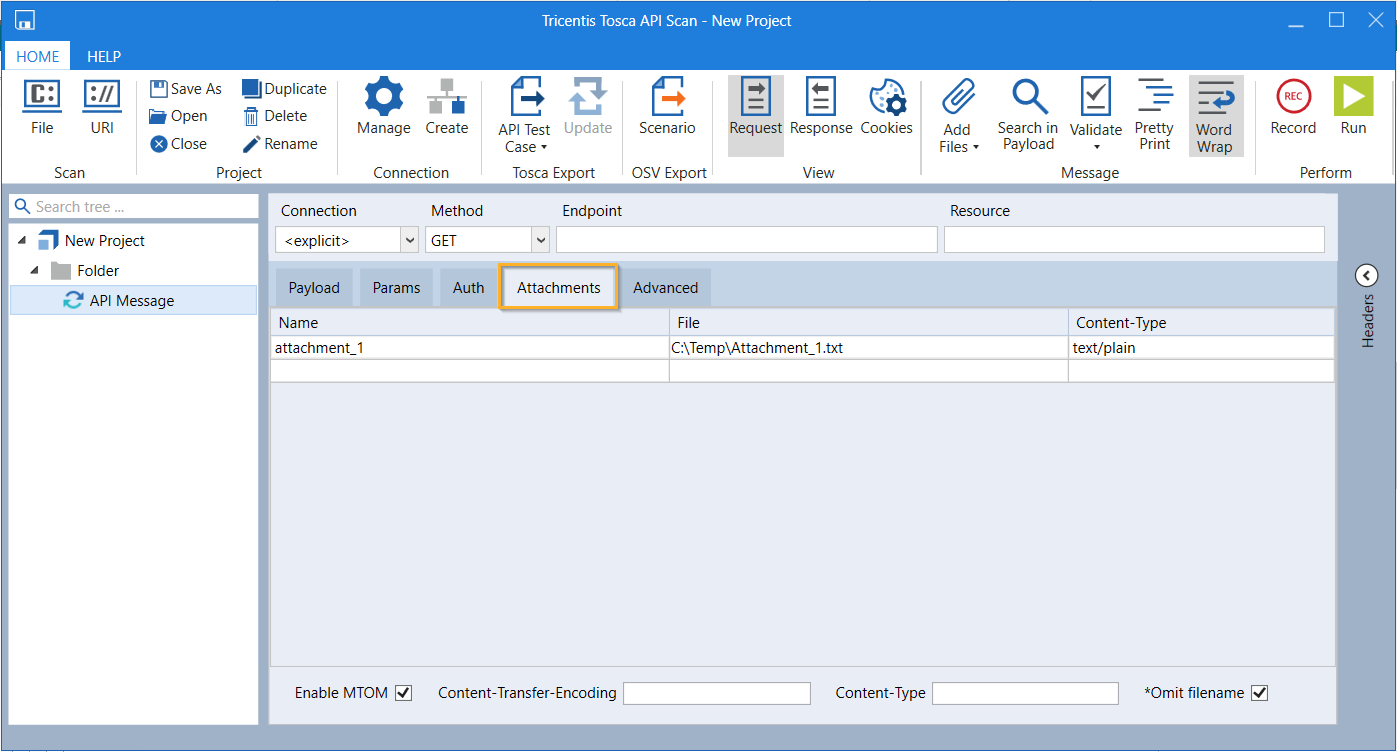
File attachment in the Attachments tab
-
To use the Message Transmission Optimization Mechanism (MTOM) for your message transmission, select Enable MTOM. For more information on using MTOM, see chapter "Enable MTOM support".

|
In case you don't select Enable MTOM, Content-Type is automatically generated as multipart/form-data, along with the boundary. |
-
To overwrite Content-Transfer-Encoding, select Enable MTOM. If left empty, the default value is used instead: binary.
-
To overwrite Content-Type, select Enable MTOM. If left empty, the default value is used instead: multipart/related.
-
Optionally, select Omit filename to omit the parameter filename from the header Content-Disposition. This can help in case the web service or client application can't process the parameter filename correctly and, therefore, rejects the message you send.
Attachments tab
To add a file as an attachment directly in the Attachments tab, follow the steps below:
-
In the API Scan window, select a message and click the Attachments tab in the message section.
-
Specify the name of your attachment in the Name entry field.
If you do not define a Name, API Scan automatically uses the file name of your attachment.
-
To add the attachment, click into the File entry field.
-
Click on the
 icon. In the subsequent dialog, select the file you want to attach and click Open.
API Scan automatically populates the field Content-Type, based on the format of your attachment.

File attachments in the Attachments tab
-
To use the Message Transmission Optimization Mechanism (MTOM) for your message transmission, select Enable MTOM. For more information on using MTOM, see chapter "Enable MTOM support".
|
|
In case you don't select Enable MTOM, Content-Type is automatically generated as multipart/form-data, along with the boundary. |
-
To overwrite Content-Transfer-Encoding, select Enable MTOM. If left empty, the default value is used instead: binary.
-
To overwrite Content-Type, select Enable MTOM. If left empty, the default value is used instead: multipart/related.
-
Optionally, select Omit filename to omit the parameter filename from the header Content-Disposition. This can help in case the web service or client application can't process the parameter filename correctly and, therefore, rejects the message you send.