Start Tosca Commander
TestCases are created, executed and organized in Tosca Commander.

|
Start Tosca Commander from the Windows Start menu: Start->All Programs->Tricentis->Tosca->Tosca Commander. |
As soon as Tosca Commander is open, the start screen appears.
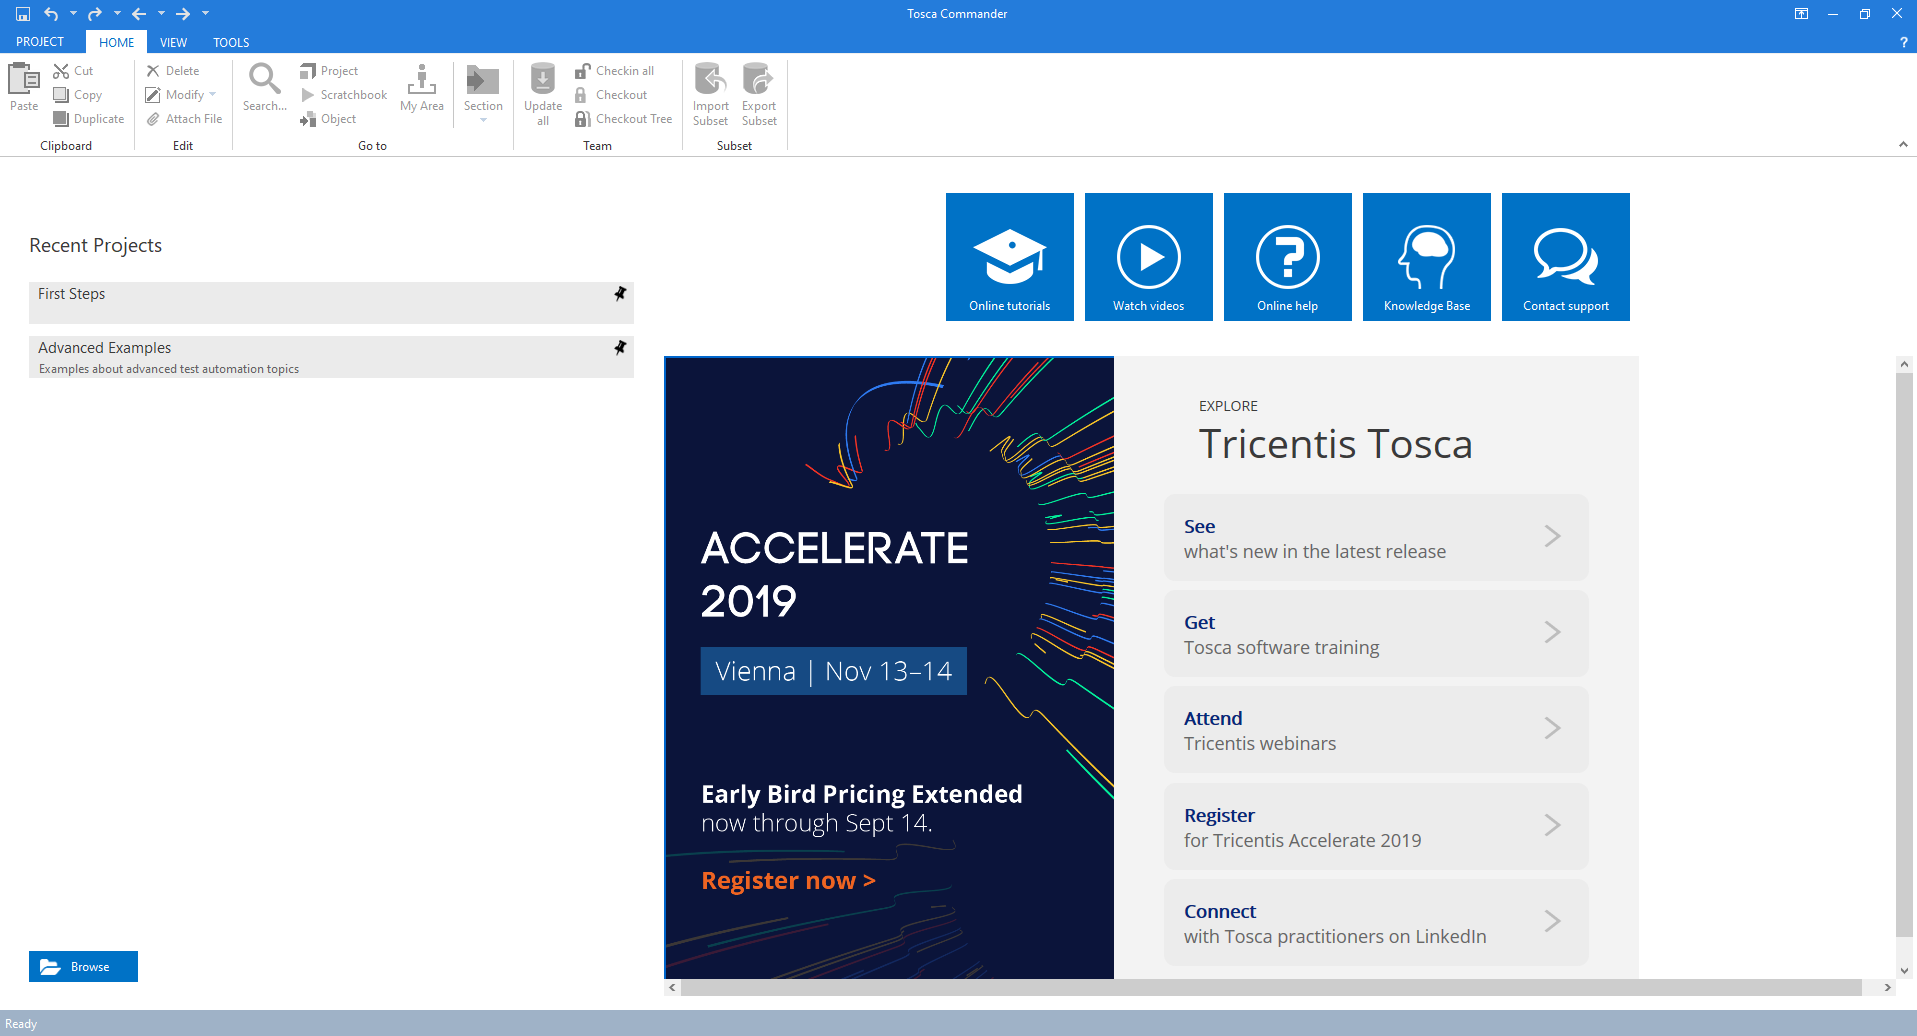
Tosca Commander start screen
Create workspaces
You need to create a workspace where you manage your objects.
|
|
Select Project->New from the Tosca Commander menu to open the Tosca Commander: Create new workspace window. |
|
|
Enter the name of your workspace into the Select name for new workspace field, e.g. Tosca_Tutorial_en. |
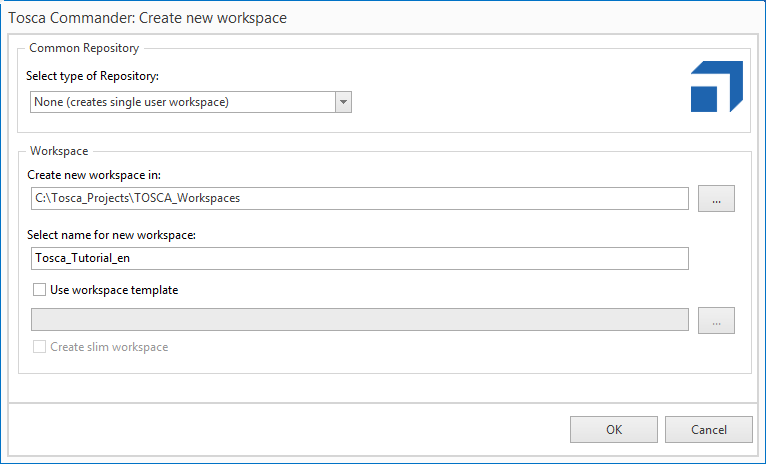
Create a new workspace
|
|
Click OK to create the workspace. |
|
|
In the next window, click Close. |
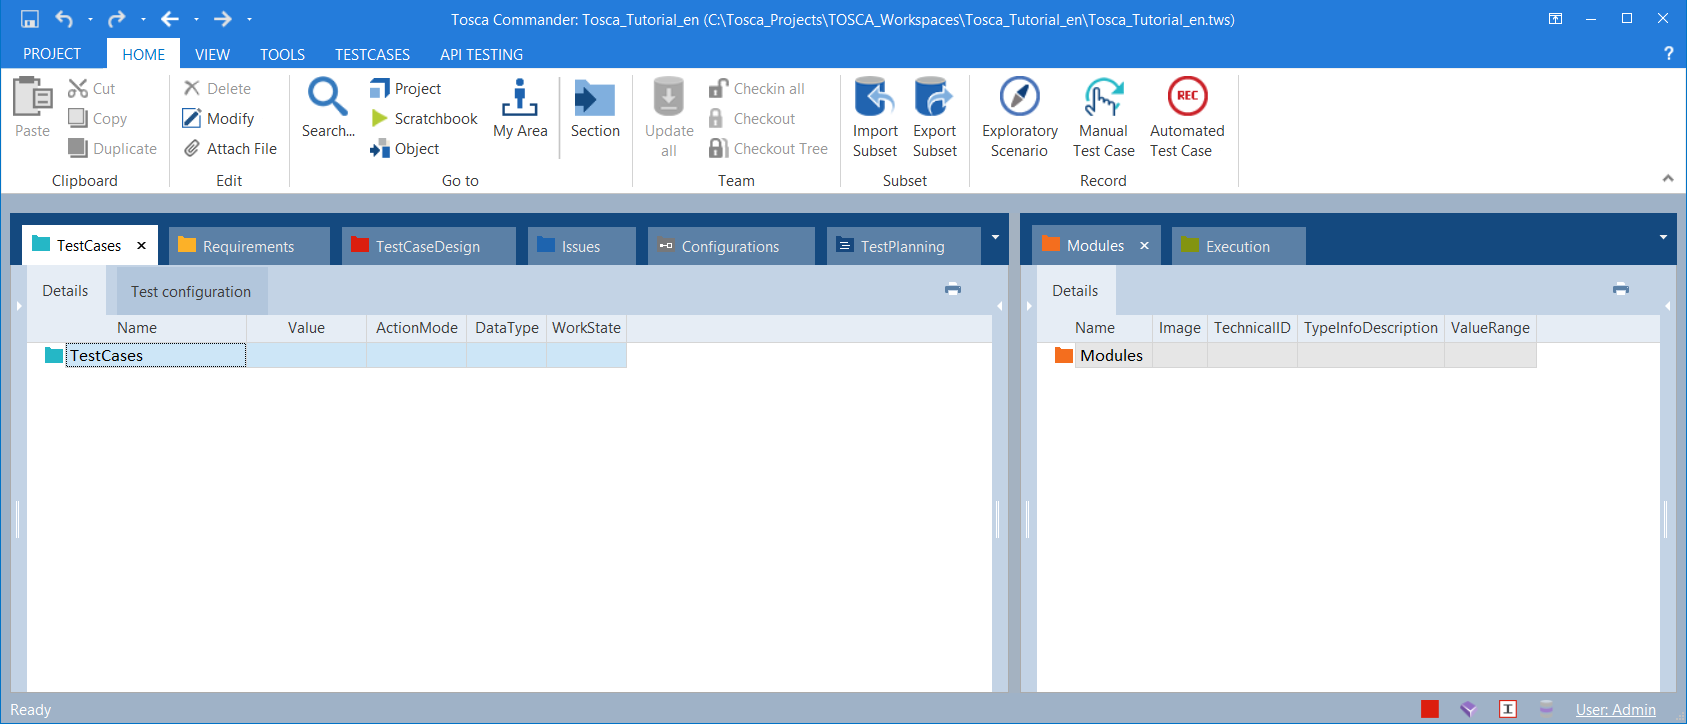
The workspace opens.
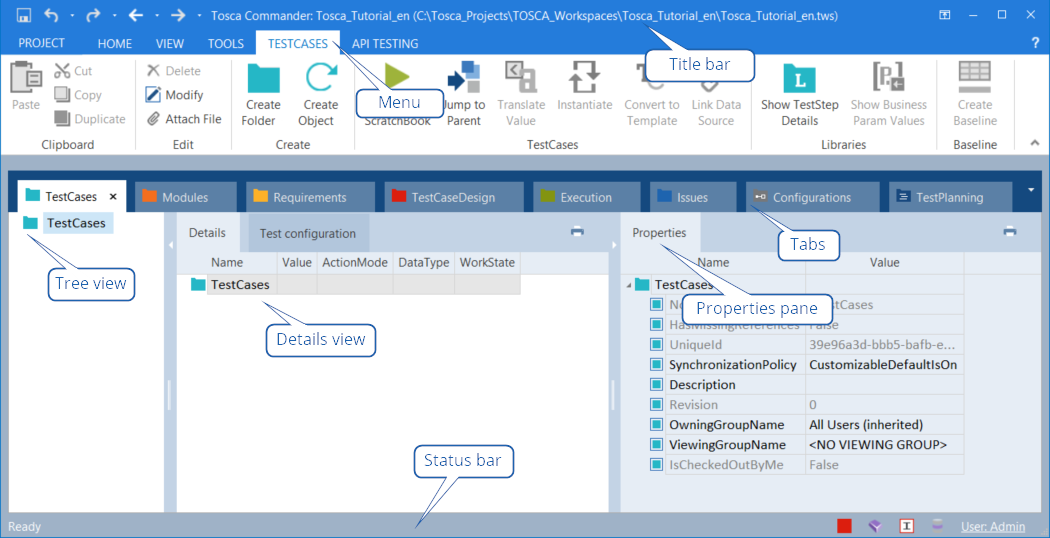
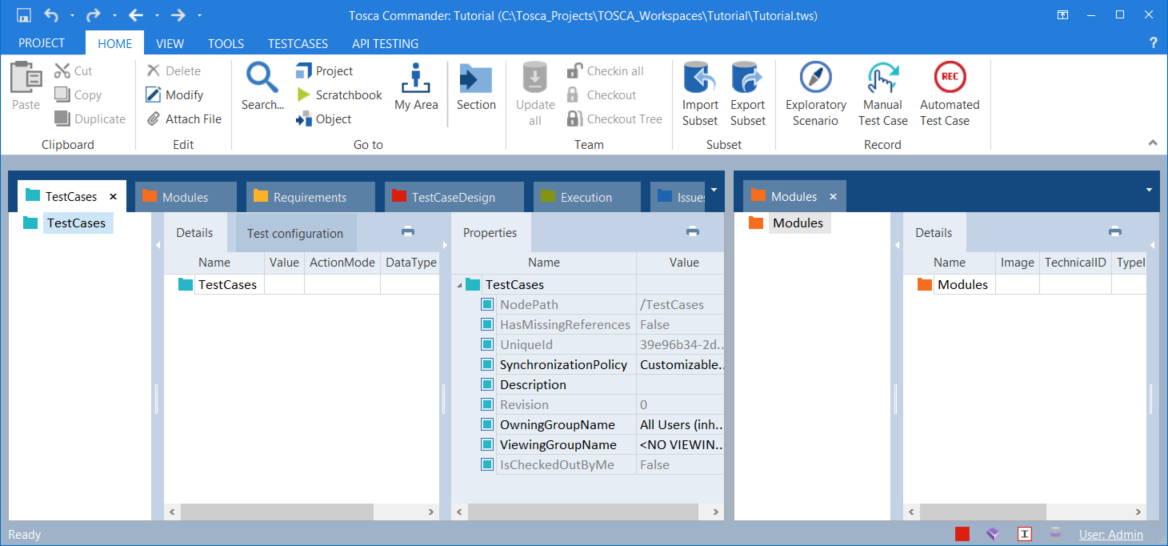
Workspace
Tosca Commander is inspired by Microsoft Windows Explorer®, which means that all items are mapped in a tree structure. You can open any number of windows and display a freely definable section of this tree structure.
If you select an item in the tree view, Tricentis Tosca displays the item details in the Details view.

|
If the German user interface in Tosca Commander is active, you can change the language via the following menu entry: Project->Options->Ansicht->Sprache. Set option Sprache to English. Tosca Commander must be restarted so that the changes take effect. |
Title bar
The title bar in Tosca Commander shows the name of the currently open workspace.
The title bar also includes the quick access toolbar which provides options such as Save, Undo, etc.
Menu (Ribbon)
The menu is designed in the form of ribbons and consists of several tabs which allow you to access the corresponding Tosca Commander functions. These functions are either enabled or disabled, depending on the context you are working in.
If you switch between the windows of the various sections (see chapter "Windows and tabs") or select objects within the sections, Tricentis Tosca opens an additional tab for this section that includes a dynamic menu. The dynamic menu shows relevant options for the selected section or object.
A dynamic menu is available for the following sections in Tosca Commander:
-
TestCases
-
Modules
-
Requirements
-
TestCaseDesign
-
Execution
-
Reporting
Within the Execution section, a dynamic menu is also available for the subsections ExecutionLists and Exploratory Testing.
Status bar
The status bar shows the action that is currently performed by Tosca Commander.
Each object type of the Tosca Commander workspace has its own window (e.g. TestCases, Modules, etc.). There is a tab at the top of each window. Feel free to arrange the windows according to your needs.
|
|
Go to the Home menu and click Section->Modules to open a new Modules window. |
|
|
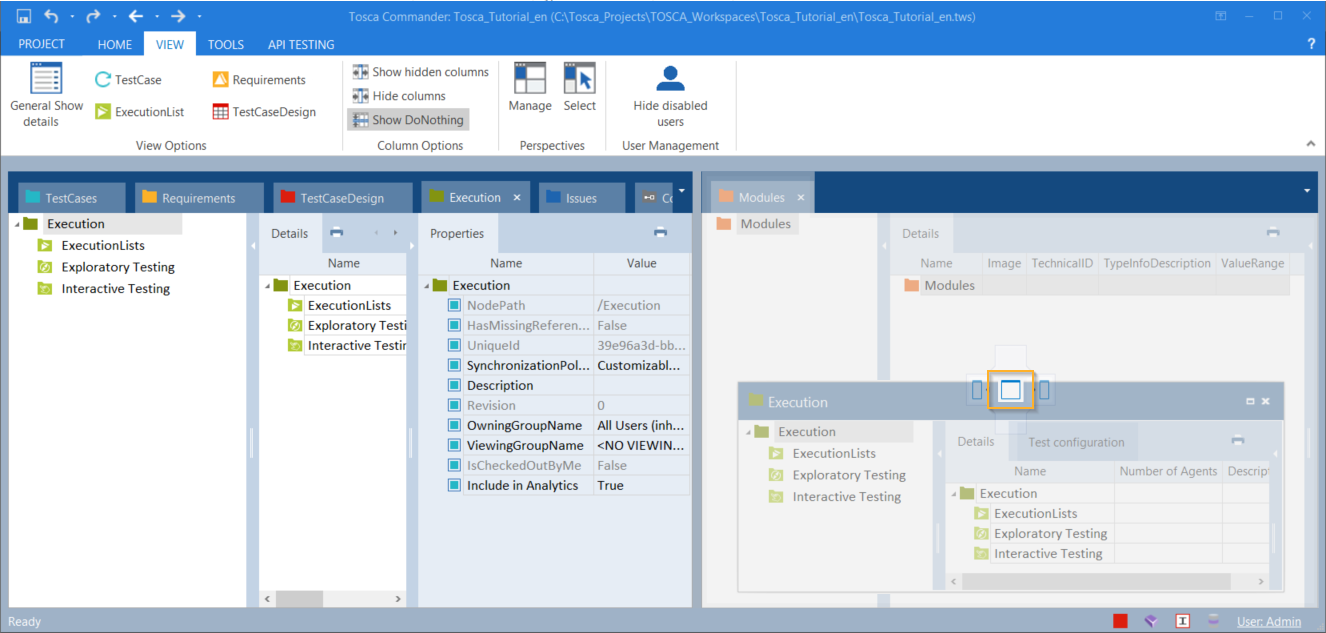
Click on the title bar of the Modules window and drag the window onto the icon in the right section of the window as shown in the picture below. |
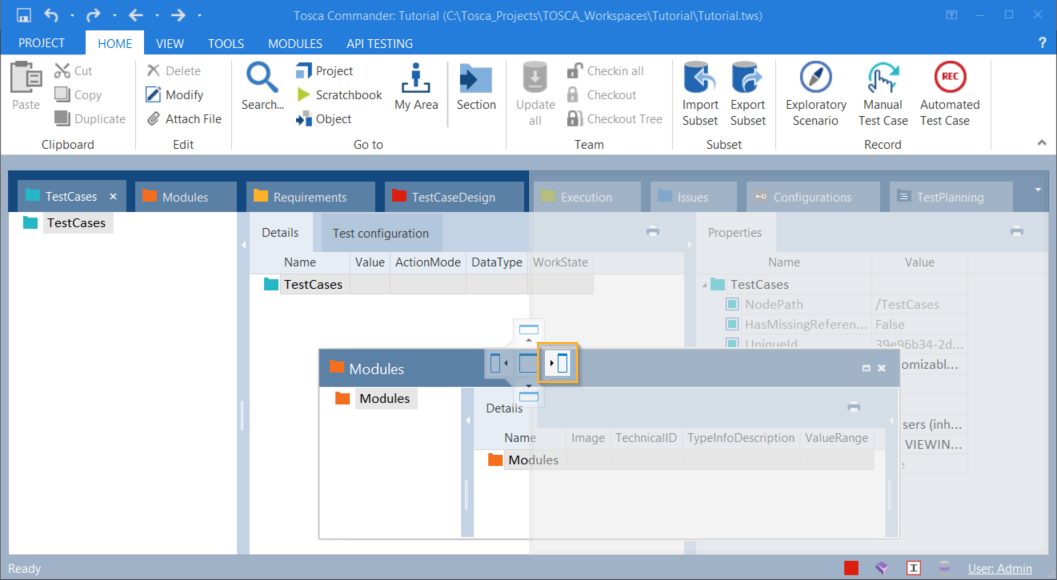
Arrange windows in the workspace
In this example we insert the Modules window right next to the TestCases window:
Two windows
The Properties pane of the TestCase Section is expanded by default. To expand it, click on the ![]() Properties button on the top right corner of your window.
Properties button on the top right corner of your window.
In Tricentis Tosca you can modify the tabs order at the bottom of the window and you can drag tabs to other windows.
|
|
Click on the Execution tab in the left window. |
|
|
Right-click on the ExecutionLists folder Execution and select Open in new window. |
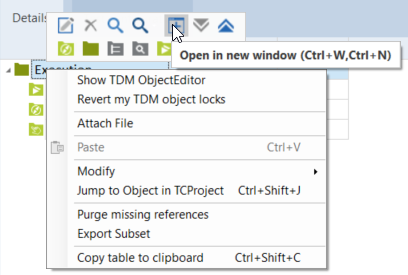
Open in new window option
The ExecutionLists window opens.
|
|
Drag and drop the ExecutionLists window onto the Modules window. |
Moving the ExecutionLists window
|
|
You can use the tabs to rearrange your workspace windows: click on the tab you would like to move and drag this to the position of your choice. |
Click on the x icon to close tabs you don't need.
|
|
Close the Modules and the Execution tab in the left window. |
The windows and tabs in your workspace should reflect the illustration below. This is the view we will work with in this tutorial.
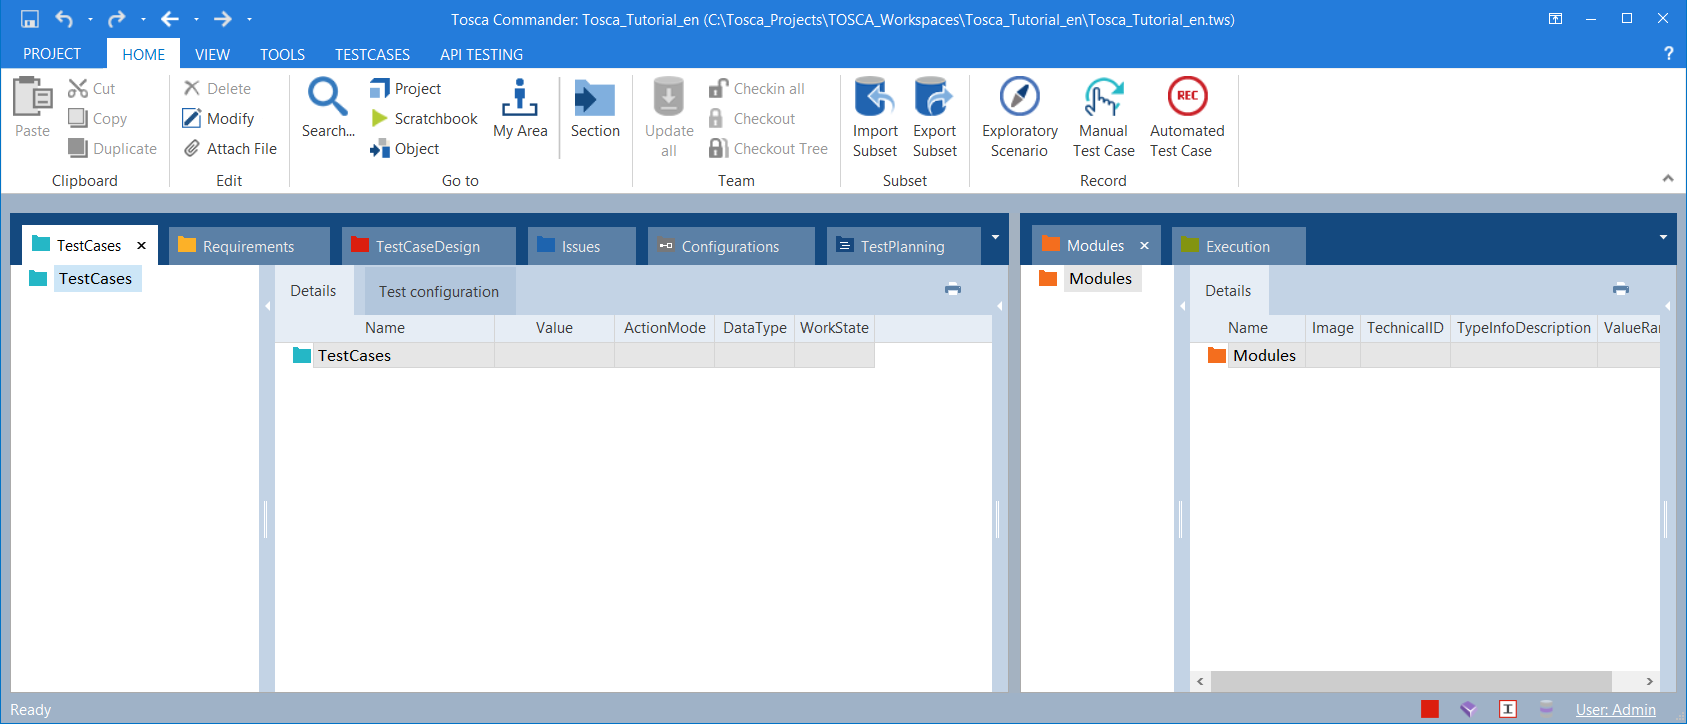
Recommended view
Perspectives
In Tricentis Tosca, you can arrange any open windows as you like and you can save your customized view as Perspective. So, if you accidentally change your window arrangements you can easily restore your preferred view.
|
|
Go to the View menu and select Manage->Save... to save your current perspective. |
The option Select enables you to select either the default perspective or one of your saved perspectives.
In Tricentis Tosca, you can hide the tree view by collapsing the unnecessary section.
If you click the button once again, the tree view opens again.

Visible tree view
Hidden tree view
You can also resize your workspace windows:
|
|
Click on the divider line and move it to the preferred position while keeping the mouse button pressed. |
Project window
The Project window provides an overview of your entire project (Home->Project). This shows all workspace objects in a tree view starting from the project root element which is named Tosca_Tutorial_en in this tutorial.
In Tricentis Tosca you can process workspace objects via the context menu or the dynamic menu. The context menu provides options that are relevant for the respective object.
|
|
Open the context menu by right-clicking on any object in the workspace. |
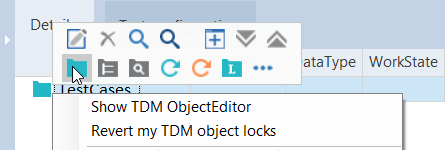
The upper part of the context menu includes a mini toolbar. The mini toolbar contains options that are frequently used, such as Delete ![]() , Rename
, Rename ![]() and options for creating new objects. Hover over the icons in the mini toolbar to view the option name in the tooltip.
and options for creating new objects. Hover over the icons in the mini toolbar to view the option name in the tooltip.
|
|
Go to the TestCases section. Right-click on the TestCase folder TestCases and select Create Folder from the mini toolbar. |
Create a new folder
|
|
Rename the new TestCase folder to My first TestCase. |
|
|
Right-click on the TestCase folder My first TestCase and select Create Folder from the mini toolbar. |
|
|
Rename the new TestCase folder to Vehicle Insurance. |
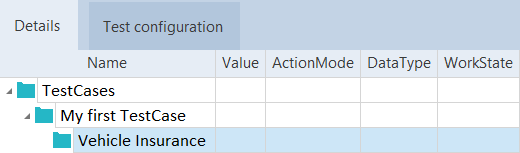
New TestCase folder Vehicle Insurance
|
|
TestCase folders can be renamed any time by selecting Rename from the context menu. |
Create a copy of the TestCase folder Vehicle Insurance beneath the TestCase folder.
|
|
Right-click on the Vehicle Insurance folder and select Copy from the context menu. |
The copy must be created within the TestCase folder My first TestCase to be on the same level as the TestCase folder Vehicle Insurance.
|
|
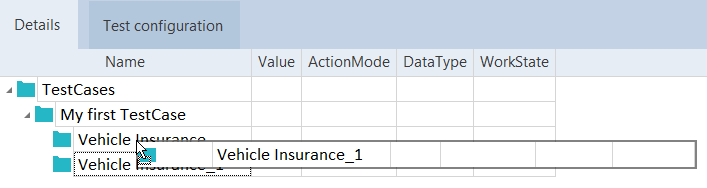
Select Paste from the context menu of the TestCase folder My first TestCase. |
Tricentis Tosca automatically assigns the name Vehicle Insurance_1 to the new copy.
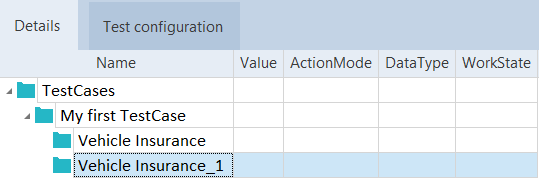
Vehicle Insurance_1 folder
In Tosca Commander you can perform various operations by using drag and drop.
|
|
Click on the TestCase folder Vehicle Insurance_1 and while keeping the mouse button pressed, drag and drop the TestCase folder Vehicle Insurance_1 on the TestCase folder Vehicle Insurance. |
Move TestCase folders by using drag and drop
As you can see, TestCase folder Vehicle Insurance_1 is now located beneath the TestCase folder Vehicle Insurance:
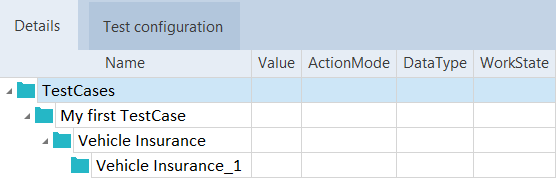
TestCase folder Vehicle Insurance_1 as a subfolder
Since you don't need TestCase folder Vehicle Insurance_1 any longer, you can delete it:
|
|
Right-click on the TestCase folder Vehicle Insurance_1 and select Delete from the mini toolbar. |
As the next step, try to move the TestCase folder Vehicle Insurance to the Modules folder:
|
|
Drag the TestCase folder Vehicle Insurance onto the Modules folder Modules. |
Tricentis Tosca prevents  this operation since TestCase folders can only be positioned hierarchically beneath TestCase folders (see also chapter "Object hierarchy").
In the Details view, you can add, move, or remove columns.
|
|
Drag and drop the DataType column to the right of the Workstate column. Two arrows mark the position where the column is inserted. |
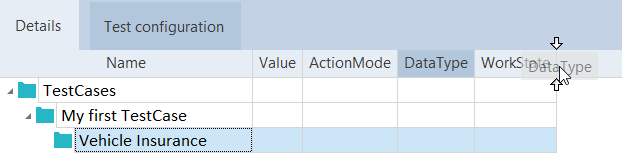
Move a column
|
|
Right-click on the header of a column and select Column Chooser from the context menu. A window opens containing a list of available columns. |
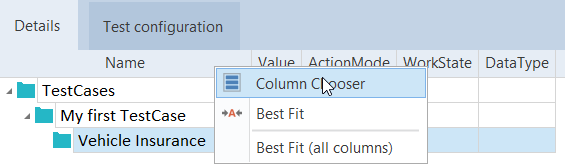
Open the Column Chooser
|
|
Drag and drop the entry Description to the right of the Name column. Two arrows mark the position where the new column is inserted. |
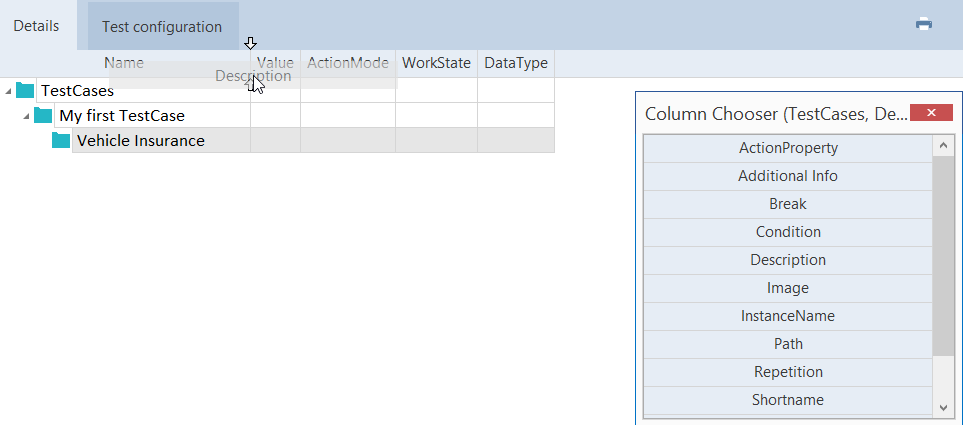
Add a column
|
|
Click on the header of the Description column, keep the mouse button pressed and drag this column down until the cursor's shape turns into an X, then release the mouse button. The column is now removed from this view. |
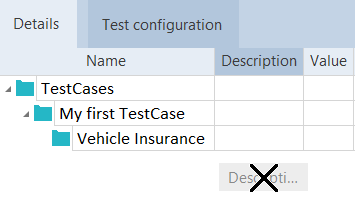
Remove a column
Related chapters