Record API messages
Executing UI tests generates traffic between the system under test and the backend. The Message Recorder feature enables you to visualize and analyze this traffic as API messages.

|
The Message Recorder feature is part of the API & OSV Early Access components. The API & OSV Early Access components are in the Early Adopter phase. Tricentis does not guarantee full functionality or usability in current or future Tricentis Tosca versions. |
Open the Message Recorder
To open the Message Recorder, follow the steps below:
-
Click on the
 Record icon in the Home menu.

Record in the API Scan Home menu
The Message Recorder window opens.
![]()
Message Recorder window
Navigate the Message Recorder window
The Message Recorder window consists of the following elements:
-
Ribbon menu
Message Recorder window with messages
Record messages
Once you have opened the Message Recorder, you can record HTTP(S) messages. To do so, follow the steps below:
-
Click the
Start button. Optionally, click the
 Configuration icon in the ribbon menu to configure the recorder settings first. For detailed information, see chapter "Configure Message Recorder".
 -
Execute your UI tests. The Message Recorder window displays the generated live HTTP and HTTPS traffic, i.e. the messages it records.
-
To stop message recording, click the
 Stop button.
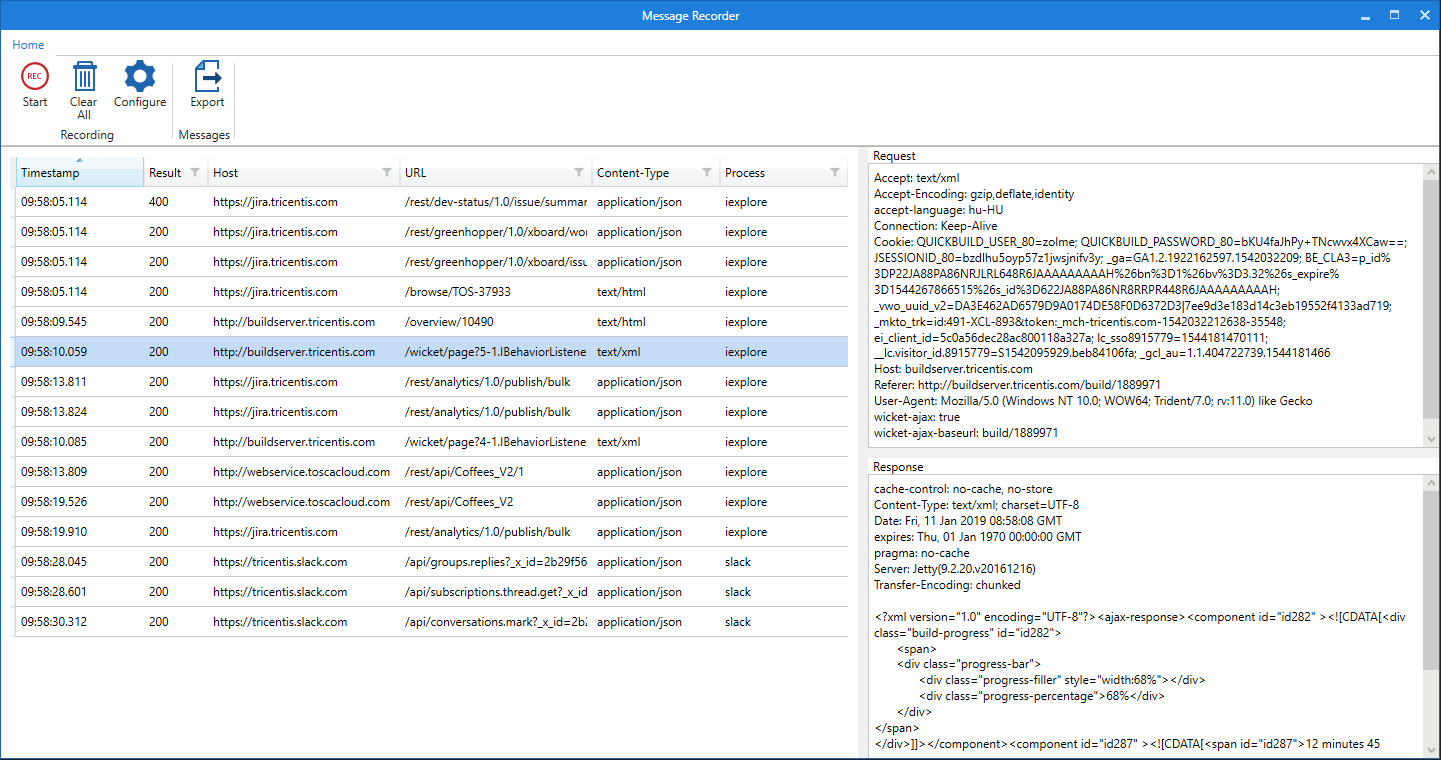
The left side of the Message Recorder window contains your recorded messages. It provides the following information:
|
Column |
Description |
|---|---|
|
Timestamp |
Exact time of the message transmission |
|
Result |
HTTP status code |
|
Host |
Host address, e.g. webservice.toscacloud.com |
|
URL |
URL path, e.g. /Calculator.svc |
|
Content-Type |
Content type of the HTTP response. |
|
Process |
Application that transmits the message, e.g. firefox |
The right side of the Message Recorder window displays detailed information about your recorded messages.
To view the details of a specific message, click on the respective message in the list.
The upper section displays the request part of the message. The lower section displays the response.
Filter messages
In the Message Recorder, you can filter the content of the recorded messages to customize the grid view. Which filter options are available in the Message Recorder window, depends on which column tab you are using.
The filtering options are the following:
|
Option |
Description |
|---|---|
|
Sort Ascending/ Sort Descending
|
Click the column header to sort table rows alphabetically in ascending or descending order, starting from the selected column. |
| Free text search |
Open the filter and enter text to search. |
|
Check box |
. |
|
Clear Filter |
Reset sorted and filtered column to the original state. |
|
Best Fit |
Adapt the column width of the current column to its content. |
To filter the content of the Message Recorder window, follow the steps below:
-
Select one of the messages in the Message Recorder window.
-
Hover over the mouse cursor of the header .
-
Click the appeared Filter icon.
For the Timestamp column filtering is not available.
-
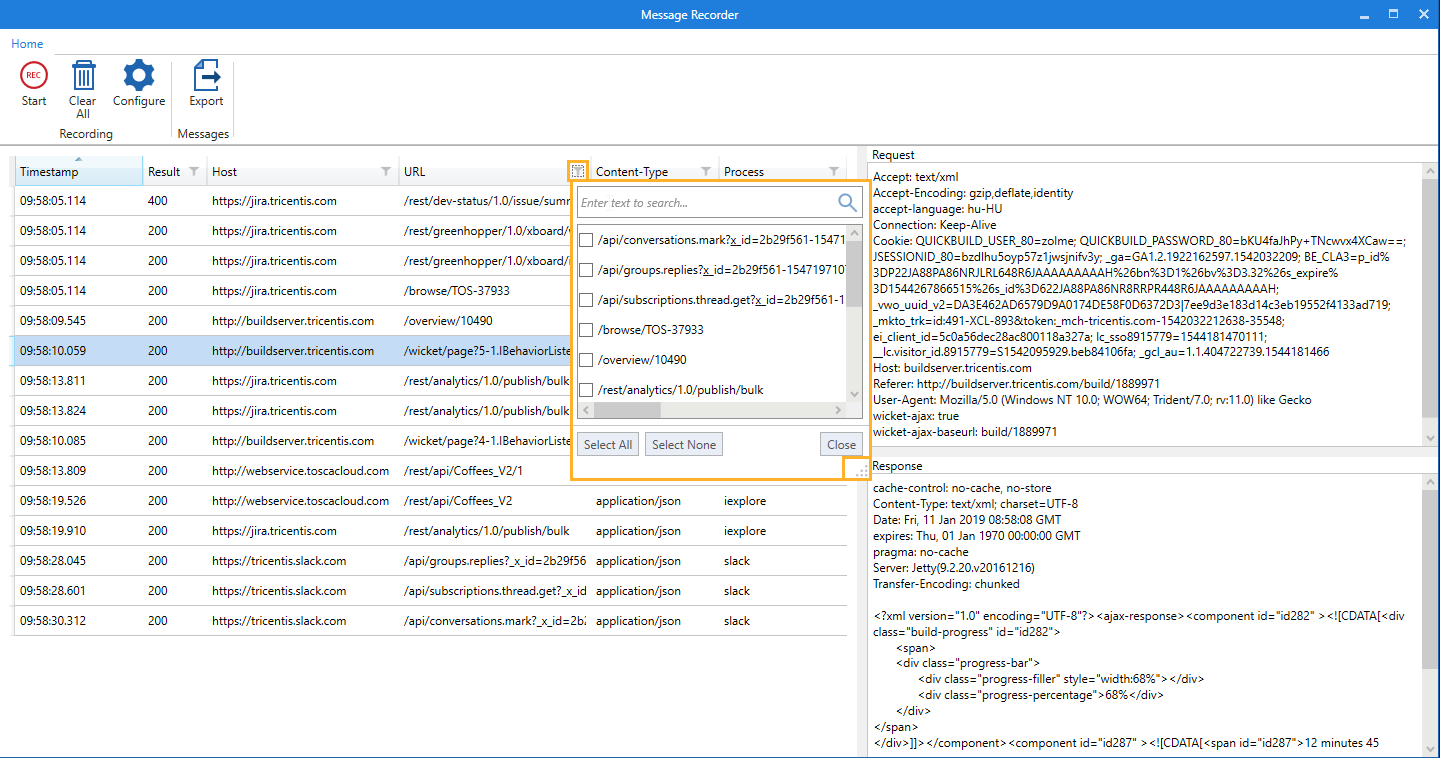
Filter messages
Export messages
You can export recorded messages from the Message Recorder to Tosca API Scan. This allows you to further investigate the recorded messages, i.e. the traffic generated during your UI tests.
You can select one or multiple messages for export. The export contains the request and response part of each message including the message headers, endpoint, and payload.
To export messages, follow the steps below:
-
Select a message in the Message Recorder window. To select multiple messages, hold the CTRL key.
-
Click on the
 Export icon in the ribbon menu.
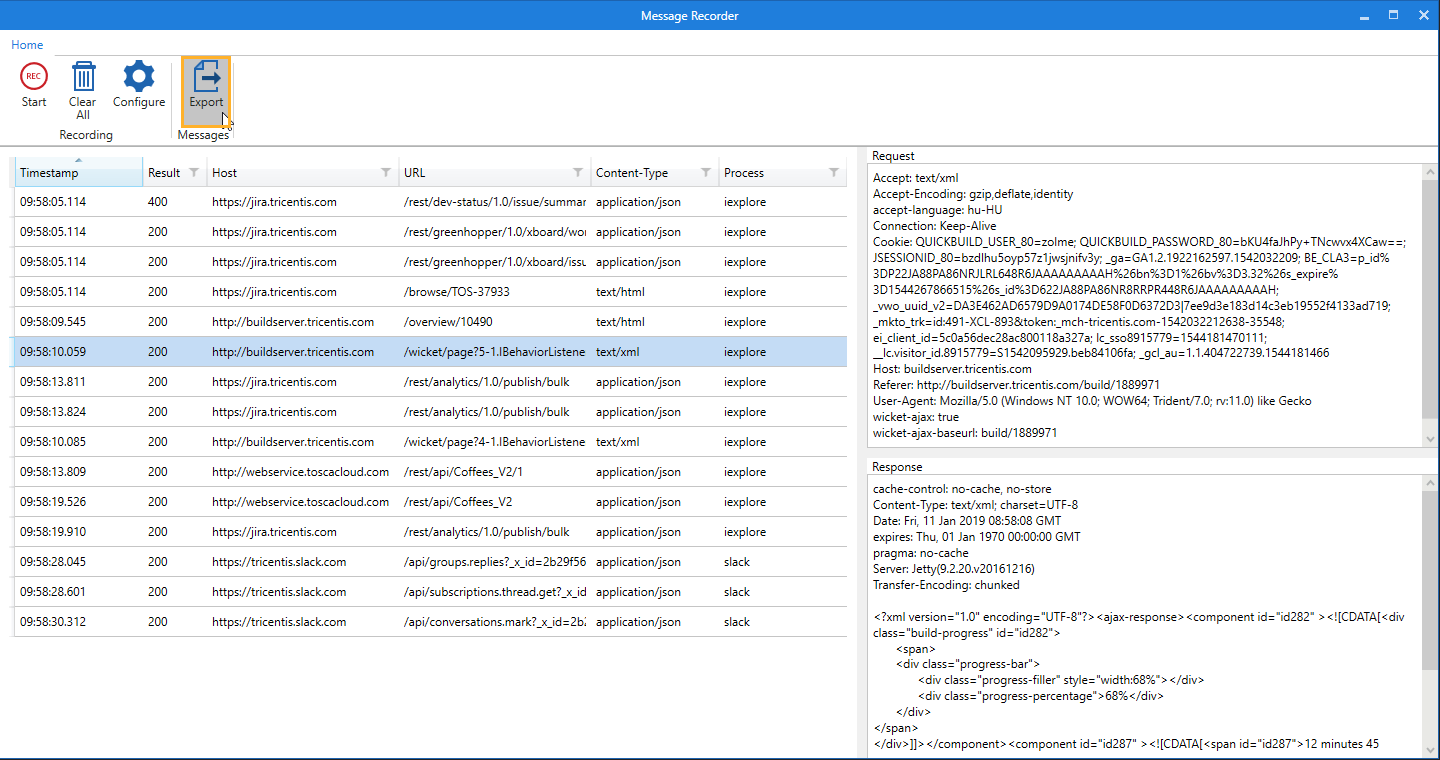
Export message
The system exports the messages into a new folder named Trace_Import in API Scan. The default message name is Trace Message. You can rename the folder and messages as desired.
For information on how to work with messages in API Scan, see chapter "Tricentis Tosca API Scan".
Clear messages
If you want to reset the content of the Message Recorder, you can delete all recorded messages at once. This allows you to remove all the traffic generated during the UI tests and start a new recording.
To clear all messages, follow the steps below:
-
Select one of the messages in the Message Recorder window.
-
Click the
 Clear icon in the ribbon menu.
![]()
Clear messages
The system deletes all the messages. You can start a new recording.
Configure Message Recorder
You can configure the proxy settings of the Message Recorder, if you want to use an external proxy, e.g. your company's proxy.
By default, you can record HTTP traffic only, but you can enable the HTTPS traffic recording by installing a certificate.
To add a new value to the settings follow the steps below:
-
Click on the
Configuration icon in the ribbon menu. -
You can enter the IP address of the proxy you want to use in the subsequent proxy configuration dialog.
-
Enable the checkbox next to Decrypt HTTPS traffic.
Click OK to to enable HTTPS traffic decryption.
-
To decrypt and record HTTPS messages, you have to install the Tricentis Tosca Api Tracing Root Certificate, a locally generated certificate. To do so, click Yes in the subsequent dialog.
Configure proxy
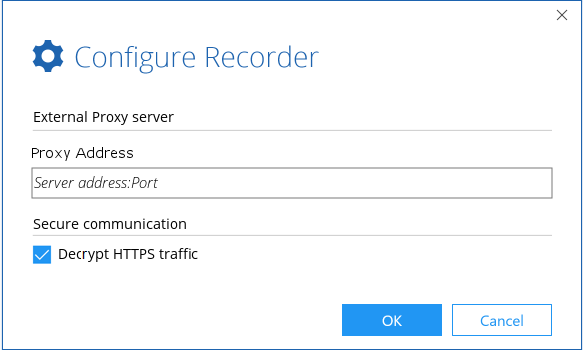
Enter proxy and enable HTTPS traffic recording

Install certificate for decrypting HTTPS messages
|
|
If you don't want to install the certificate and trace HTTPS messages, click No. The dialog appears each time you start the Message Recorder if certificate was not installed and HTTPS traffic is enabled. |