Run Amazon SQS messages
Tricentis Tosca API Scan enables you to run messages dynamically using an Amazon SQS connection.

|
To use Amazon SQS, you need to create the following in advance:
For more information on Amazon SQS-related timing, check Amazon SQS Visibility Timeout. Also see Amazon AWS documentation. |
To run Amazon SQS messages, choose one of the following connection types and follow the steps below.
Methods: Push and pull actions.
Option 1 - Run Amazon SQS messages with predefined connection
Push messages
To push messages with predefined Amazon SQS messages, follow the steps below:
-
In the Connection section, go to Manage to create an Amazon SQS connection.
-
From the Connection drop-down menu, select your connection.
-
In the Action drop-down menu, select Push. The Endpoint field displays the ARN.
-
In the Payload field, request your message.
-
Click on
 Run in the API Scan menu to send your message to the specified queue.
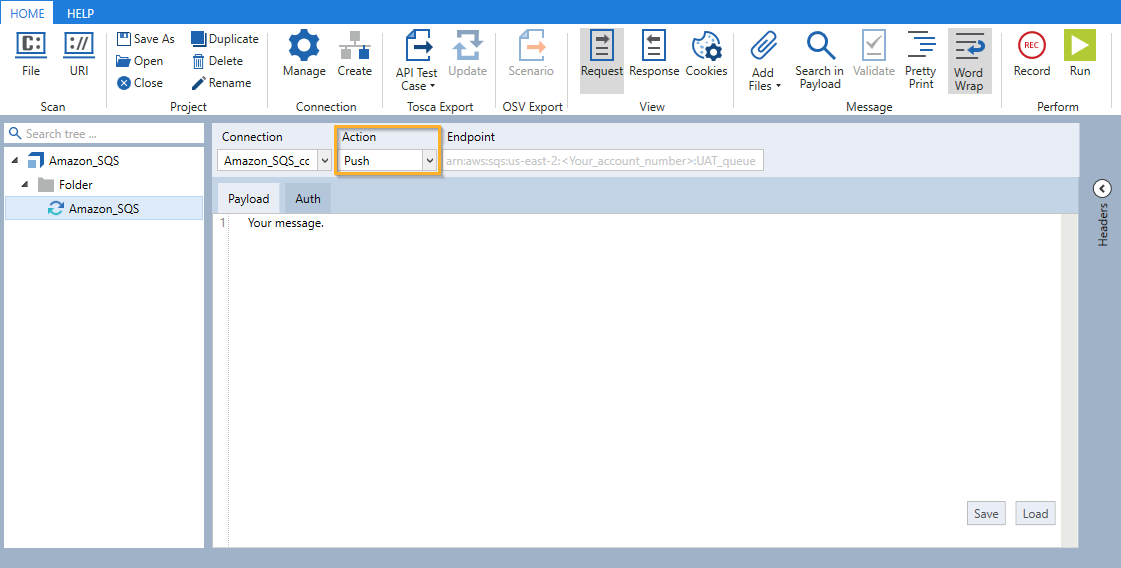
Push Amazon SQS message in API Scan
Pull messages
To pull messages with predefined Amazon SQS messages, follow the steps below:
-
In the Connection section, go to Manage in order to create an Amazon SQS connection.
-
From the Connection drop-down menu, select your connection.
-
In the Action drop-down menu, select Pull. The Endpoint field displays the ARN.
-
Click on
Run in the API Scan menu to receive your message in the specified queue. Only one message is retrieved at the time. To retrieve multiple messages, create a Loop. Also see Amazon SQS Visibility Timeout.
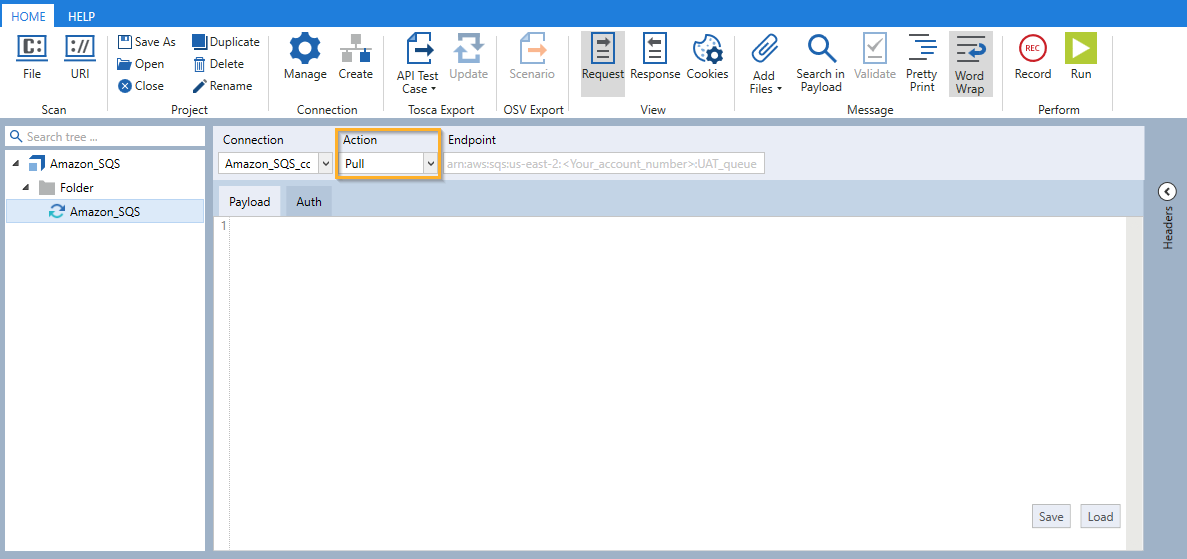
Pull Amazon SQS message in API Scan
Option 2 - Run Amazon SQS messages with non-predefined connection
Push messages
To push messages with non-predefined Amazon SQS messages, follow the steps below:
-
From the Connection drop-down menu, select <explicit>.
-
In the Endpoint field, copy the Amazon Resource Name (ARN) of your selected SQS queue from the AWS console in the Details tab.
-
In the Action drop-down menu, select Push.
-
In the Auth tab, choose AmazonSignature from the Authentication drop-down list and enter Access Key and Secret Key credentials for your AWS account.
-
In the Payload field, request your message.
-
Click on
Run in the API Scan menu to send your message on the queue to the specified queue.
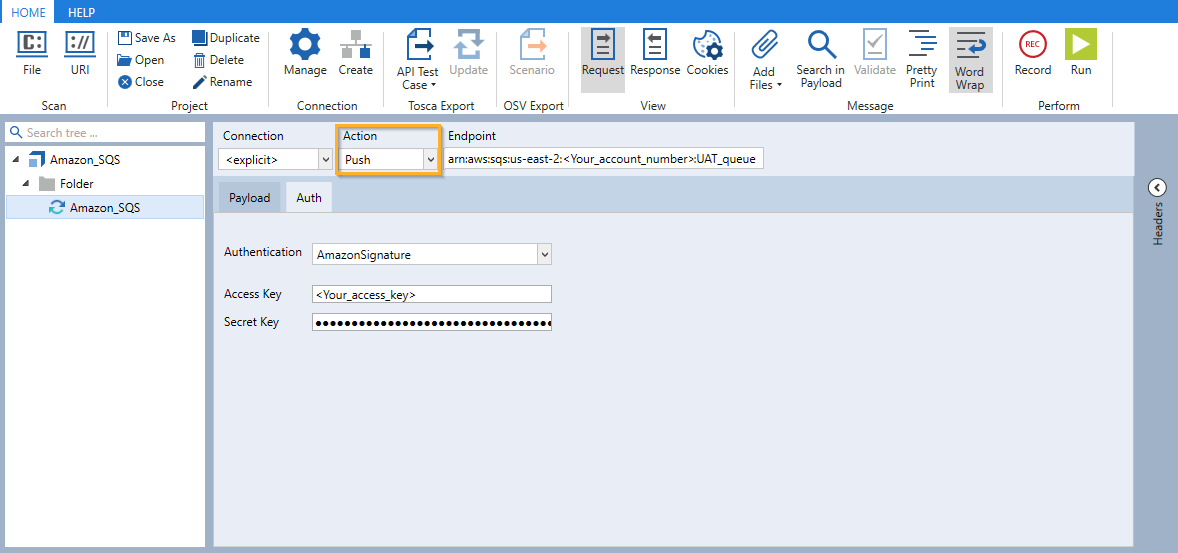
Auth tab for Amazon SQS message in API Scan
Pull messages
To pull messages with non-predefined Amazon SQS messages, follow the steps below:
-
From the Connection drop-down menu, select <explicit>.
-
In the Endpoint field, copy the Amazon Resource Name (ARN) of your selected SQS queue from the AWS console in the Details tab.
-
In the Action drop-down menu, select Pull.
-
In the Auth tab, choose AmazonSignature from the Authentication drop-down list and enter Access Key and Secret Key credentials for your AWS account.
-
Click on
Run in the API Scan menu to receive your message in the specified queue. Only one message is retrieved at the time. To retrieve multiple messages, create a Loop. Also see Amazon SQS Visibility Timeout.
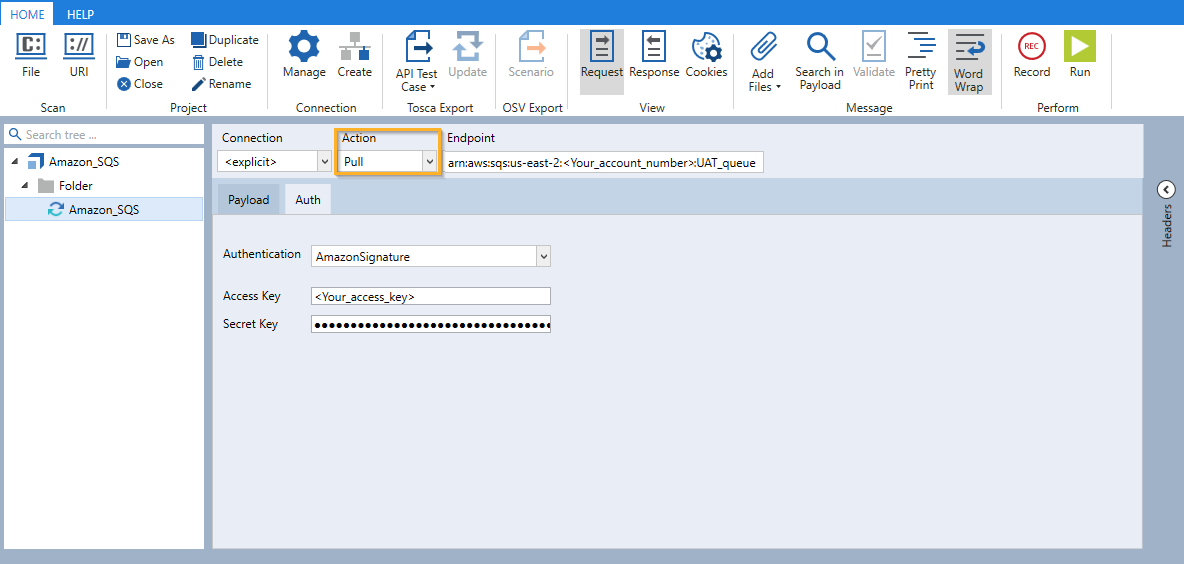
Auth tab for Amazon SQS message in API Scan
After running your Amazon SQS messages in API Scan, you can export them to Tosca Commander. This allows you to use the message information to define Module Attributes and verify their values. Depending on what you want to test, you can export the messages as an API TestCase.