Install Tricentis Tosca Server via InstallShield Wizard
This chapter covers the installation process of the Tricentis Tosca Server via InstallShield Wizard.
To install the Tricentis Tosca Server, you need local administrator rights. You can download the installation package from the Tricentis Support Portal.

|
Tosca Commander and the Tricentis Tosca Server must have the same version to enable communication. Install Tricentis Tosca first. |
Prerequisites
The installation may require one or more restarts of the operating system. You can run the installation with planned or with automatic system restarts.
Run the installation with planned system restarts
The following setup components require you to restart your system during the process or later:
-
Download and install .NET Framework 4.8.
-
If your system is running Windows 7 or Microsoft Internet Information Services (IIS) 7.5, download and install Application Initialization Module for IIS 7.5.
Once you have downloaded and installed the components, you can start the Tricentis Tosca Server installation.
Run the installation with automatic system restarts
The Tricentis Tosca Server setup automatically installs the required components. During the installation process, the operating system is restarted without user interaction if necessary.
Start the installation
To start the installation, follow the steps below:
-
Unzip the contents of the ToscaServer_<version number>.zip file.
-
Double-click the file ToscaServer<version number>.exe . This opens the InstallShield Wizard.
As a first step, the system verifies whether you have all required components installed on your computer (see chapter "System Requirements for Tricentis Tosca Server 13.3").
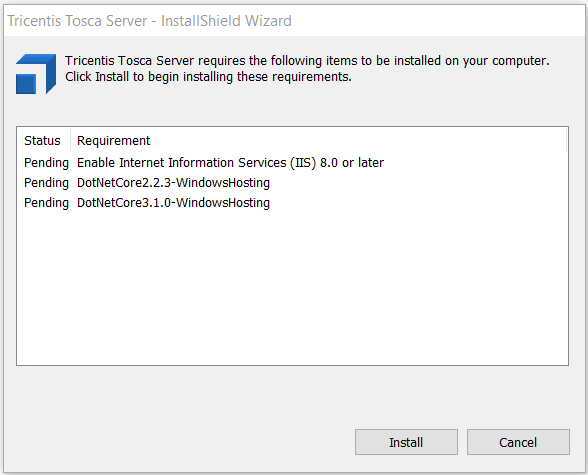
Example of components to be installed
Click Install to start installing missing components.
Requirement Enable Internet Information Services (IIS) in the component check
The Tricentis Tosca Server features require IIS, which has to be installed before the InstallShield Wizard can start the actual installation.
The following IIS features are installed:
IIS-WebServerRole
IIS-WebServer
IIS-ManagementConsole
IIS-CommonHttpFeatures
IIS-ApplicationDevelopment
IIS-ASPNET*
IIS-ASPNET45**
IIS-ISAPIFilter
IIS-ISAPIExtensions
IIS-NetFxExtensibility
IIS-RequestFiltering
IIS-Security
WCF-HTTP-Activation45**
WCF-TCP-Activation45**
Features that are marked with an asterisk are installed for IIS 8. Features marked with two asterisks are installed for IIS 8.5 and IIS 10.
|
|
When IIS is enabled for the first time, the website Default Web Site is created on port 80. If you want to use this port for the Tricentis Tosca Server, stop this website in the IIS Manager. |
Perform the installation
The InstallShield Wizard guides you through the installation process.
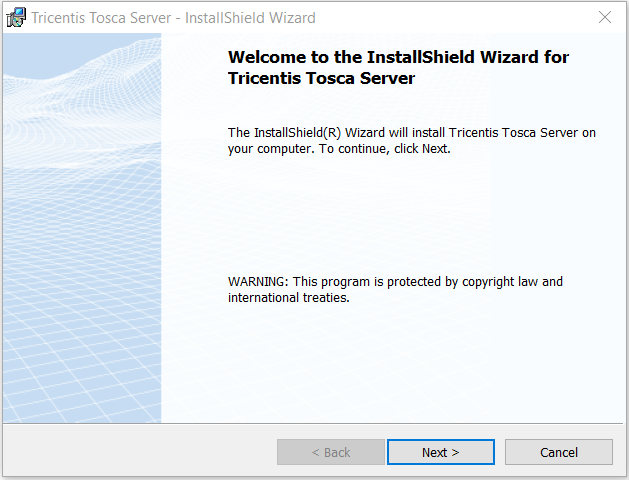
InstallShield Wizard
Click Next to continue.
Accept the license agreement
In the subsequent dialog, accept the terms of the license agreement and click Next to continue.
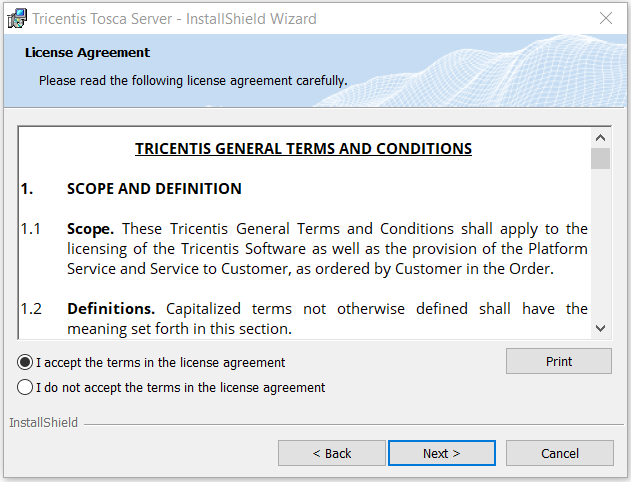
License Agreement
Tosca Diagnostics
In the Tosca Diagnostics dialog, you can choose whether you would like to enable Tosca Diagnostics.
Tosca Diagnostics helps to improve Tricentis Tosca Server by anonymously sending usage data to Tricentis. For more information on the Tricentis privacy policy, see http://www.tricentis.com/legal-information/privacy-policy/.
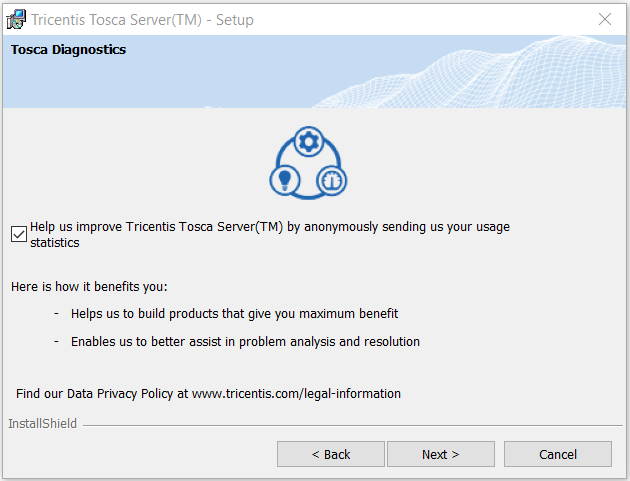
Enable Tosca Diagnostics
Click Next to continue.
Select the installation directory
By default, the InstallShield Wizard installs Tricentis Tosca Server in C:\Program Files (x86)\TRICENTIS\Tosca Server.
You can specify a different directory in the Destination Folder dialog.
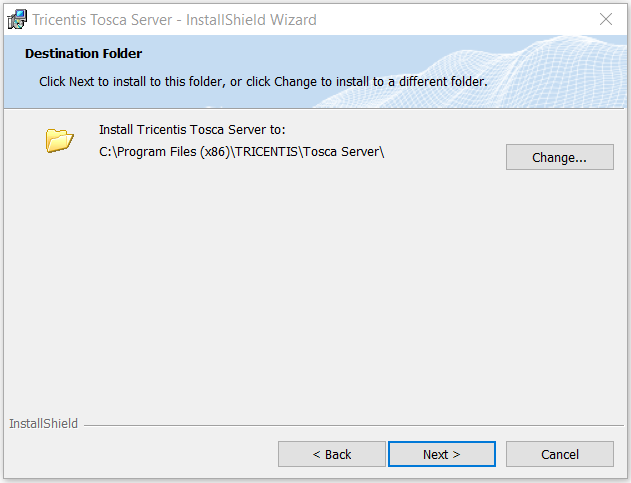
Destination Folder dialog
Click Next to continue.
Select features for the installation
In the subsequent screen, choose which Tricentis Tosca Server features you want to install.
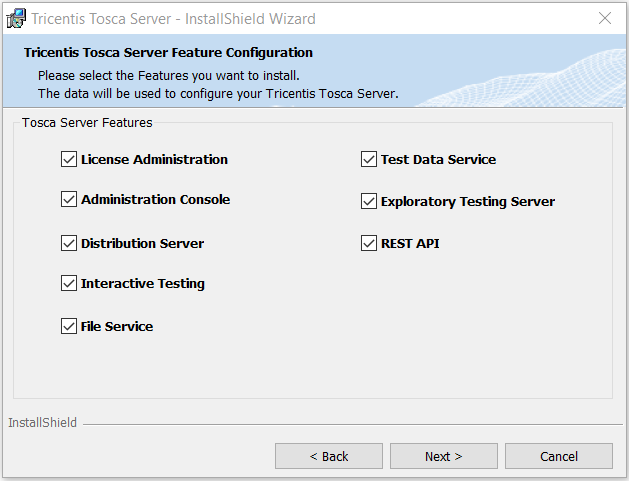
Select Tricentis Tosca Server features to install

|
The File Service and Test Data Service require the Administration Console to be installed. The Tosca Rest API Service requires Tosca Commander to be installed. |
Click Next to continue.
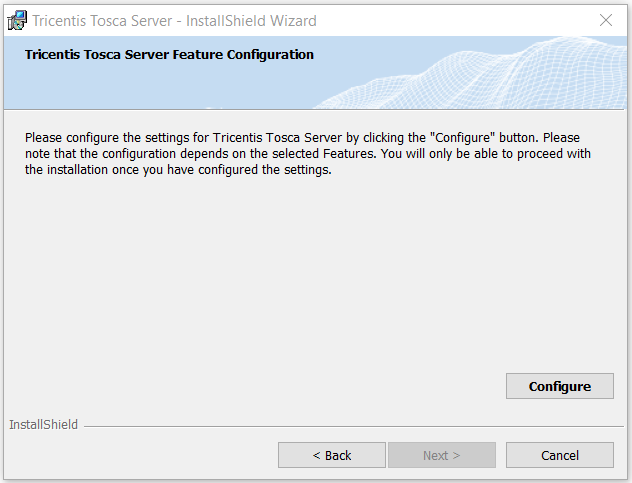
Configure the features
At this point, you need to perform an initial configuration of the selected Tricentis Tosca Server features. You can adapt or extend these configurations later on.
Click Configure to continue.
Configure the features
Depending on which features you selected, you can configure the following settings:
In the Tricentis Tosca Server shared Settings dialog, you can configure the following settings:
-
HTTP/HTTPS: Select an HTTP or HTTPS binding for the Tricentis Tosca Server features.
If you want to protect your transferred user data, create an HTTPS binding with a valid signed certificate in the IIS Certificate Store after you have installed Tricentis Tosca Server (see chapter "Use Tricentis Tosca Server with an https binding").
-
Port: The default port is 80 for HTTP bindings , and 443 for HTTPS bindings.
You can specify a different port. The port must be a value between 1 and 65535.
Verify the availability of the port by clicking Check.
After three unsuccessful port checks, the Skip port check checkbox activates. Enable it to continue the installation despite an unsuccessful port check.
-
Data directory: Choose where to store data and log files for the features you install.
The default path is C:\ProgramData\TRICENTIS\ToscaServer.
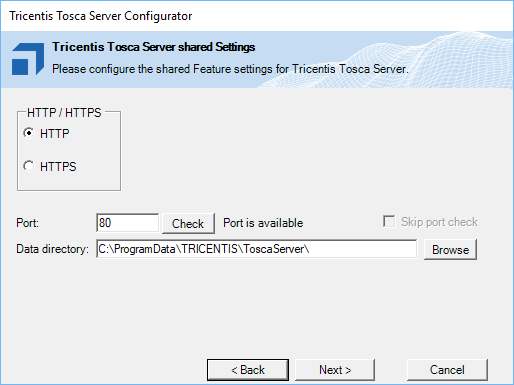
Shared settings
Click Next to continue.
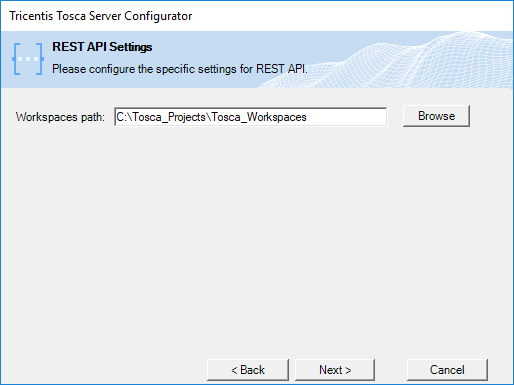
Tosca REST API Service settings
In the REST API Settings dialog, configure the Workspaces path, i.e. the path to the directory where all workspaces are stored.
The default path is %TRICENTIS_PROJECTS%\Tosca_Workspaces.
You can adapt or extend Tosca REST API Service configurations later on (see the Tosca REST API documentation).
Tosca REST API Service settings
|
|
By default, the Tricentis Tosca Server uses the Identity LocalSystem for the Application Pool. If you want to use the Identity ApplicationPoolIdentity, the Application Pool requires read and write permissions for the user IIS APPPOOL\<Application Pool Name> in the directory C:\Windows\System32\config\systemprofile. |
Click Next to continue.
Exploratory Testing Server settings
In the Exploratory Test Server Settings dialog, enter the activation key for the Exploratory Testing Server. This key is provided in your License Agreement.
You can also enter the key later on and continue the installation for now. You cannot send session invites to exploratory testers for as long as you haven't entered the key (see chapter "Configure Server").
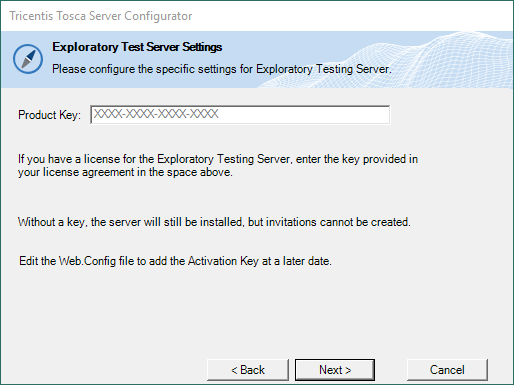
Enter product key
Click Next to continue.
Finish the installation
After you have configured your selected features, you can continue with the installation process.
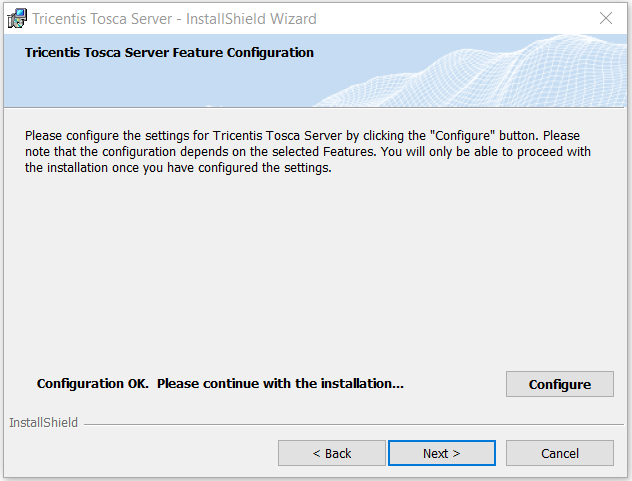
Successful configuration
Click Next to continue.
The subsequent dialog provides you with a configuration overview.
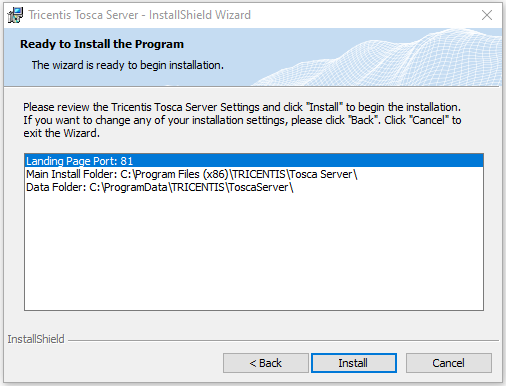
Configuration overview
Click Install to carry out the installation.
At this stage, the installation of the Tricentis Tosca Server is complete.
To view a protocol of the installation process, select Show the Windows Installer log before you click Finish.
To open the Tricentis Tosca Server website, select Open Tosca Server in Browser before you click Finish.
If you have chosen an HTTPS binding, select Open Tosca Server HTTPS configuration manual for information on the HTTPS configuration. The InstallShield Wizard automatically creates the desktop shortcut Tosca Server HTTPS Manual. You can also open the manual via the Windows Start Menu Start->All Programs->Tricentis->Tosca Server->HTTPSManual.
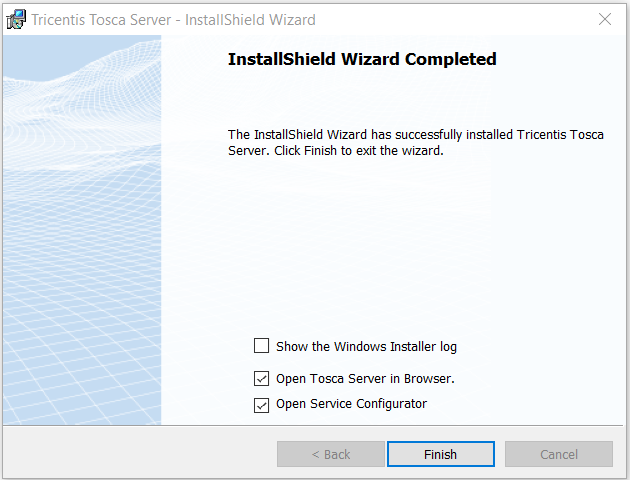
Completed installation process
Click Finish to complete the installation.
Tricentis Service Configuration starts automatically after the Tricentis Tosca Server installation is completed.