Record interactions in an interactive TestCase
To provide more information in your interactive TestCases, you can record mouse and keyboard interactions during testing. The Interactive Testing Agent adds the recorded interactions as screenshots to your TestSteps or TestStepValues. When you upload your test results to the server, the Interactive Testing Agent saves your recorded screenshots and file attachments to Tricentis File Service as a ZIP file.
-
The recording function is available for each TestStep and TestStepValue within the interactive TestCase.
-
There is no file size constraint. However, if your administrator has set a file size limit to Tricentis File Service, the Interactive Testing Agent notifies you if your attachments exceed that limit.

|
Before you save your results to the server, the Interactive Testing Agent temporarily saves your attachments and recording screenshots to the Temp folder. Therefore, don't delete the Temp folder if you are conducting an interactive test. |
Prerequisites
To record interactions in your TestCases, you have to meet the following prerequisites:
-
The Test Manager has to define the ServerEndpointAddress in the setting Tricentis Services. To retrieve the ServerEndpointAddress, ask your administrator.
-
The administrator has to define the Storage Directory Path for Tricentis File Service in Tricentis Service Configuration.
Record interactions
To record interactions for TestSteps and TestStepValues, follow the steps below:
-
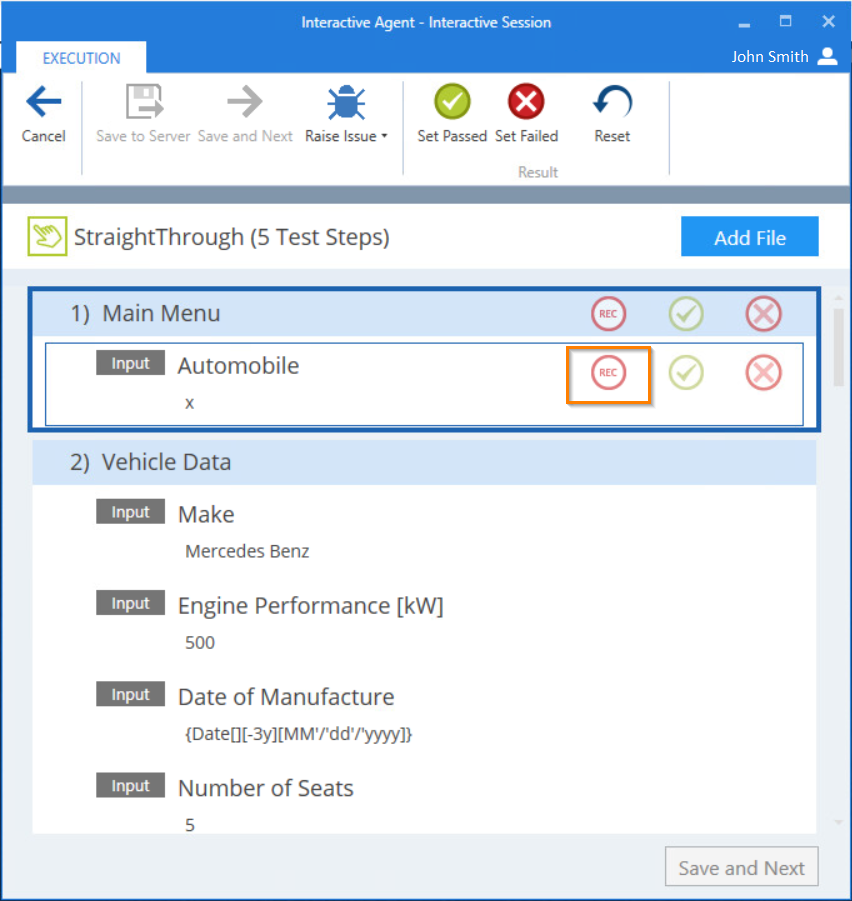
Click on the
 Record icon next to the TestStep or TestStepValue for which you want to record interactions.
You can only record interactions for TestSteps and TestStepValues that you already set a result to or the current step, but not the ones ahead.
Record interactions in an interactive test
-
In the subsequent Configure Interactions Recording dialog, select the applications you want to record. If the applications require administrator rights, select enable the check-box Start as Administrator.
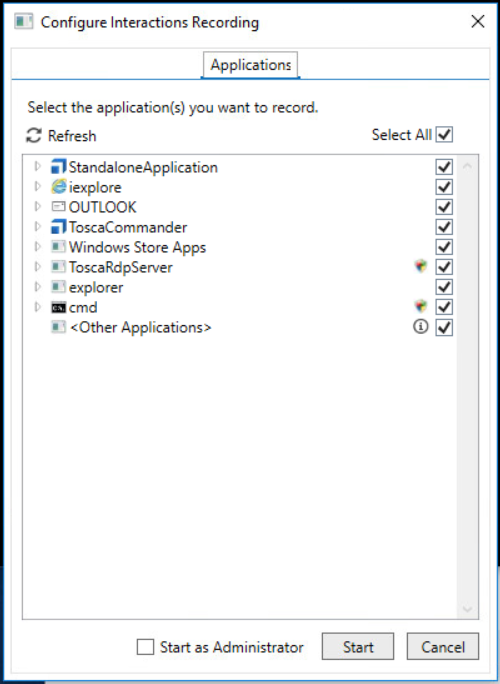
Configure Interactions Recording
-
Click Start. The recording starts immediately.
To control the recording, use the buttons in the bottom right corner of the recording area:
 Stop,
Stop, 
 Pause/Resume,
  Settings,
  Recording.
While the
Recording is running, you can't save your results, continue to the next TestCase, or start a recording for another TestStep or TestStep Value. You have to Stop the recording first. -
Perform the interactions that you want to record. A screenshot is automatically created for each interaction you perform.
-
Optionally, to change the application, click on the
Settings icon and select an application. -
Once you are ready, click
Stop to end the recording and return to your TestCase.
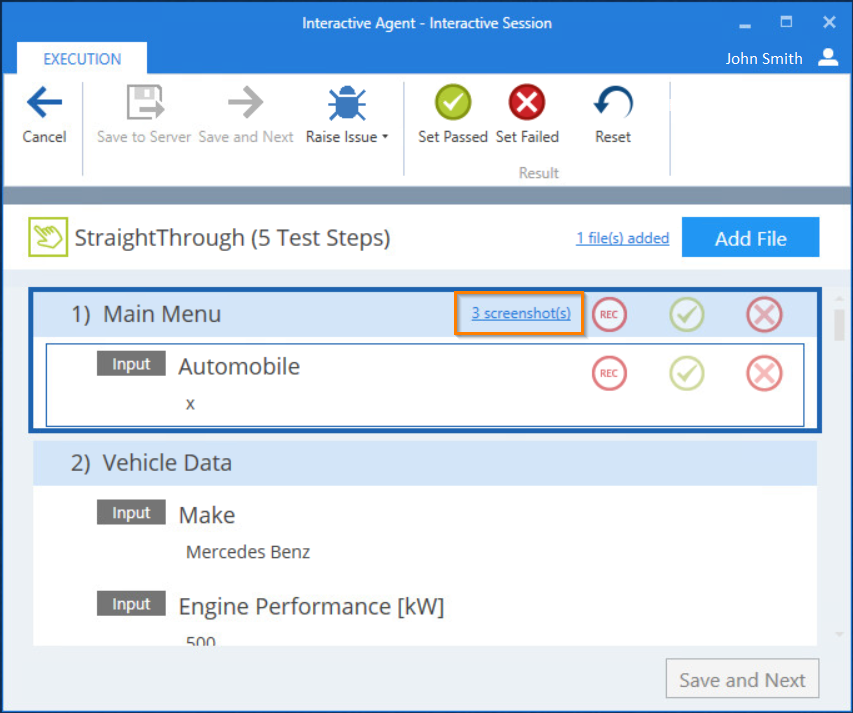
The Interactive Testing Agent displays the number of recorded screenshots next to the TestStep or TestStepValue.
You can return to any TestStep or TestStepValue that already has recorded screenshots and record further interactions. The new recording doesn't overwrite the existing screenshots. It creates new screenshots and adds them to the TestStep or TestStepValue.
Recording attachment
|
|
If you save your interactive test results with recorded screenshots to the server, the Interactive Testing Agent saves the recorded screenshots and attachments to Tricentis File Service. If Tricentis File Service is temporarily unavailable, you must wait until you can reach it to save your test results with recorded screenshots and attachments. |
Manage recordings
After you have recorded interactions, you can view and delete the recorded screenshots before saving the TestCase results.
View recordings
To view a recorded screenshot, follow the steps below:
-
Click on the Screenshot(s) link next to the name of the TestStep or TestStepValue.
Open recorded screenshots
-
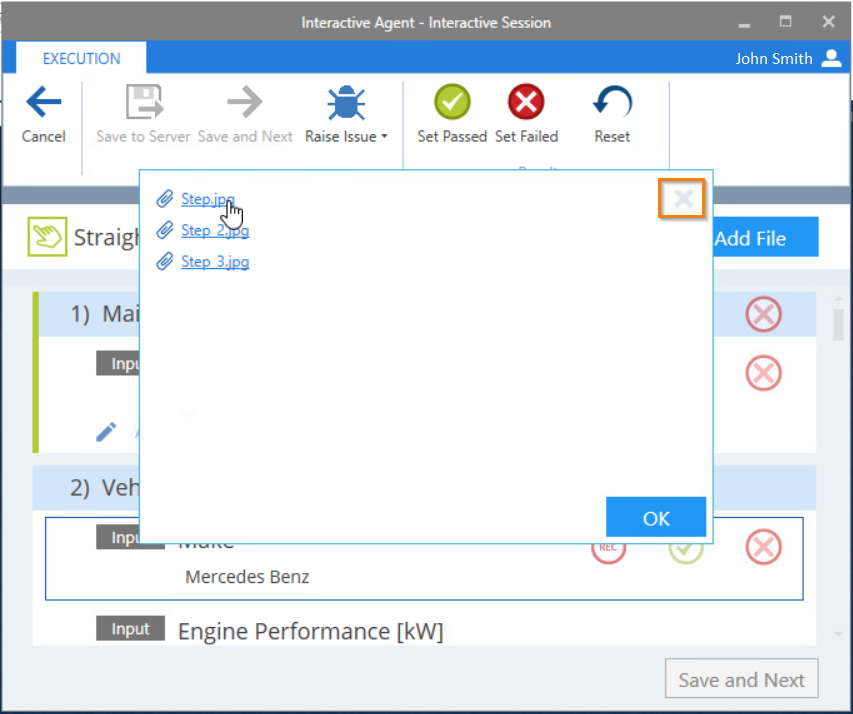
In the subsequent dialog, click on the name of the recorded screenshot that you want to view. This opens the parent folder that contains the file.
-
Double-click on the file that you want to view.
Delete recordings
To delete a recorded screenshot from the TestCase, follow the steps below:
-
Click on the Screenshot(s) link next to the name of the TestStep or TestStepValue.
-
In the subsequent dialog, hover over the name of the recorded screenshot that you want to delete. The
 delete icon appears on the right side.
Delete recorded screenshot file
-
Click the
Delete icon. -
In the subsequent warning dialog, click OK to confirm the deletion.