Navigate the Tosca XScan UI
This chapters contains detailed information on how to navigate the user interface of the Tosca XScan.
Select Application screen
To scan an application, select it in the Select Application screen of Tosca XScan and click Scan.
Alternatively, just double-click on the application window.
Tosca XScan automatically selects the engine with which it scans the application.
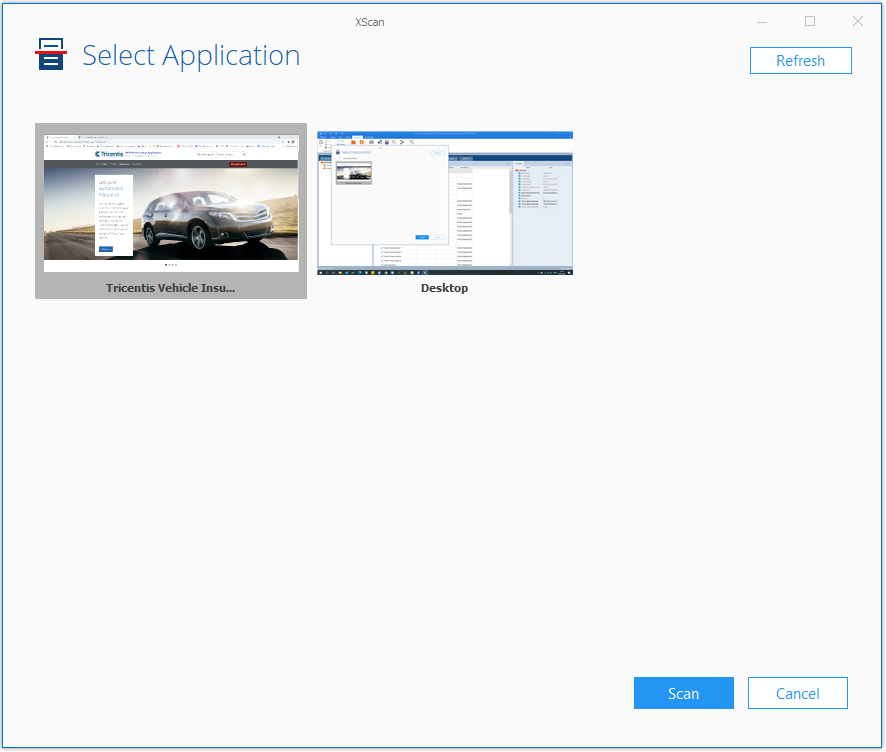
Select application window
Select engine to scan your application
To specify which engine Tosca XScan should use to scan your application, right-click on a window and select one from the list of available engines.
To blacklist an application, right-click on its window and select Blacklist Application. Tosca XScan ignores blacklisted applications and does not display them in the Select Application screen.
Blacklisted applications are listed in Settings->TBox->Recorder->Blacklisted processes. If you want a blacklisted application to be displayed in Tosca XScan again, remove it from the list.
Basic View
In Tosca XScan you change select between a Basic View, a Condensed View and an Advanced View.
Click on the ![]() Basic button in the Advanced View or Condensed View to switch to the Basic View in the Tosca XScan.
Basic button in the Advanced View or Condensed View to switch to the Basic View in the Tosca XScan.
If you switch to the Basic View, the Select on Screen mode is automatically enabled. A click on individual controls in the test object selects or deselects them in the XScan window (see "Select controls in the test object").
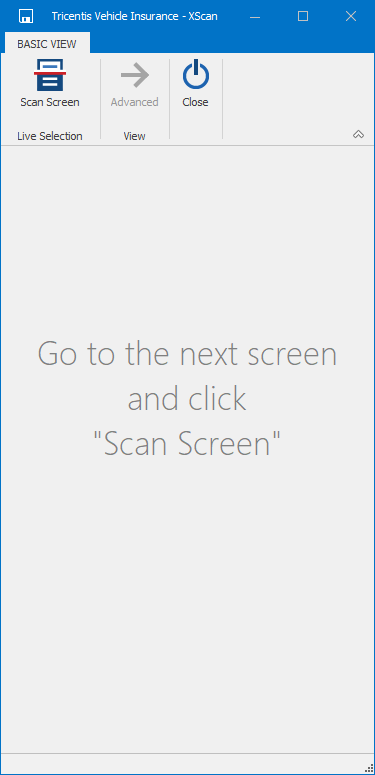
Basic View in Tosca XScan
The Basic View tab contains the following options, depending on the technology used:
|
Option |
Description |
|---|---|
|
|
Saves your scan results and Tosca XScan creates a new Module. |
|
|
Starts scanning the application window. A click on individual controls in the test object selects or deselects them in the XScan window. |
|
|
Opens the Condensed View of the Tosca XScan. |
|
|
Opens the Advanced View of the Tosca XScan. |
|
|
Closes the Tosca XScan. The scan results are saved and Tosca creates a new Module. |
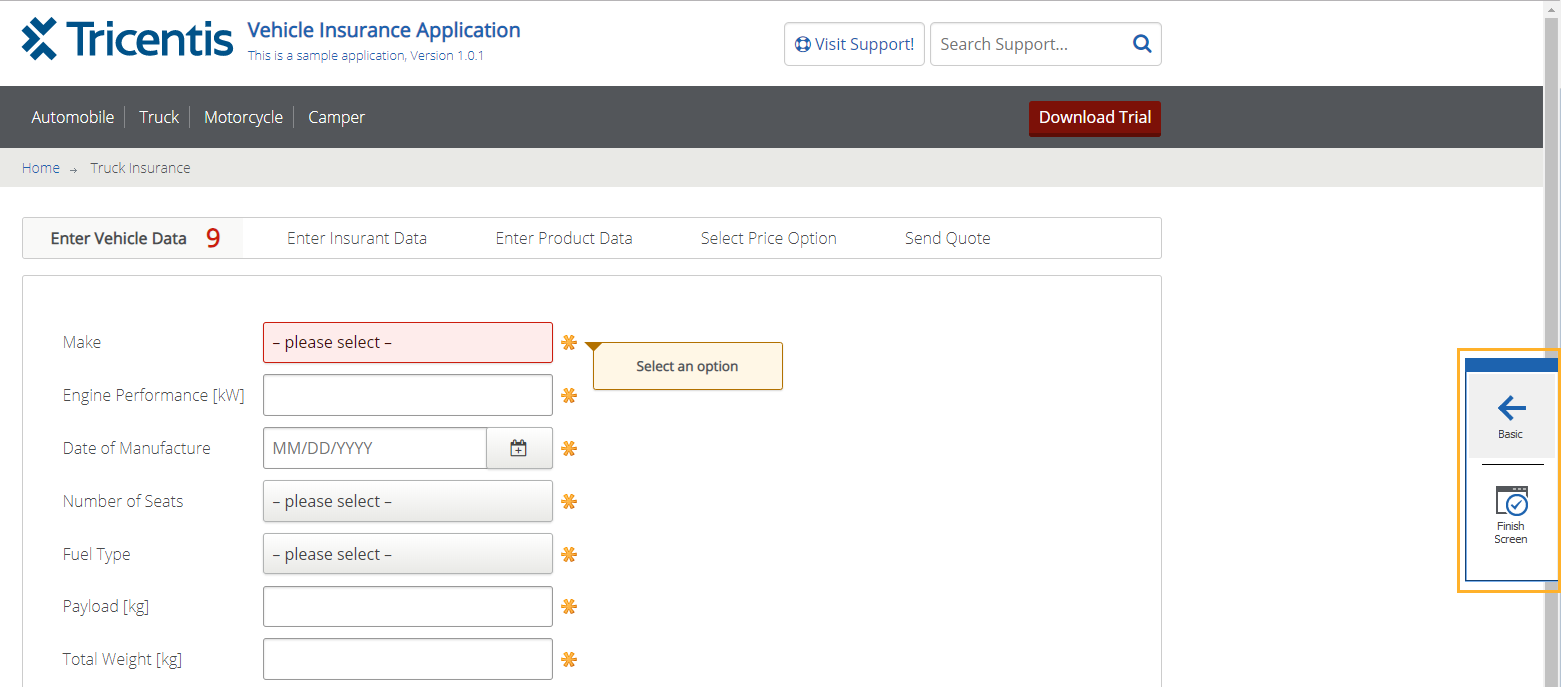
Condensed View
The Condensed View is a minimized view of the Tosca XScan and is displayed at the right side of your screen.
To close the Condensed View click on the ![]() Basic button.
Basic button.
Condensed View in Tosca XScan
If some of the controls that you have selected in your application are not uniquely identifiable, you can return to the Basic View to review the controls. To review the controls in the Basic View, click the ![]() Review Items button.
Review Items button.
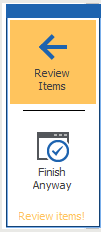
Review unidentified selected control
Advanced View
In the Advanced View you can select the controls to steer. The icons next to the controls indicate the identification criteria used. A click on these icons opens the according windows.
Click the ![]() Advanced button in the Basic View to switch to the Advanced View in Tosca XScan.
Advanced button in the Basic View to switch to the Advanced View in Tosca XScan.
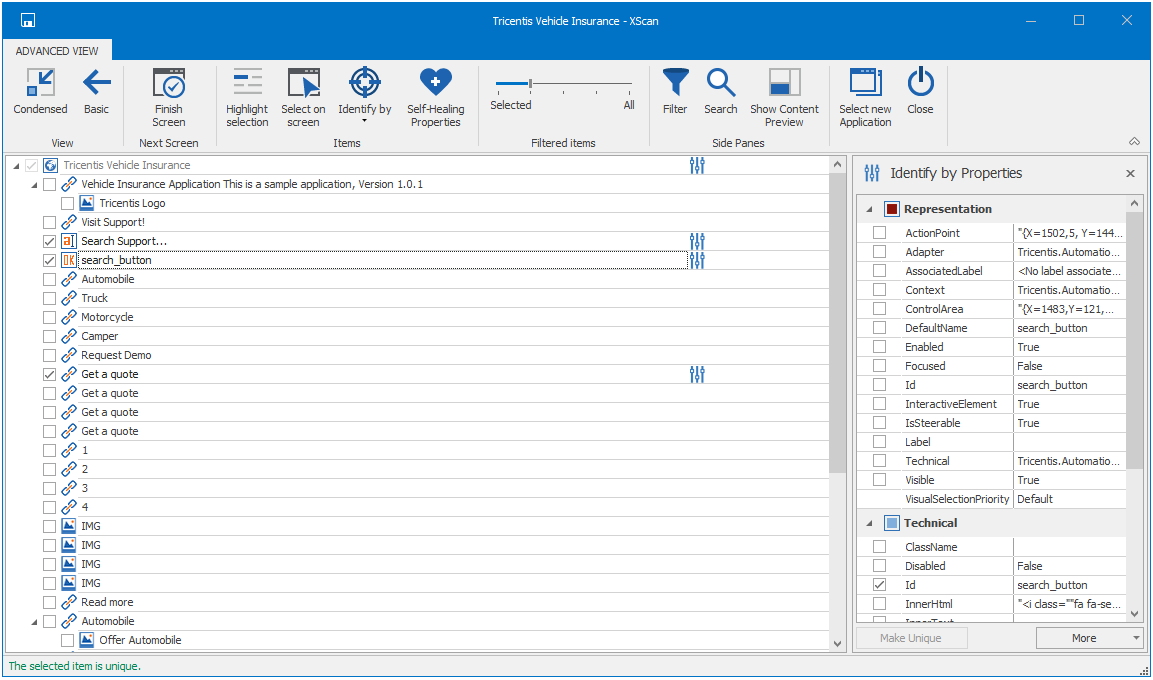
Advanced View in Tosca XScan
The Advanced View tab contains the following options, depending on the technology used:
|
Option |
Description |
|---|---|
|
|
Opens the Condensed View of Tosca XScan. |
|
|
Opens the Basic View of Tosca XScan. |
|
Saves your scan results and Tosca XScan creates a new Module. |
|
|
Starts scanning the application window. A click on individual controls in the test object selects or deselects them in the XScan window. |
|
|
Each time a control is selected in the tree view Tosca highlights it in red in the test object. You can also navigate in the tree view. To do so, use the arrow keys ↑↓ or double-click the control. |
|
|
A click on individual controls in the test object selects or deselects them in the XScan window (see "Select controls in the test object"). |
|
|
The Identify by Properties window is either hidden from view or shown. This window contains all the technical information and properties of the selected control (see chapter "Identification parameters"). The Load all Properties button allows all technical properties to be loaded for the selected control. |
|
|
The Identify by Anchor window is either hidden from view or shown. In this window you can transfer identification criteria from one control (source control) to another control (see also chapter "Identify controls by anchors"). |
|
|
This window is either hidden from view or shown. You can define an image to be used for identifying controls (see "Identify controls by image: Image-Based Test Automation"). |
|
|
This option shows or hides the Identify by Index window. If a selected control does not have a unique ID, you can select an index to be used upon test execution to identify the control. Enable the checkbox next to Index to select the index. The index is calculated dynamically and on the basis of already selected identification criteria. |
|
|
|
The Self-Healing Properties button allows you to edit the self-healing properties that Tosca has preselected. For more information, see chapter "Modify your self-healing properties". |
|
You can filter the controls to define which ones are shown in the XScan window. You can filter by Control Type, Visibility, and Region. Alternatively, you can use the Filtered items slider to filter controls. To keep the filter position between Tosca XScan and Tosca Rescan sessions, enable the setting Keep filter position between sessions in Settings->TBox->XScan. |
|
|
Filter->Clear Filter |
The Clear Filter button allows you to reset the filtered scan results view to the default view. |
|
Filter->Region |
You can limit the number of controls shown. To do so, follow the steps below:
|
|
The Search window is either shown or hidden from view. In this window you can enter a string which occurs in the item name as a search filter. |
|
|
The Content View window is either shown or hidden. This window shows contents of a selected control such as table contents, links, etc. Here you can define table headers and columns (see chapter "Scan tables"). |
|
|
Opens the Select Application window, where you can select a new application to scan. |
|
|
Closes Tosca XScan. The scan results are saved and Tosca creates a new Module. |
Content View
The Content View window shows the content of a selected control.
To hide or show the Content View in Tosca XScan, click on ![]() Hide/Show Content Preview in the XScan menu.
Hide/Show Content Preview in the XScan menu.