Functional Test QuickStart Guide
This topic provides you with the basics of creating a basic Functional Test. To begin, log in to ServiceNow to display the main screen.
Create an Environment
-
Select the Test Data > Environments item in the ServiceNow hierarchy, and click New in the Test Environments screen.
-
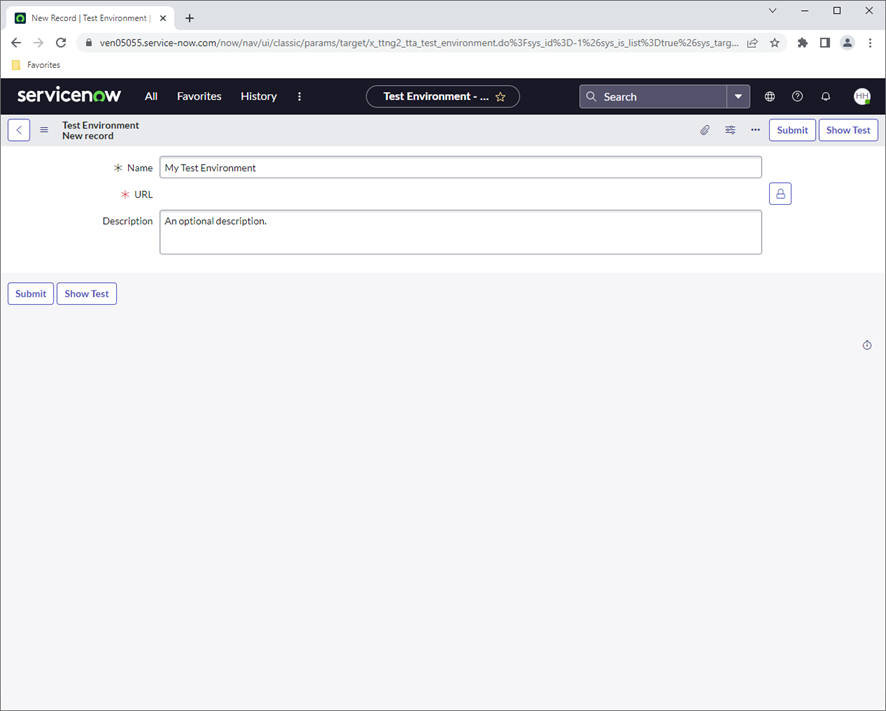
In the Test Environment New record screen, enter a name for the environment in the Name field. and the URL for your ServiceNow instance in the URL field.
-
Click
 and the enter URL for your ServiceNow instance in the URL field.
 -
Optionally, enter a description for the environment in the Description field.
-
Click Submit to save the record.
Create a User
-
Select the Test Data > Users item in the ServiceNow hierarchy, and click New in the Test Users screen.
-
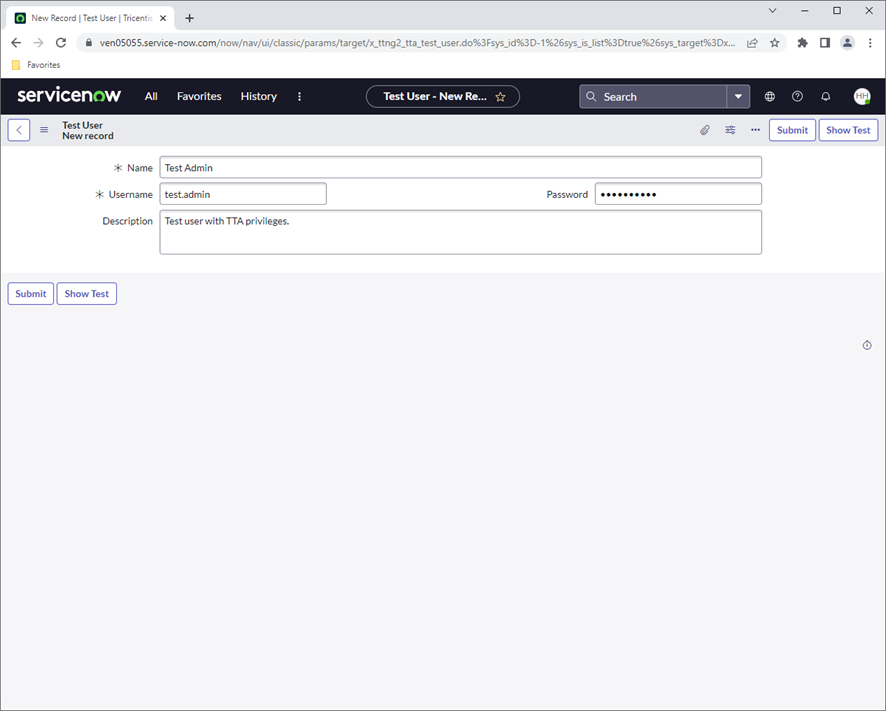
In the Test User New record screen, complete the Username, Name and Password fields to specify the details for the new user.
-
Optionally, enter a description for the user in the Description field.
-
Click Submit to save the record.
Create a Plan
-
Select the Test Repository > Plans item in the ServiceNow hierarchy, and click New in the Test Plans screen.
-
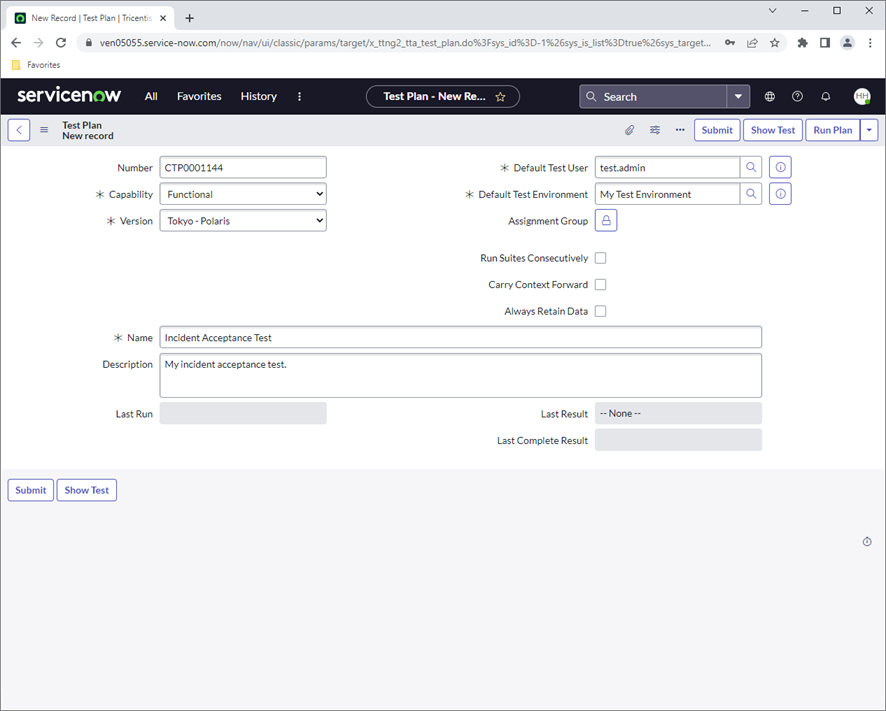
In the Test Plan New record screen, enter a name for the plan in the Name field, and optionally set a description for the plan in the Description field.
-
Enter a value in the Capability field. The most common value will be ‘Functional’.
-
Set the Version field to the version of the Application (if ServiceNow is used).
-
Set the Default Test User field to test user specified in the Create a User section.
-
Set the Default Test Environment field to the environment name specified in the Create an Environment section.
-
Click Submit to save the record.
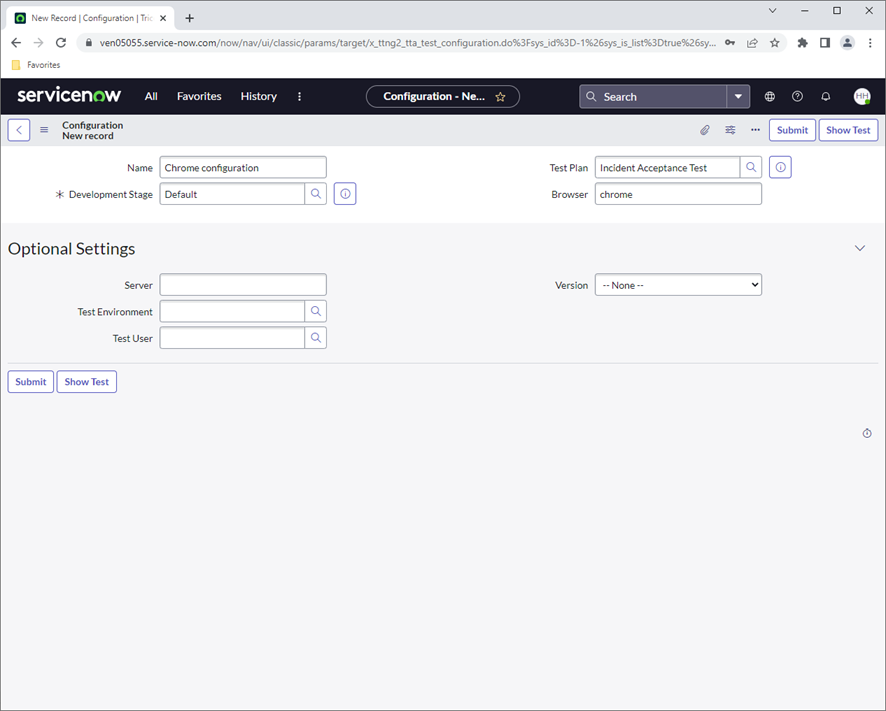
Create at Least One Configuration
-
Open a plan if required by selecting its number in the Test Plans screen.
-
Select Configurations in the tabbed display, and click New.
-
In the Configuration New record screen, enter a name for the configuration in the Name field.
-
Set the Browser field to one of the following values: chrome, firefox, internet_explorer.
-
Click Submit to save the record.
For trial instances, avoid setting additional fields as this may cause the runner to miss the test.
Create a Suite
-
Open a plan if required by selecting its number in the Test Plans screen.
-
Select Suites in the tabbed display, and click New.
-
In the Suite New record screen, enter a name for the suite in the Name field. Optionally, enter a description for the suite in the Description field.
-
Set the Test User Field to the user created in the Create a User section.

-
Click Submit to save the record.
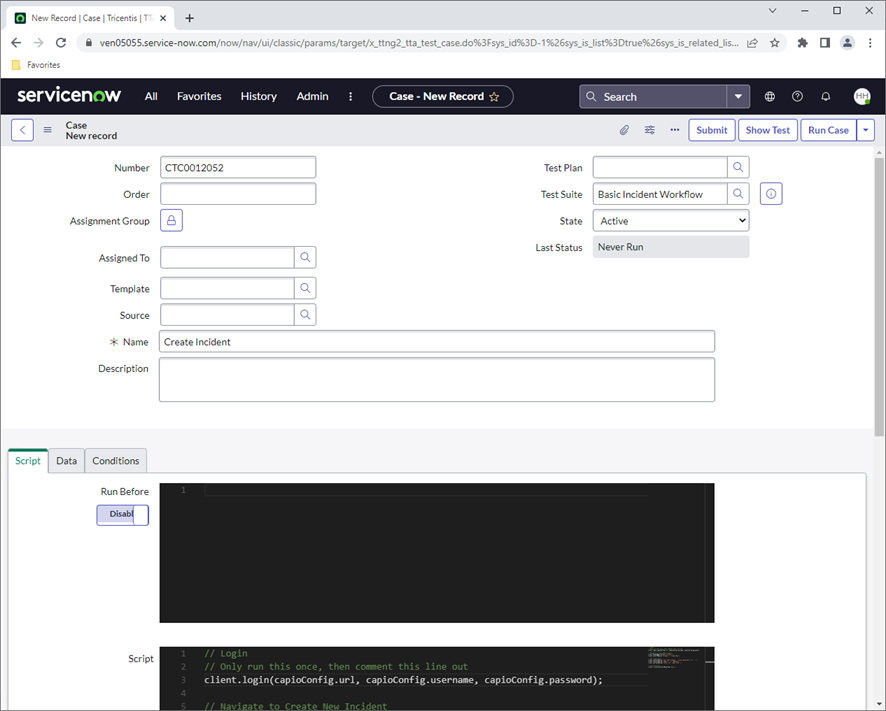
Create a Case
-
Select the Suites tab in the Test Plans screen, and open a suite by selecting it in the Number column.
-
Select Cases in the tabbed display, and click New.
-
In the Case New record screen, enter a name for the case in the Name field. Optionally, enter a description for the case in the Description field.
-
In the Script tab, create the script according to the requirements of the case.
-
Click Submit to save the record.
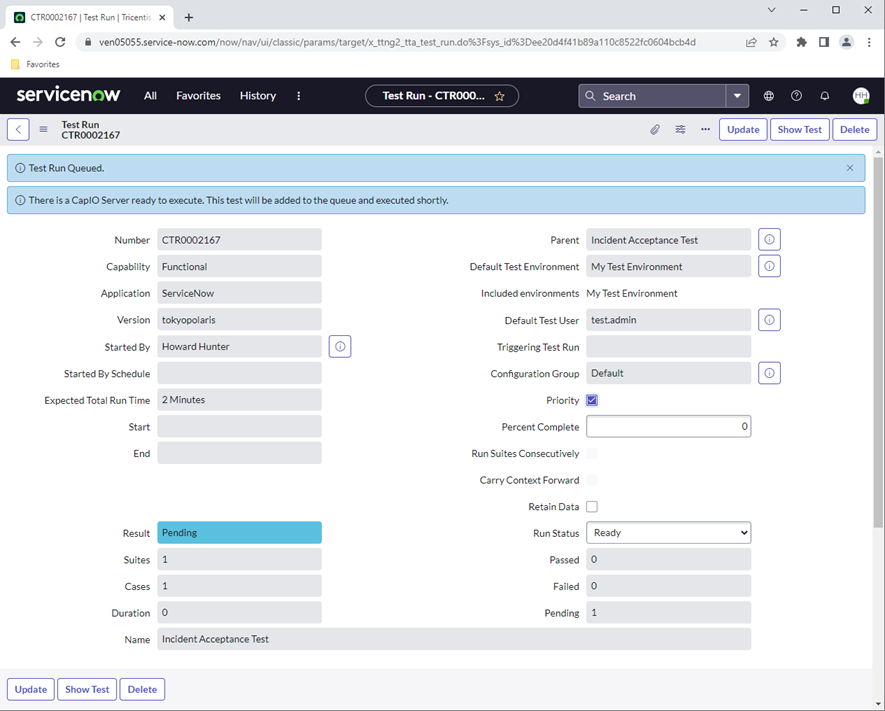
Execute the Test
-
Open a plan if required by selecting its number in the Test Plans screen.
-
Click Run Plan. The test will be queued for execution.
-