Dashboards
Insights offers users the ability to create and select Dashboards so to best and most efficiently view data important to testing teams.
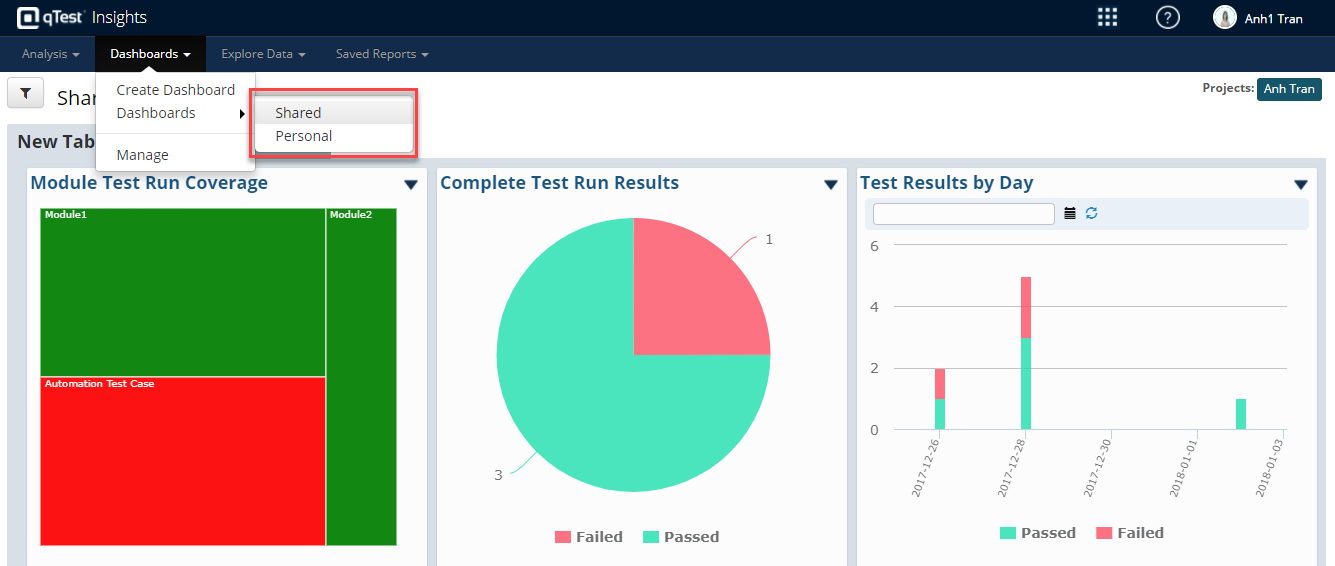
Shared and Personal Dashboards
Shared and Personal Dashboards are built-in Dashboards, which are already defined by the system. You can modify the content of such Dashboards but are unable to rename or delete it.
-
A Shared Dashboard can be seen by all qTest Administrators who have Insights View privilege and can be edited by ones who have Insights Editor privilege.
-
A Personal Dashboard is your own space, only you can see and edit your Dashboard.
Create A New Dashboard
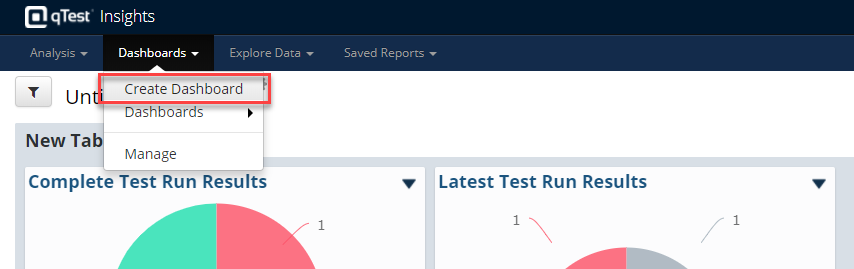
Besides using the built-in Dashboards (Shared and Personal ones as mentioned in the previous section), you also have the ability to create multiple Dashboards. To do so, follow these steps:
-
Select the Dashboards tab. In the drop-down menu, select Create Dashboard.
-
A new Untitled Dashboard displays. Rename the Dashboard by selecting the Gear icon and selecting Rename in the drop-down menu. Type your desired name in the text-field and select the Save icon.
-
Add panels you want into the blank Dashboard by selecting them from the Gallery at the bottom of the new Dashboard.
-
Once you finish creating the layout for your Dashboard, you can find it by selecting the Dashboards tab and choosing Manage. Your Dashboard will display in the Available Dashboards page.
-
To show your Dashboard in the Dashboards menu, select the checkbox next to your Dashboard under the Show In Menu column.
Delete and Duplicate your Dashboard
With the Dashboard pulled up, select the Gear icon. In the menu, select either Duplicate or Delete.
Save Dashboard with Filter
Users can also apply and save filters to their Dashboards. This feature is useful when you want to create many versions of the same Dashboard for different projects, each with different filters applied. To do so, follow these steps:
-
Select the Dashboards tab, and choose Dashboards from the drop-down menu.
-
Another menu displays. Select your Dashboard onto which you want to apply a filter.
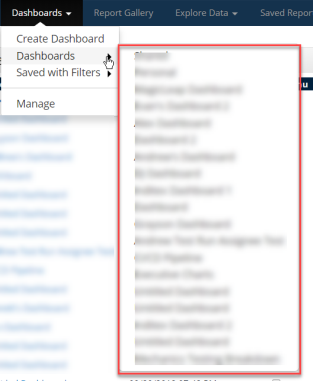 If you are not seeing your created Dashboard(s) in this menu, make sure that you have selected your Dashboard(s) to be viewable in the Available Dashboards page.
 -
Your Dashboard displays. Select the Global Filter icon. The "Filters" dialog displays.
-
Select the Project(s) and Releases that you want to filter onto your Dashboard.
-
Select your refresh rate. This will dictate how frequently your Dashboard data is automatically filtered.
-
Select Save with Filters. Name your new Dashboard with Filters in the "Save Dashboard with filters" dialog. Select Save.
Your Dashboard with its current filter will be saved into a version which we call a "Saved with Filters" Dashboard.
Once this saved-with-filters Dashboard is created, you can find it in the Manage page, under Saved with Filters/ Personal section. That said, only you can see this version of the Dashboard unless you choose to share it with other editors.
Keep in Mind
Only an Insights Editor can perform this "Save Dashboard with Filter" functionality.
If you make changes to a Dashboard's content (add/remove, drag/drop panels), its associated saved-with-filters versions will also change accordingly, although the filters in those versions remain unchanged.
A Save-with-filters Dashboard is an image of the Dashboard that you have saved. Any time you access these type of Dashboards, you will see an image of the Dashboard saved. Once you navigate away from this page, filter cookie will carry on with your browser session. Please remove the global filters before navigating away from a saved-with-filters Dashboards.
For a use case that deals with Dashboards saved with filters, refer to this article.
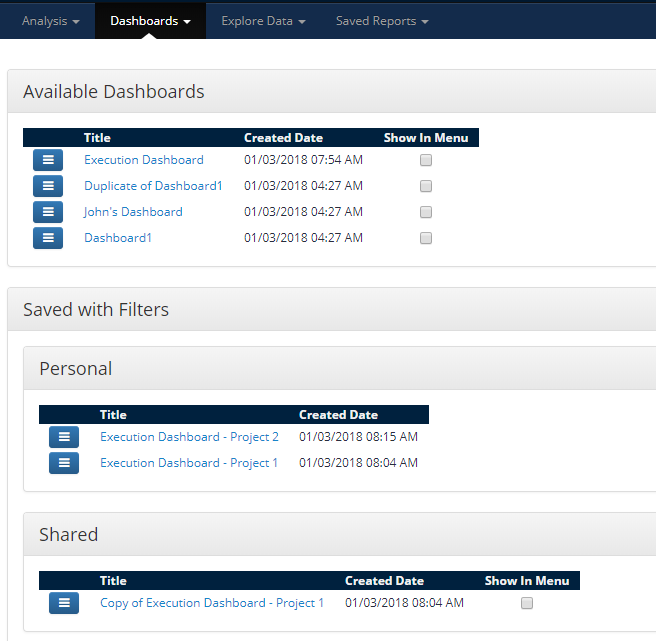
Manage Dashboards
To access the Manage feature, select the Dashboards tab and choose the Manage option from the drop-down menu. There are 3 sections in the Manage feature.
-
Available Dashboards: To manage all user-created Dashboards
-
Saved with Filters/ Personal: Personal Saved-with-Filters Dashboards
-
Saved with Filters/ Shared: Shared Saved-with-Filters Dashboards
Manage Dashboard
-
Show in Menu: This option is only available for user-created Dashboards and shared Saved-with-filters Dashboards.
-
Share Dashboard: Share a personal saved-with-filters Dashboard
-
View Dashboard: open the Dashboard in a new tab
-
Rename Dashboard: rename the Dashboard
-
Delete Dashboard: Delete a Dashboard. If you delete a Dashboard which has associated saved-with-filters versions, the saved Dashboards will also be deleted.
Try This: Create a Quality Backlog Dashboard Panel and Save it with a Filter