 Assign groups to groups
In order to better organize and manage user groups, Admins can nest groups within each other.
To do so, follow the steps below:
-
In the Groups view of the Tricentis User Administration, click on the
 Details icon to select the group to which you want to add another group.
 This opens the Details view of the selected group.
-
Select the
 icon under Child Groups.
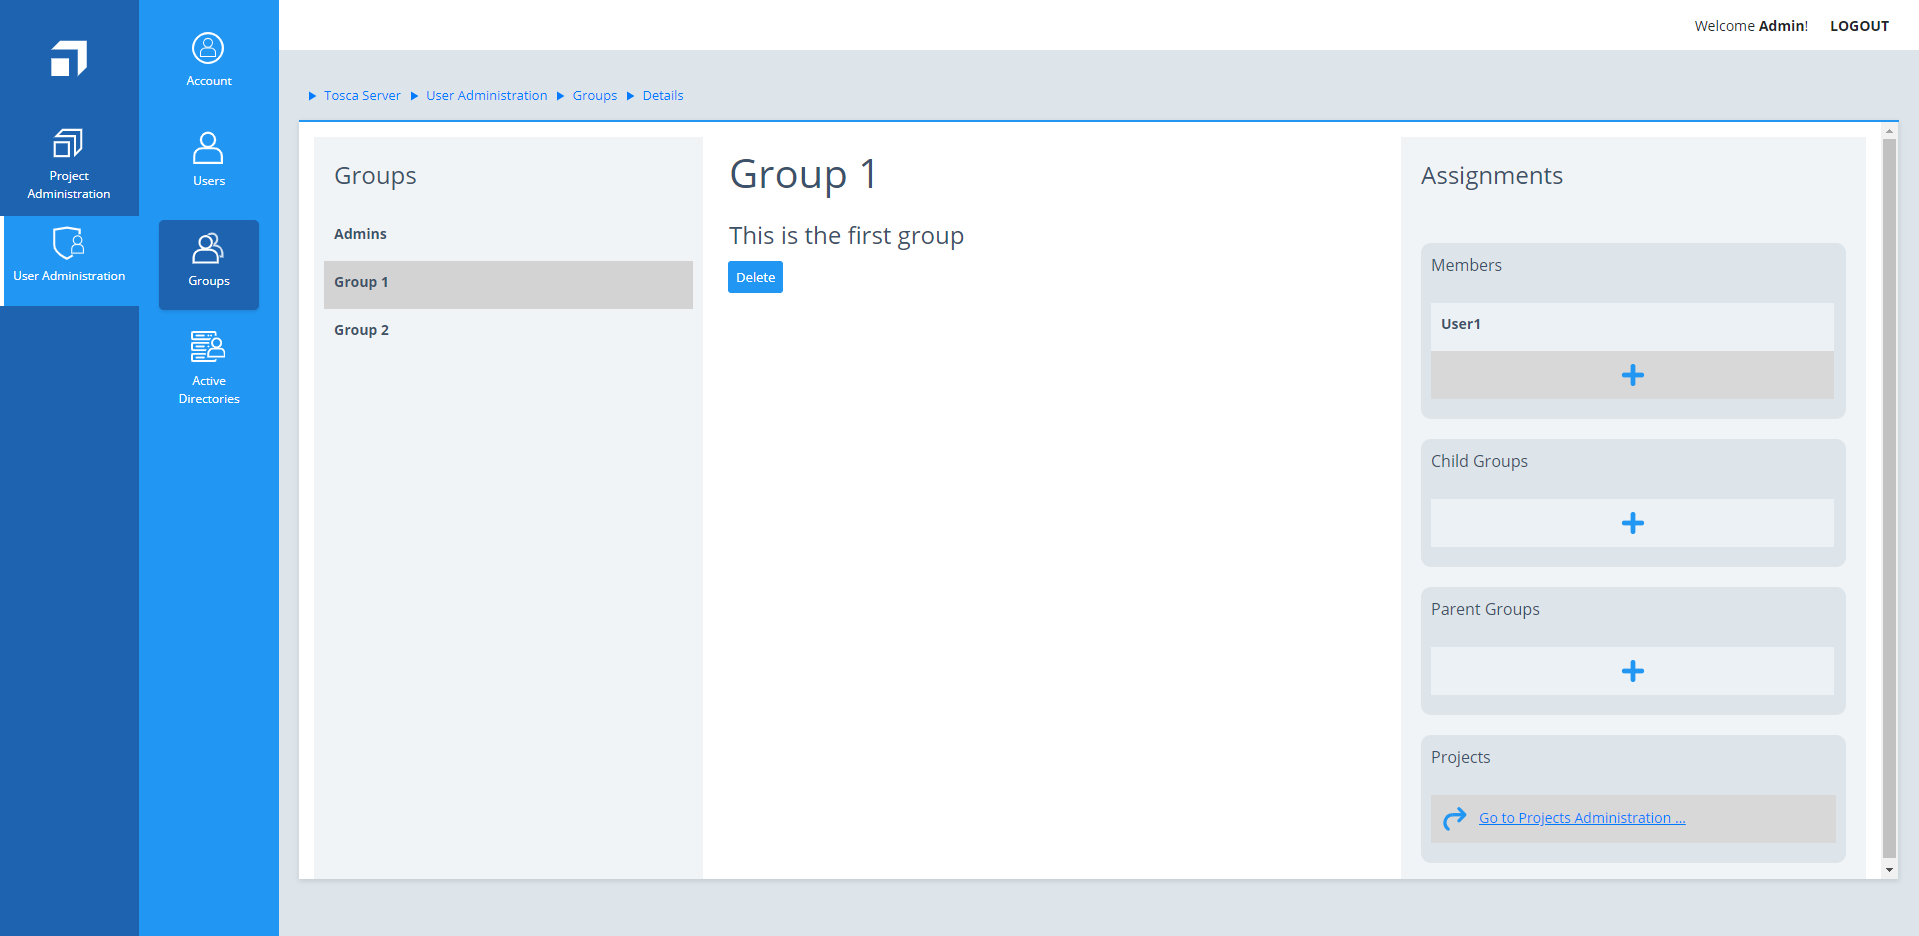
Add child group to parent group
-
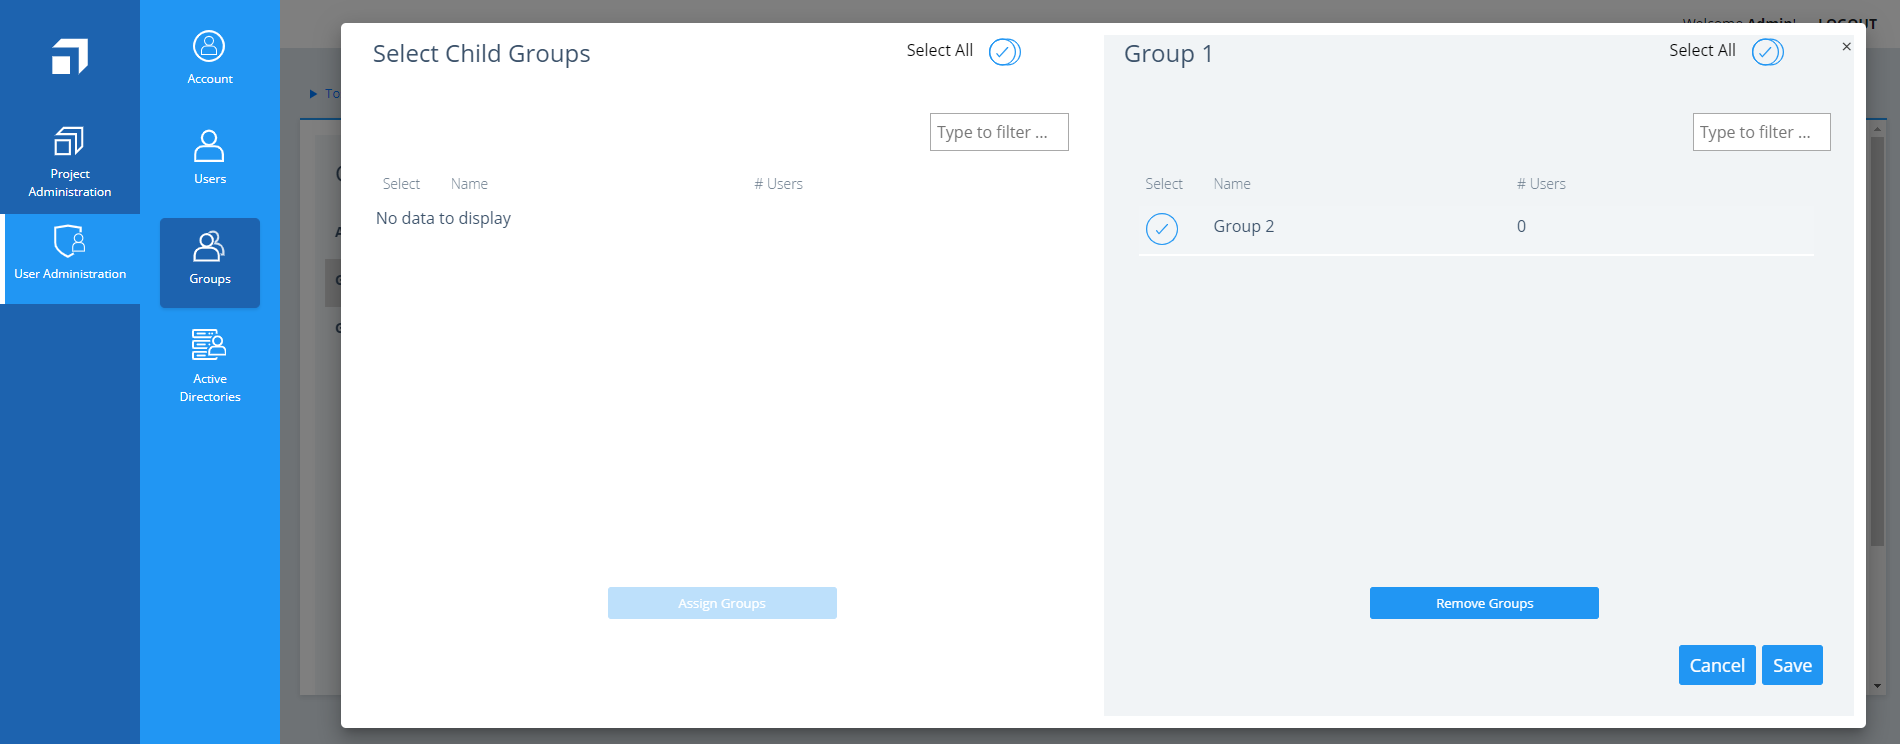
Select the group or groups you want to add by enabling the respective check box in the Select column, and click Assign Groups.

Select groups
To find a group quickly, you can filter the overview list. To do so, type into the Type to filter ... text field.
-
Click Save.
The Details window closes, and the assigned group appears under the Child Groups of the selected parent group.

|
You can assign groups from Active Directory to normal groups, but not vice versa. |
Remove assigned child groups
To remove an assigned child group, follow the steps below:
-
Click into the Details page of the parent group and select the
icon under Child Groups. You can see the currently assigned child groups in the panel on the right side.
-
Select the group or groups you want to remove and click Remove Groups.
-
Click Save.
Remove child group(s)