 Configure settings
As an Admin you can define Single Sign-On (SSO) connections in Tricentis User Administration to enable a single sign-on for your users. Tricentis User Administration supports identity providers (IdP) that support Security Assertion Markup Language 2.0 (SAML 2.0).
Prerequisites
To enable Tricentis User Administration for SSO, your SAML 2.0 identity provider needs to provide the following claims. Forward the list of claims to your IT department.
|
Name |
Claim Type URI |
Description |
|---|---|---|
|
|
http://schemas.xmlsoap.org/ws/2005/05/identity/claims/emailaddress |
Valid e-mail address of the user. Example: j.doe@tricentis.com. |
|
name |
http://schemas.xmlsoap.org/ws/2005/05/identity/claims/name |
(Optional) Name of the user. Example: John Doe. |
To set up SSO with your identity provider (IdP), enter the following values during configuration:
-
Identifier (Entity ID): http://<server address>/saml. If you use an HTTPS binding, enter https://<server address>/saml.
Replace <server address> with the name of the host or the IP address of the server.
-
Reply URL (Assertion Consumer Service (ACS) URL): http://<server address>/signin-saml. If you use an HTTPS binding, enter https://<server address>/signin-saml.
Replace <server address> with the name of the host or the IP address of the server.
To generate the Service Provider metadata, you must attempt to authenticate against the external identity provider through Tricentis User Administration. This will generate the Service Provider metadata XML file, which is available under http://<server address>/saml/metadata. Replace <server address> with the name of the host or the IP address of the server.
For an example of how to configure and activate your SSO integration with the identity provider Okta, see this Tricentis Knowledge Base article.
Configure SSO
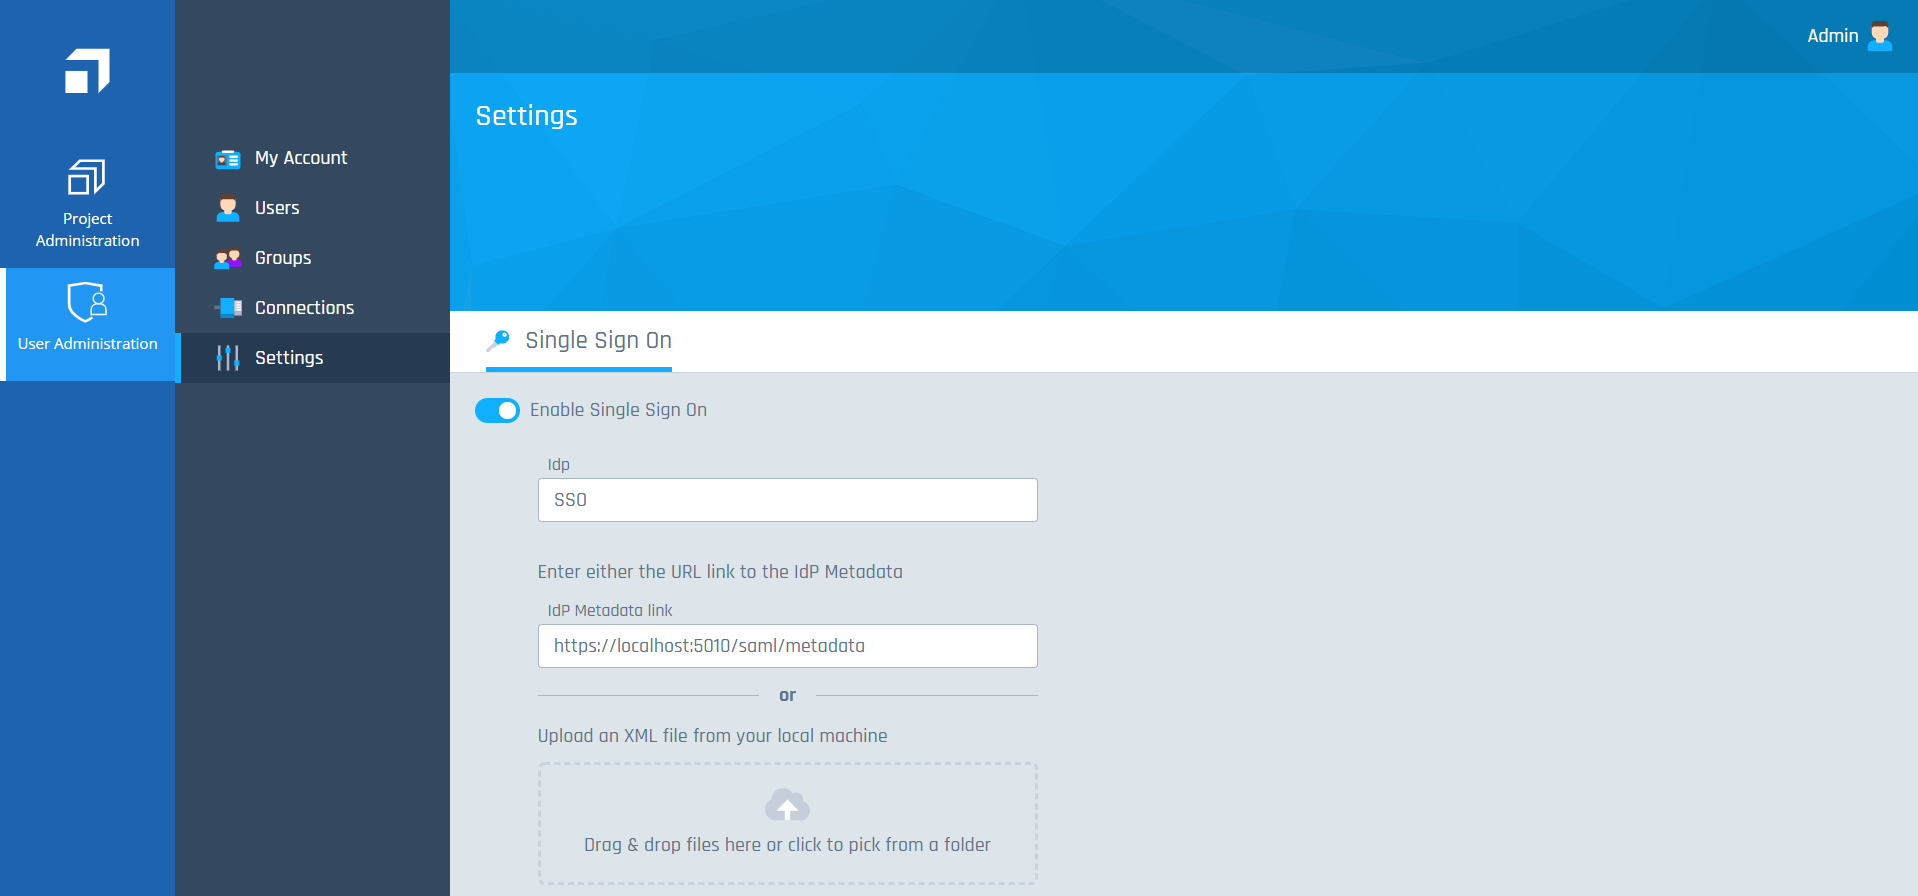
To configure Single Sign-On (SSO) in Tricentis User Administration, follow the steps below:
-
Go to the Settings overview.
-
Click the
 toggle button Enable Single Sign On to enable SSO.
 -
Enter the name for your identity provider (IdP).
-
Enter the URL to your IdP metadata.
Alternatively, you can upload a metadata XML file from your local machine. To do so, drag and drop the files into the box in the middle of the screen or click the
 icon to select a file from your local machine. When a metadata XML file has been successfully uploaded, the icon changes into an
  icon.
icon. Tricentis recommends to use the first option and enter your URL. If the IdP settings change, the entered URL is updated automatically.
Enable SSO

|
Tricentis User Administration only supports a Service Provider Initiated SSO flow. This means that you have to log into Tricentis User Administration via the SSO login button after you have configured SSO. |