Record videos
The exploratory testing function in Tosca enables you to capture videos upon testing in order to document your test or any found errors. Video recording is started in the Scenario Manager.
To record a video, follow the steps below:
-
Click on the
 Video icon in the Scenario Manager.
The dialog box Recording Options opens:
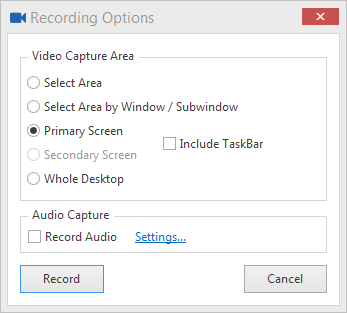
Recording options
-
Select the area to be captured.
If you want to record audio for the video, select the checkbox next to Record Audio. To change the windows audio recording options, click on the Settings... links.
-
Click on the Record button.
The video recording starts and the following icons are displayed at the lower edge of the captured area: Stop![]() , Pause/Resume
, Pause/Resume![]()
![]() , Recording
, Recording![]() . Recording is in progress as long as the Recording icon flashes.
. Recording is in progress as long as the Recording icon flashes.
-
Click on the Stop icon to finish recording.
The Video Editor opens (see "Edit videos").

|
Please note that video recording is only possible on the entire screen if the option Smaller - 100% (default) is enabled at Start->Control Panel->Display. |
Edit videos
The Video Editor allows you to add annotations (comments, shapes) on a video and to cut videos. The Video Editor opens as soon as video recording has finished.
You can also open and edit existing videos via the Video Editor.
To edit an existing video click onto the Play and Edit![]() icon in the Video tab of the Media view in the Scenario Manager. Alternatively, you can click the attachments
icon in the Video tab of the Media view in the Scenario Manager. Alternatively, you can click the attachments ![]() icon of a step and double-click the video you would like to edit (see chapter "Edit scenario").
icon of a step and double-click the video you would like to edit (see chapter "Edit scenario").
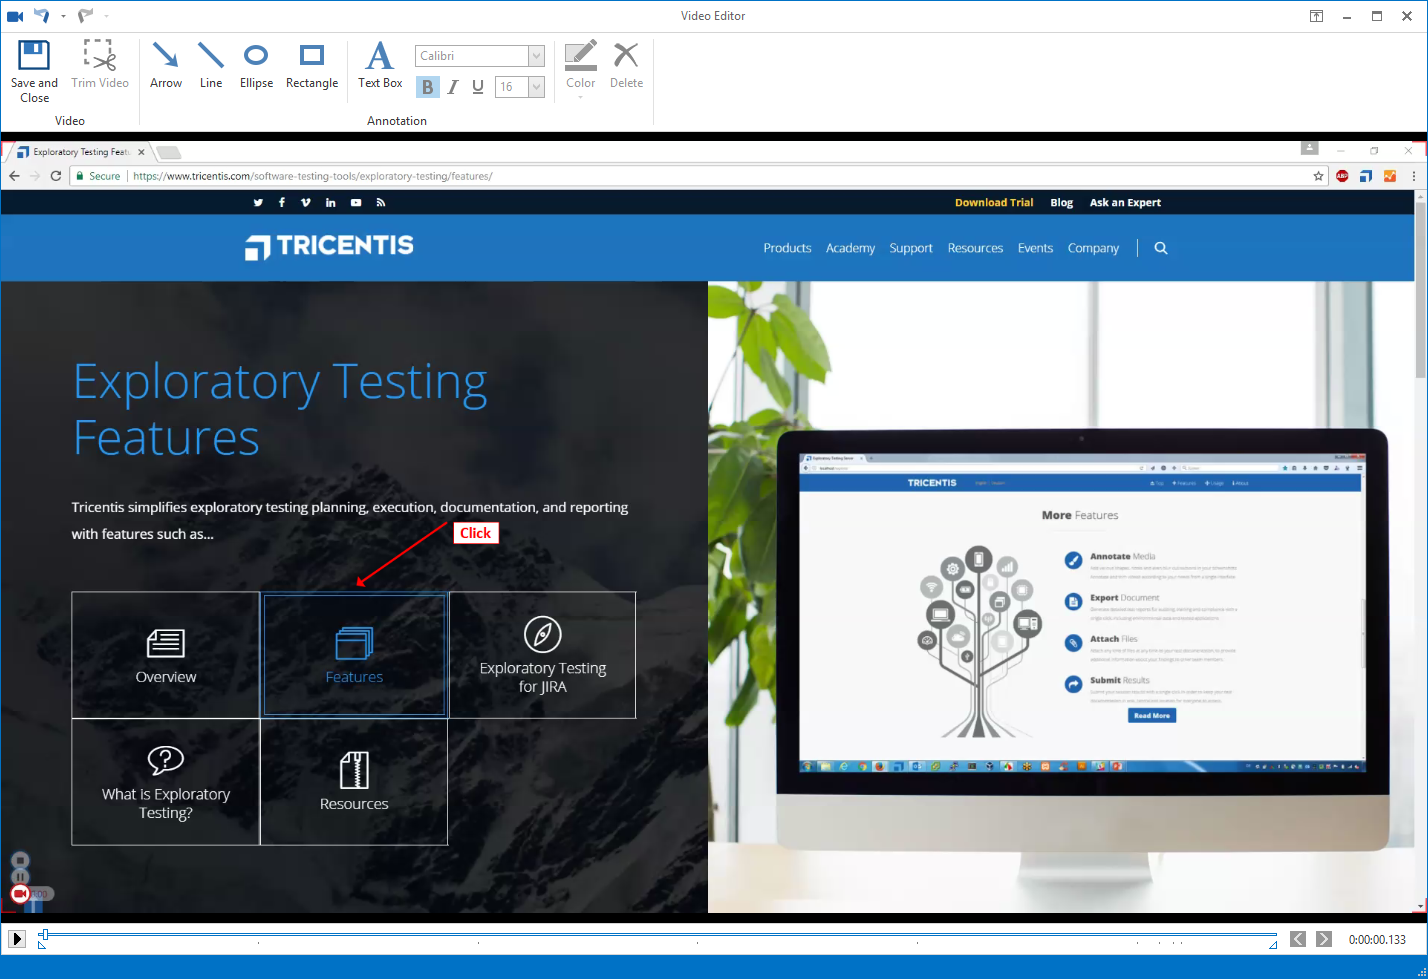
Adding annotations
The following options are available for selection:
|
Option |
Description |
|---|---|
|
|
This option saves the video and closes the Video Editor. A new TestStep is created in the scenario and the video is stored in the Result column of the TestStep in the Scenario Manager. |
|
|
Allows a specific part of the video to be cut out. Specify the starting and the end point by using the following start and end markers: |
|
Annotation section |
This contains a text field and shapes for your annotations. The exact position of an annotation in the video is marked by a dot |
|
|
Previously performed actions are canceled. |
|
|
This restores recently performed actions. |
Export videos
In the Scenario Manager you can export any video which is added to your scenario.
To export a video, follow the steps below:
-
Select the video you want to export.
-
Click on
 Export in the Video tab of the Media view in the Scenario Manager. You can also choose the Export option in the List view of the Scenario Manager by clicking the
  icon in the Result column.