Import and Use Releases from JIRA
qTest Manager allows you to manage standalone Releases and Releases from JIRA. Importing Releases from JIRA allows testers to use up-to-date information from JIRASprints & fix versions.
Before importing Releases from JIRA, please make sure to complete the setup steps described in the following sections:
How to Get Here
-
Within the qTest Project that you are configuring your JIRA integration, select the Gear icon.
-
Select Integration Settings from the drop-down and the Configure Integrations page loads.
-
In the External Systems panel on the left, select JIRA.
-
Locate your JIRA connection in the Connections List section and in the Action column, select the wrench icon to configure.
![]()
Configure Release Integration
-
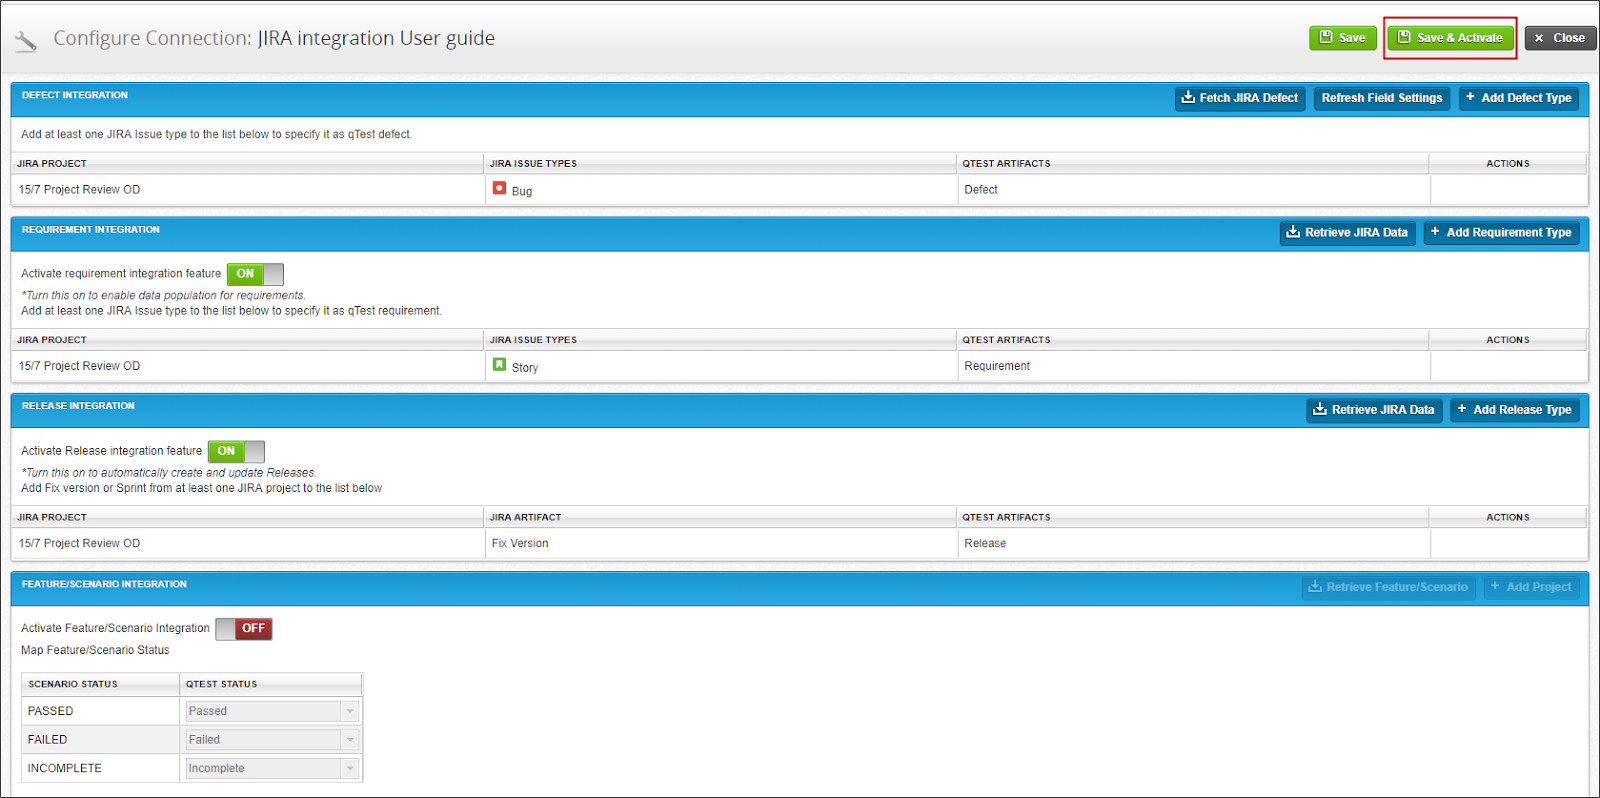
On the Configure Connection page, select the Toggle icon in the "Release Integration" area of the screen to activate the Release integration feature.

-
Select Add Release Type. The "Add Release Types" dialog displays
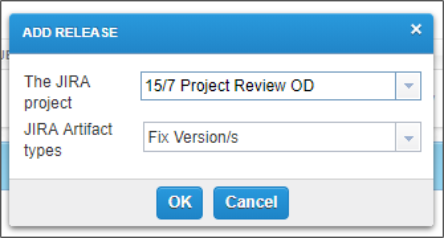
-
Select the down arrow to the right of the JIRA project field. From the drop-down list, select the applicable JIRA project from which you will import requirements to qTest Manager
-
Select the down arrow to the right of the JIRA Artifact types field. Select the artifact type you use to represent Releases in the JIRA project selected above (e.g., Sprint, fix version). This procedure will retrieve that object type so that it imports into qTest Manager as Releases.
The purpose of this step is to identify the artifact type from the JIRA project and import that object type into qTest Manager as Releases. -
Select OK. A line is created in the Release Integration area of the Configure Connection page for the JIRA project and associated JIRA artifact type selected in the steps 3-4 above.

-
Position the arrow cursor on the new line that indicates the JIRA PROJECT and JIRA ARTIFACT TYPES. Then, move the arrow cursor into the ACTIONS column on the right side of the window. Three icons display under that column. Select the wrench icon.

-
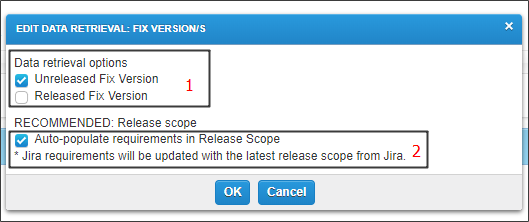
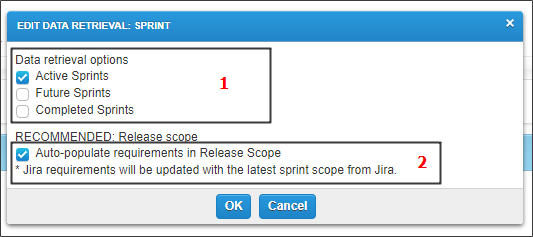
On the Edit Data Retrieval screen, you can configure two things:
Status of selected artifact type (Sprint or fix version) that you wish to retrieve within qTest Manager
Auto-populate requirements in Release Scope
- This step configures the status of artifact types that populate within qTest Manager as Releases and then links imported JIRA Requirements to imported Releases as the latest Release scope from JIRA. Only JIRARequirements will be added to corresponding JIRA Releases.
- The scope of Fix Versions and Sprints in JIRA is real-time updated in Manager (if this function is enabled)
- You are not able to add JIRA Requirements to a JIRARelease scope or remove JIRA Requirements out of a JIRARelease Scope.
- If you manually add a standalone Requirement of Manager to a JIRARelease scope, the link will remain after any data update from JIRA.
For Fix Version
For Sprint
-
Select OK. Then, select Save & Activate.
Retrieve JIRA Data
After you finish all the above steps to configure your Release Integration for JIRA Connection, you can configure your JIRA Artifacts to populate within Manager. There are two ways to go about doing this:
-
Position the arrow cursor on the new line that indicates the JIRA PROJECT and JIRA ARTIFACT TYPES. Then, move the arrow cursor into the ACTIONS column on the right side of the window. Three icons are displayed under that column. Select the retrieve icon.

-
Select Retrieve JIRA Data.

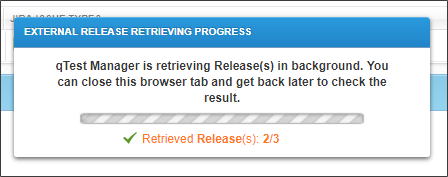
The "EXTERNAL RELEASE RETRIEVING PROGRESS" dialog displays. A progress bar displays.
When qTest Manager has imported all configured JIRA artifacts, the following message is displayed:
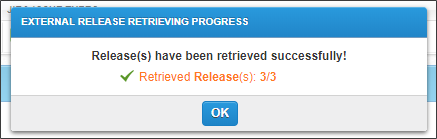
-
Select OK. The Releases created in JIRA will be accessible to testers in qTest Manager. Its properties will separate into two sections: one for Manager’s Properties and a Read-only section for JIRA’s Properties.
Review JIRA Releases After Import
-
Select the Test Plan module from the header and view the Releases imported from JIRA. These are located in the navigation panel. Each of these objects represents an object in JIRA. Imported JIRA artifacts are represented by with the Atlassian symbol
 to differ from internal qTest Releases.
Imported JIRA artifacts update in real-time, but you may have to reload the Release page if you are on the actual page when a change is made on the issue in JIRA. An imported JIRA artifact has two Properties sections - JIRA's Properties and qTest's Properties.
JIRA Properties contain:
-
For Fix Version: Link, Start Date, End Date & Description
-
For Sprint: Start Date, End Date & Sprint Goal
These Properties are Read-only and can be updated in real-time. In case you only update a Sprint goal without updating any other Sprint properties, the Sprint goal will not be automatically synced to Manager. You will need to manually select Retrieve (in the JIRA configuration page or in an individual Release page) to update it. Currently, JIRA Properties' fields cannot be used for searching in qTest Manager.
To view the actual JIRA artifact - Fix Version for a particular Release, select the Link hyperlink to be redirected to JIRA. For Sprint, it shows the name of the Sprint without any hyperlink.
For recommendations on incorporating the Release Integration into your qTest + JIRA workflow, check out this article: Best Practices on JIRA Release Integration.