User Profiles
A User Profile grants users specific permissions in a given project, such as the permissions to create a test case or to execute a Test Run.
qTest Manager provides several User Profiles out of the box, but you can modify and add more profiles to suit your needs. Here is an example User Profile:
-
Project Admin. This User Profile can Manage Project Settings within a given project as well as the ability to invite other users to the project and grant them permissions. You can assign more than one Project Admin to a project.
For Administration profiles, please refer to the User Groups article.
Create and Modify User Profiles
qTest Manager provides several user profiles out of the box. You can continue to use those as-in or modify them to suit your needs. You can also create a new User Profile by following these steps.
-
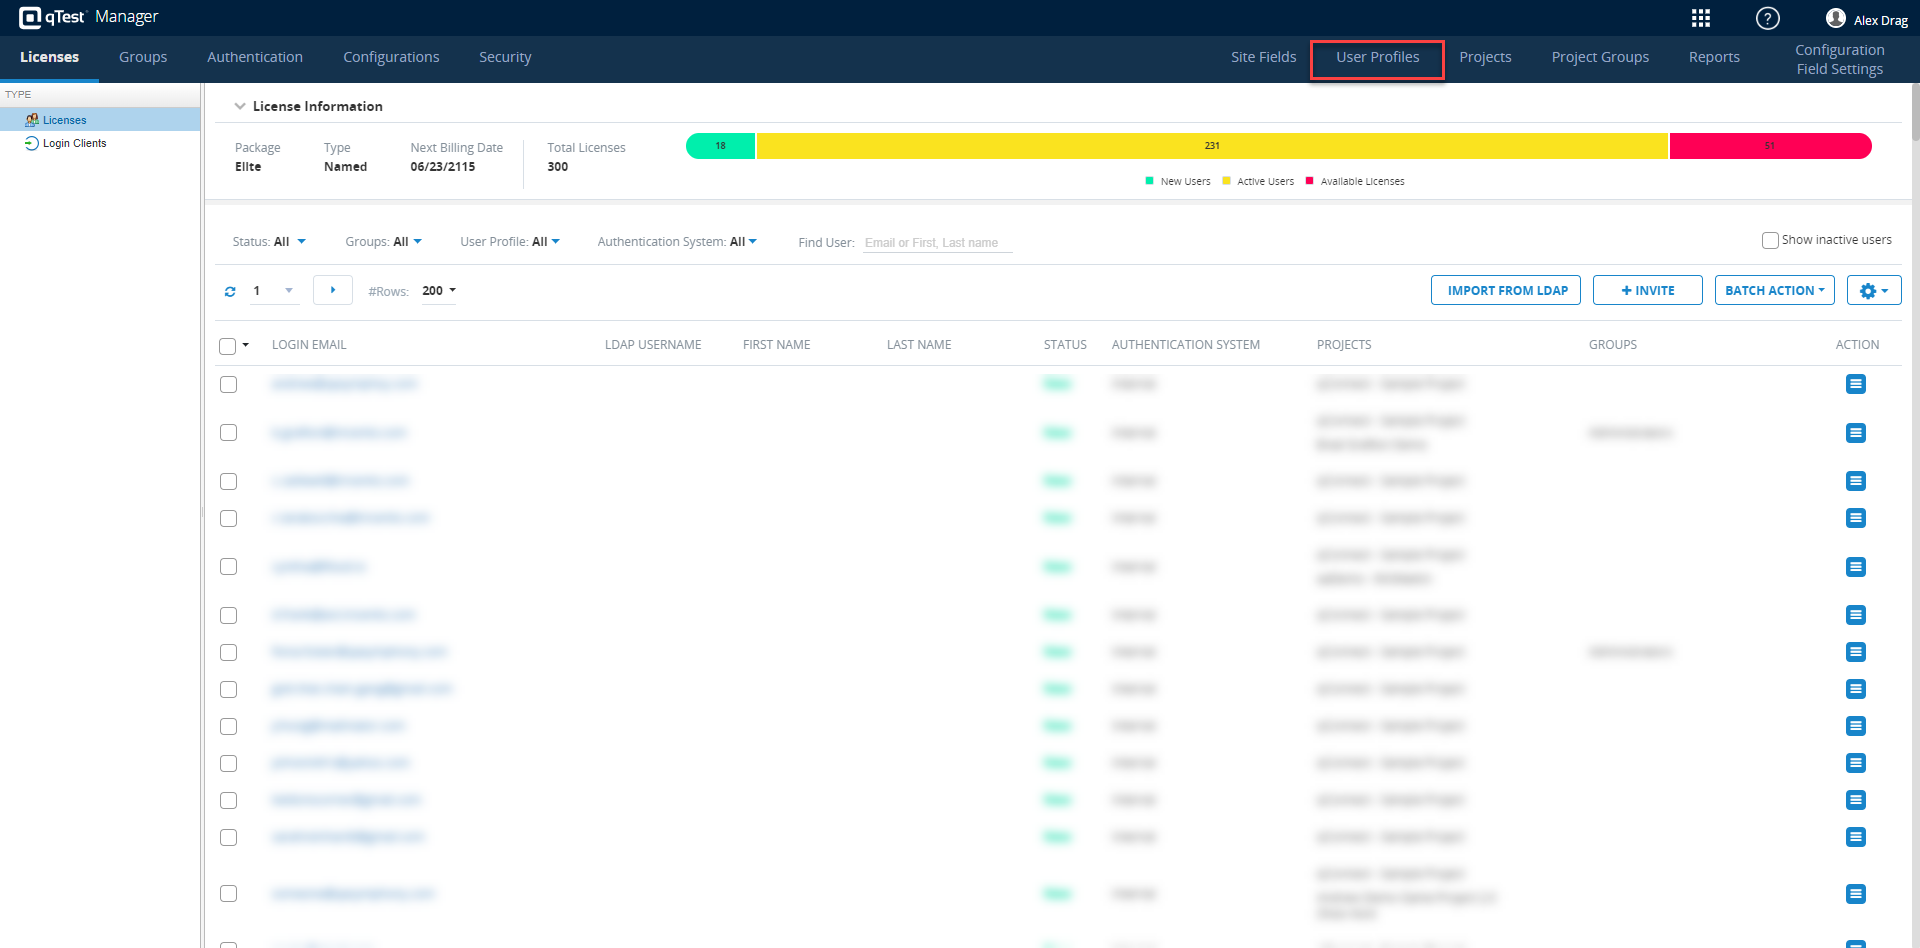
Hover your cursor over your username, and select Administration from the drop-down menu. The Site Administration page displays.
-
Select the User Profiles tab.
-
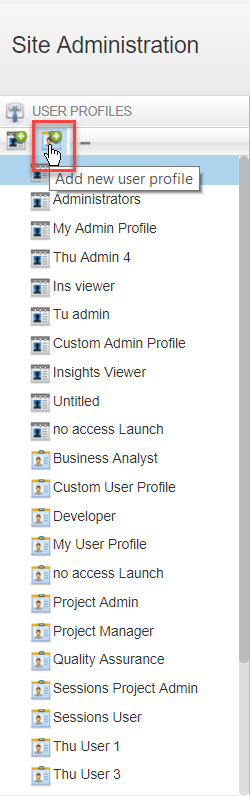
In the navigation panel, select the Add New User Profile icon.
-
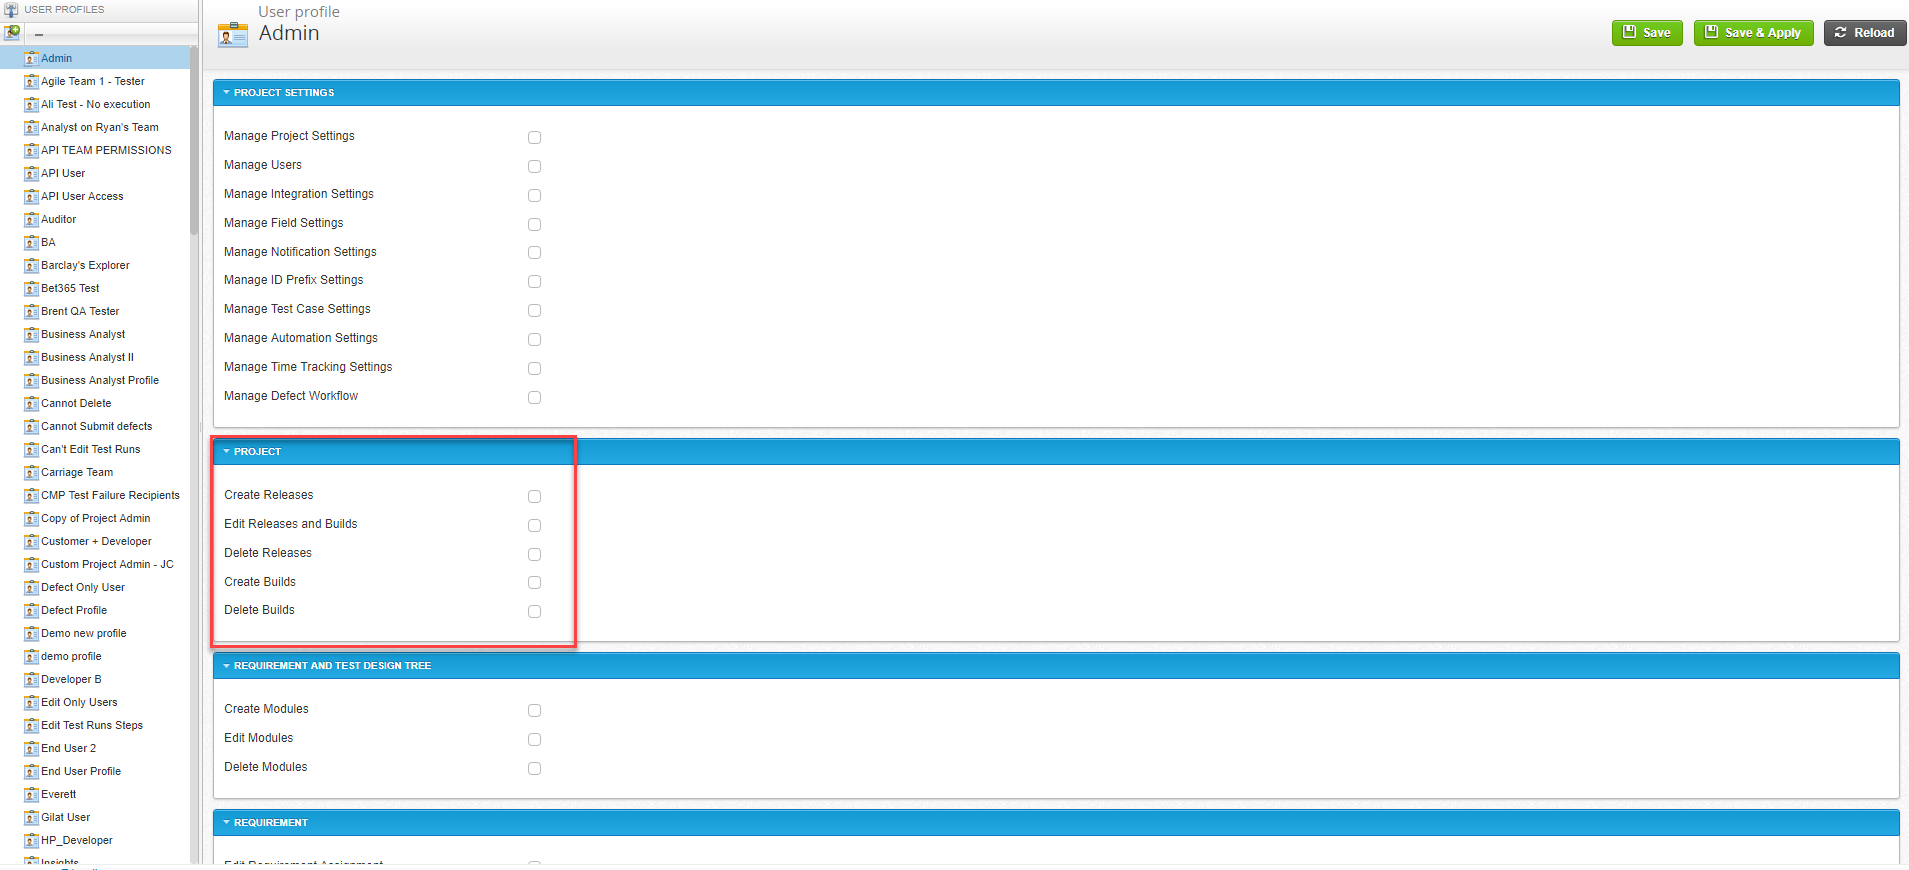
The User Profile page displays. Enter the User Profile name in the top field.
-
Select all the check boxes in the Project field, allowing the user to create releases, edit Releases and Builds, delete Releases, create Builds, and delete Builds.
-
Select Save.
Assign Default User Profile to User
You can put your User Profiles to use by assigning users a default User Profile or assigning users an Admin Profile in Licenses - Users.
You can assign a user a default User Profile so that they are automatically assigned certain project permissions when they're added to a project. To do so, follow these steps:
-
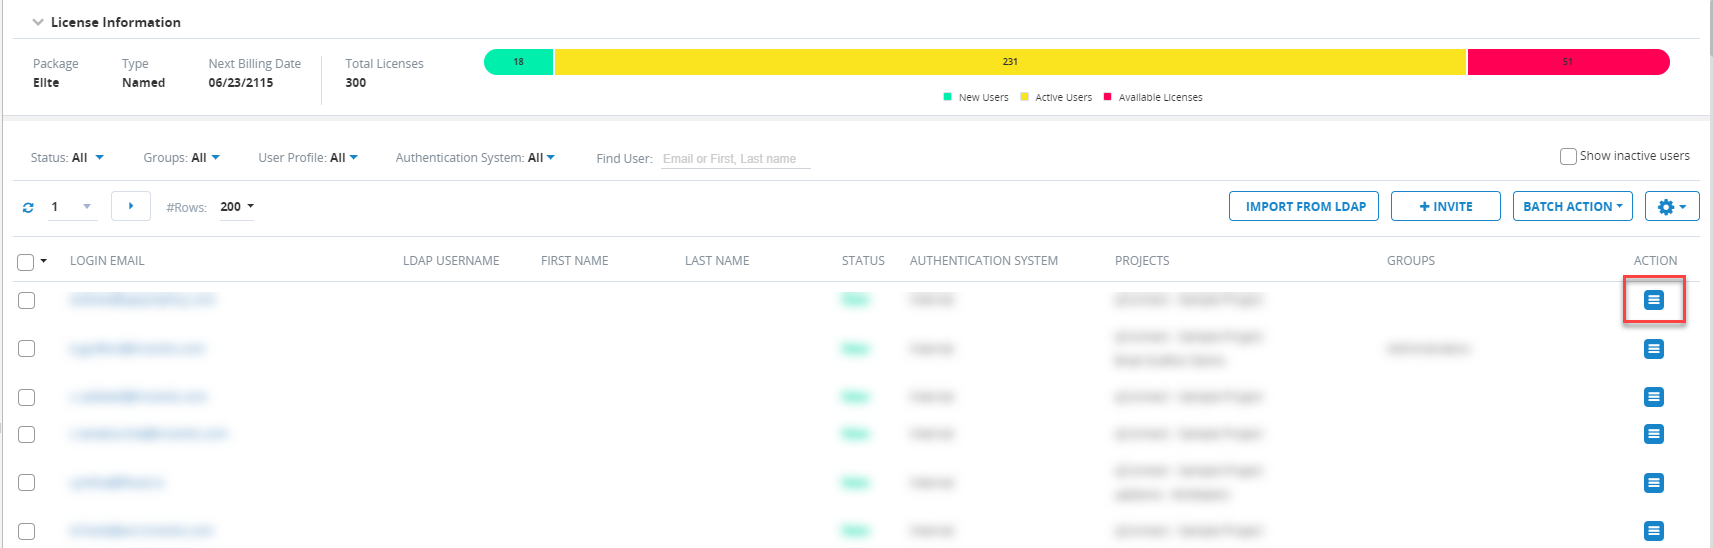
In Site Administration, select the Licenses tab.
-
In the Licenses table, locate the user you wish to act upon. Select the Action icon for that user.
-
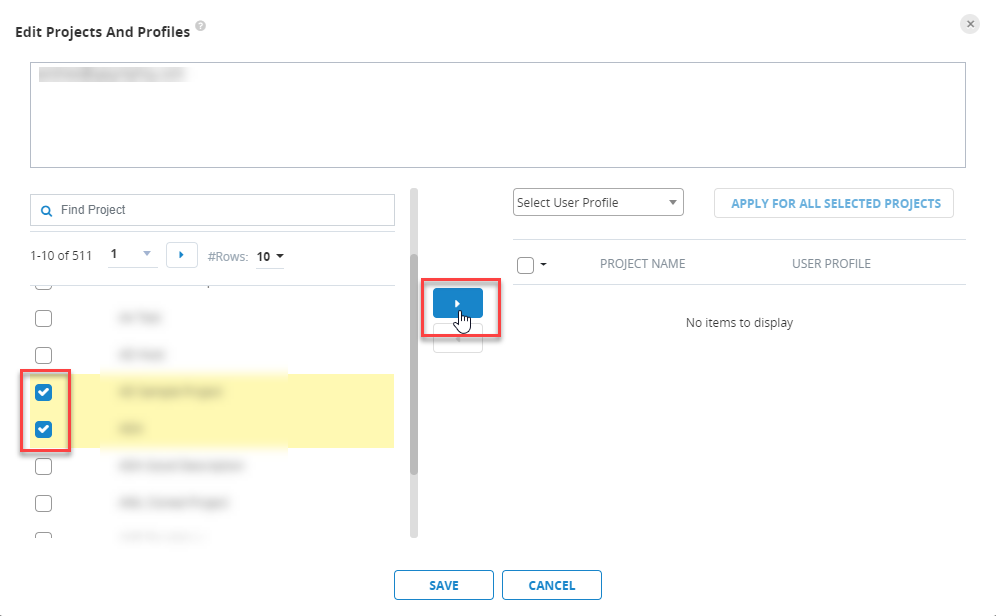
In the Action drop-down menu, select Edit Projects and Profiles. A dialog displays.
-
In the Edit Project and Profiles dialog, select the projects in which you would like to assign or change your users' User Profiles. To do so, select the check boxes next to the projects and then select the right-arrow icon.
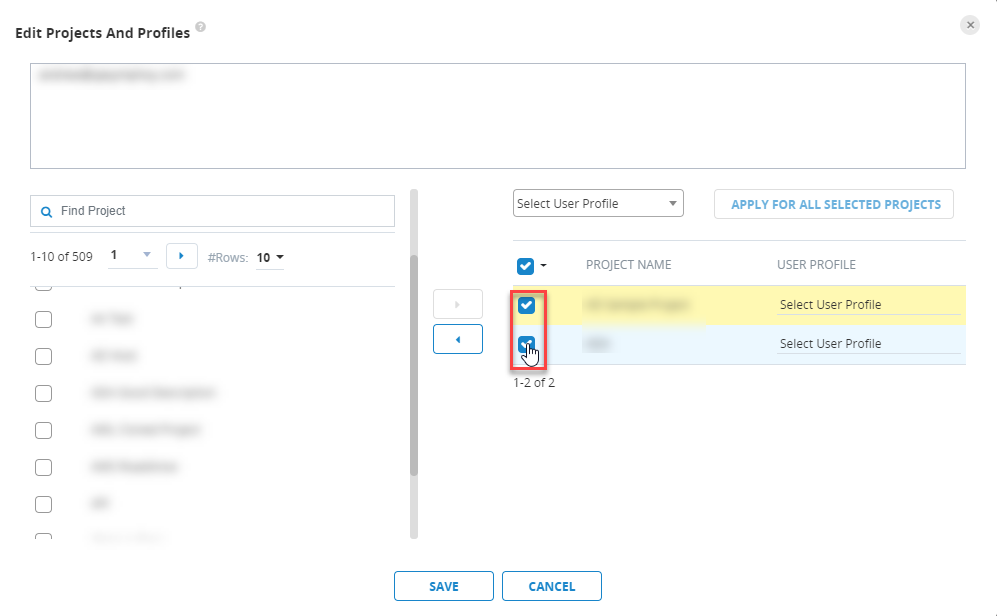
From here, you can either select one User Profile for all projects or choose individual User Profiles for individual Projects.
Select One User Profile for Multiple Projects
To select one User Profile for multiple Projects, follow these steps:
-
Select the check boxes next to the Projects.
-
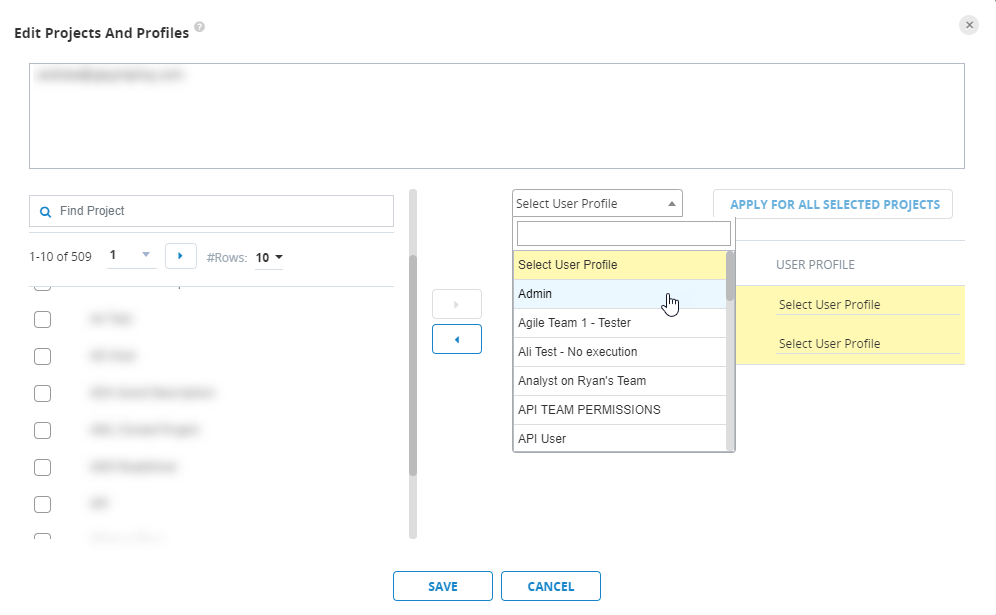
Search for and select your chosen User Profiles in the Select User Profile drop-down menu.
-
Select Save.
Select Individual User Profiles for Individual Projects
Perhaps you want a user to have different User Profiles within different Projects. To set this up, follow these steps:
-
Select the Select User Profile drop-down menu associated with the Project you wish to act upon.
-
Choose the User Profile that you want that user to have in that specific Project.

-
Repeat steps 1-2 for all other Projects you wish to act upon.
-
Select Save.
Delete User Profile
To remove a User Profile, perform the following steps:
-
In Site Administration, select the User Profiles tab.
-
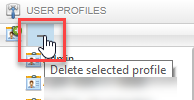
In the navigation panel, select the User Profile you want to remove.
-
Select the Delete selected profile icon.
Notes
-
You cannot remove the “Administrators” Admin profile and the “Project Admin” User Profile, as qTest Manager business rules depend on these two default profiles.
-
You cannot remove a profile that is currently assigned to a user. To remove this profile, you must first remove the profile from any users.
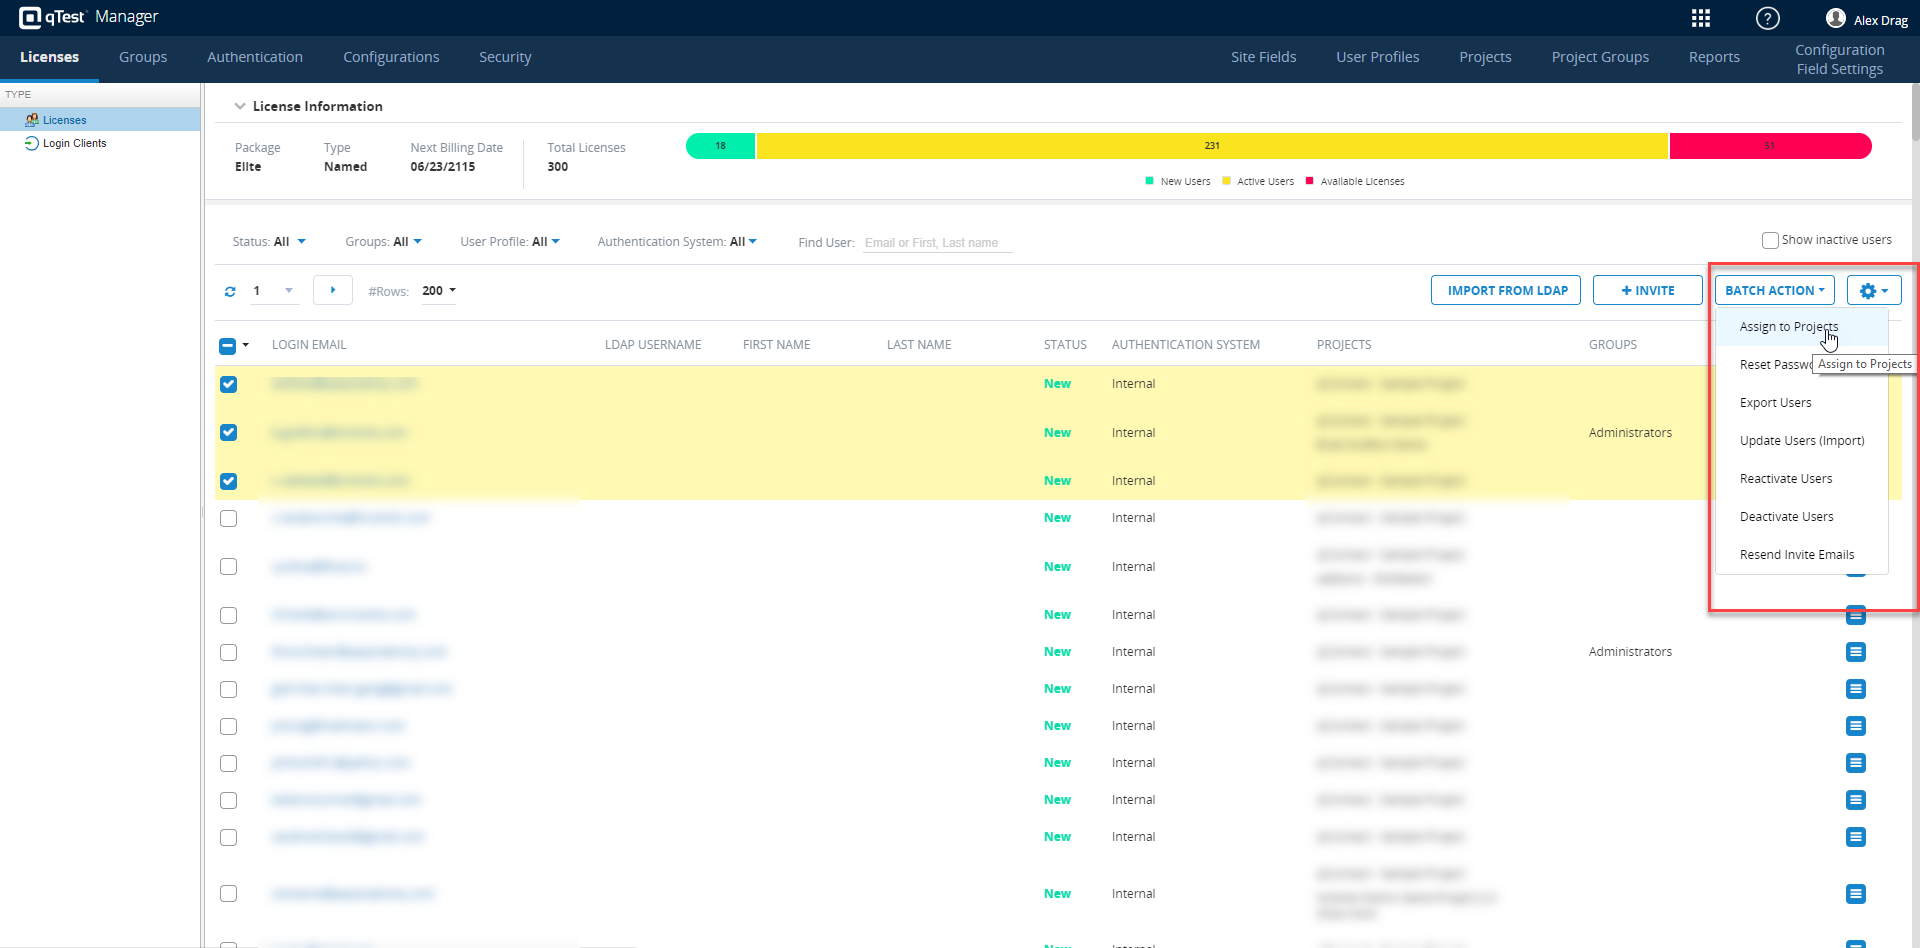
Bulk Assign User Profiles
If you would like to both add a user (or more than one user) to multiple projects and assign User Profiles for those projects at once, you can do so from within the Licenses tab. To do so, follow these steps:
-
Select the check boxes next to the users you want to batch assign Projects and Profiles.
-
Select the Batch Action icon, and choose Assign to Projects from the drop-down menu.
-
In the Add Users to Projects dialog, select the projects that you wish to add your users to by selecting the check boxes next to the projects.
-
Select the right-arrow icon.
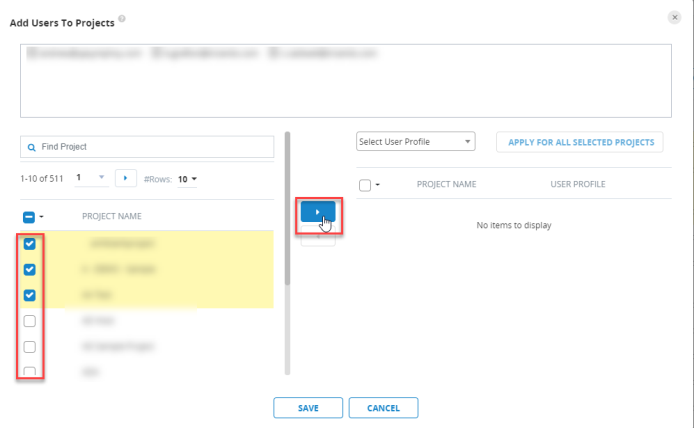
- From here, you can either select one User Profile for all projects or choose individual User Profiles for individual Projects.
Select One User Profile for Your Selected Users Across Multiple Selected Projects
If you want to make sure that all of your selected users have the same User Profile in all of your selected Projects, follow these steps:
-
In the Add Users to Projects dialog, select the check boxes next to the projects you have already selected.
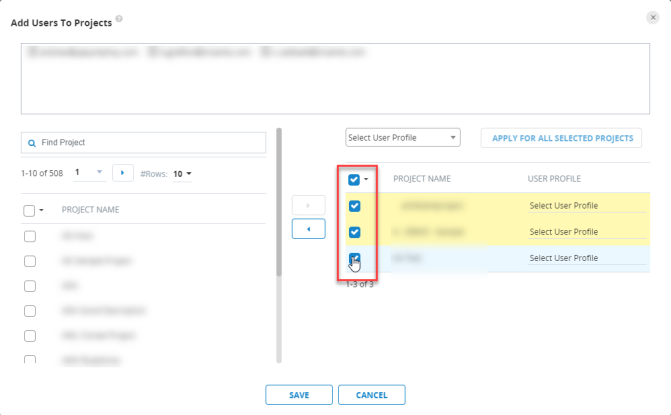
-
Next to the Apply for All Selected Projects icon, select the User Profile that you want to assign from the Select User Profile drop-down menu.
-
Select Save.
Choose Individual User Profiles for Individual Projects for All Selected Users
If you want to select certain User Profiles for Certain Projects across your all of your selected users, follow these steps:
-
For each Project, select the Select User Profile drop-down menu.
-
Select the User Profile that you want all of your selected users to have in each individual Project.

-
Select Save.