 Synchronize groups with Tricentis User Administration
As an administrator, you can synchronize user groups from Active Directory connections into the Groups overview of Tricentis User Administration. This way, you don't have to create groups and users individually.
To synchronize user groups, follow the steps below:
-
Create an Active Directory connection as described in chapter "Manage connections".
-
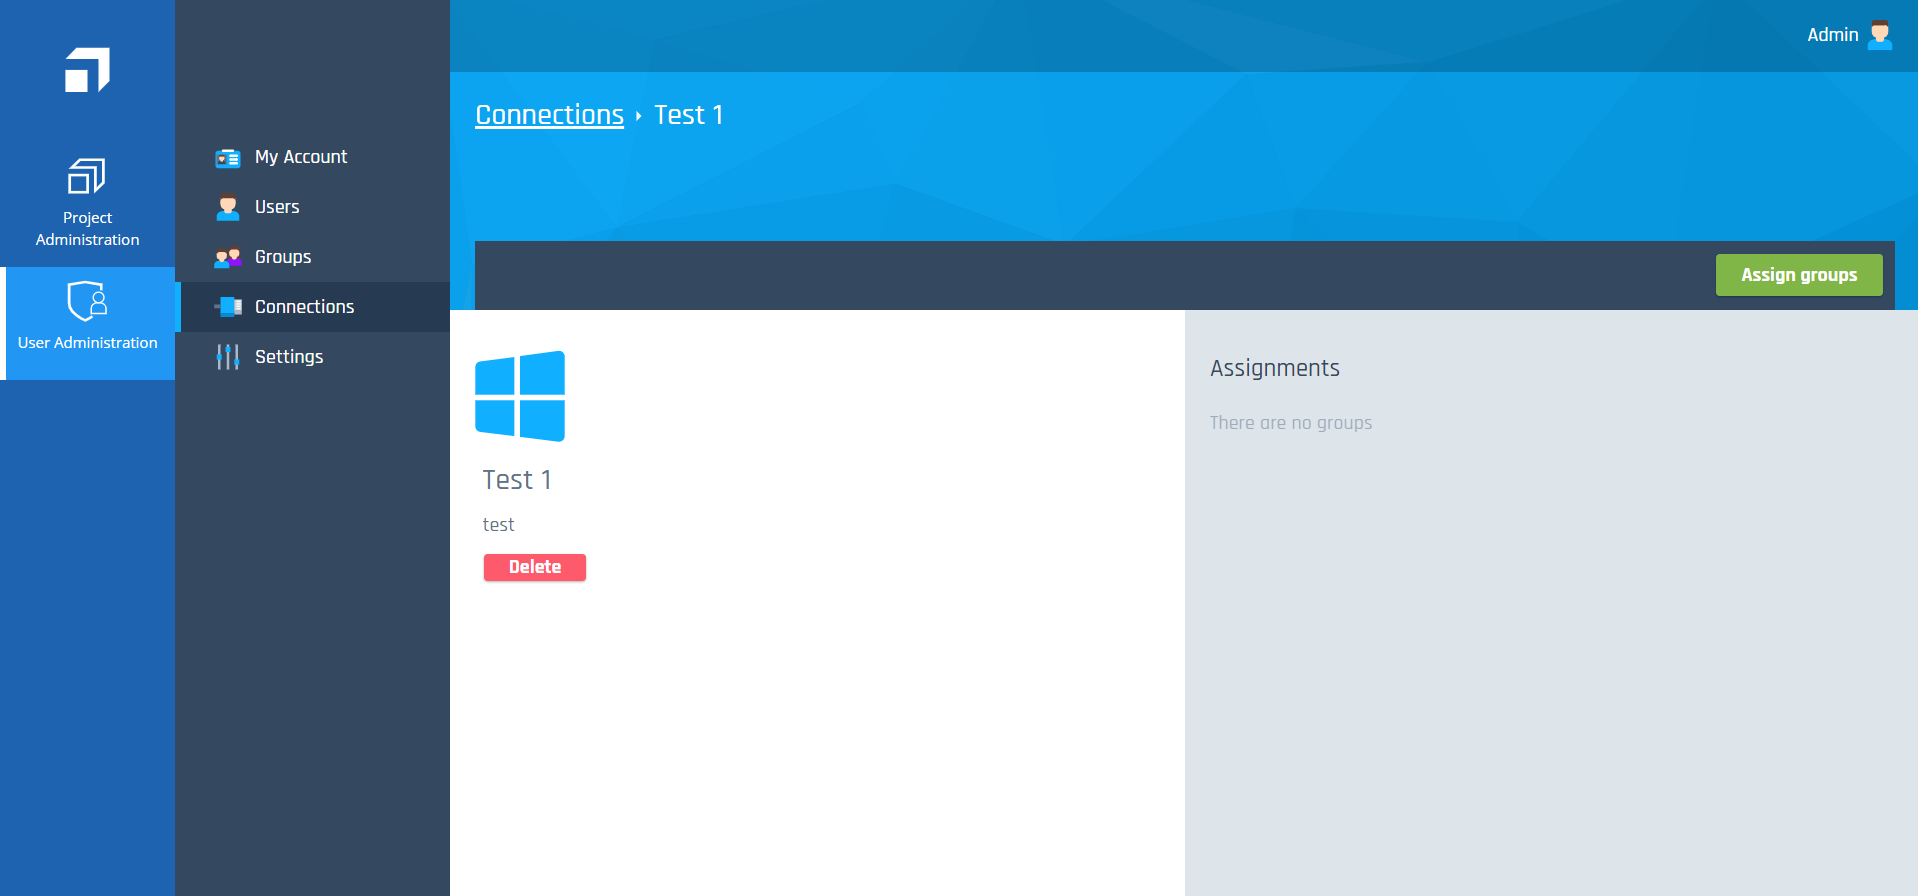
Go to the Connections overview and select the connection to which you want to add your Active Directory user groups. This opens the details view of the selected connection.
-
Click Assign groups.
-
In the subsequent dialog, enter your Lightweight Directory Access Protocol (LDAP) user name, password, and filter criteria (optional).
Note that the user name must be a valid LDAP name and not an email address. The LDAP credentials that you provide are not persisted. Use Filter to filter for the name of a specific LDAP group.

|
If you want to log in with your Active Directory credentials, ensure that the Active Directory connection with the required domain has already been added to Tricentis User Administration. To do so, enter your windows credentials in the Email and Password text boxes. Use the format "username@domain" in the Email text box. You will automatically be assigned to your groups after the administrator has synchronized them. Each log on compares the groups synchronized with the Active Directory groups. Removing a user from the Active Directory group also applies to Tricentis User Administration. |
-
Click Create.
Connections - Assignments
|
|
You can assign groups from Active Directory to non-Active Directory groups, but not vice versa. |
You can see the synchronized groups in the Assignments section.