Create Oracle, MS SQL Server, or DB2 workspaces
This chapter explains how to create a
Create multi-user
In this case, Tricentis Tosca centrally manages projects in one common repository database. A checkin / checkout mechanism ensures that users don't interfere with each others work.
For information on how to create other types of workspaces, see the following chapters:
Create the workspace
To create a
-
Ensure that you have prepared your database for multi-user mode.
-
On the Tosca Commander start screen, go to Project->New.
-
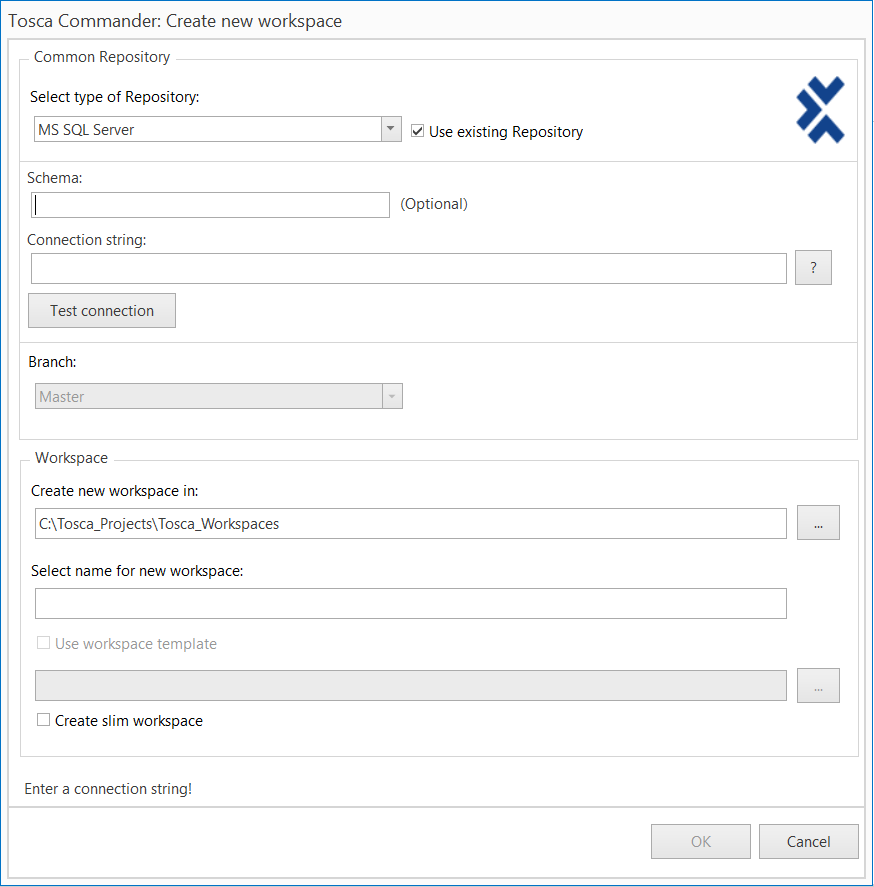
In the subsequent Tosca Commander: Create new workspace window, select
Create a
-
Choose whether to use an existing repository or a new repository for your workspace:
-
To create a new workspace in an existing repository, enable the check box Use existing Repository.
-
To create a new workspace in a new repository, clear the check box Use existing Repository.
-
-
If you created tables with a user-defined schema when you prepared your database, enter the schema name of the tables into the Schema field.
-
Enter a valid connection string to connect to the database.
If you have an existing workspace that is tied to this repository, you can reuse the connection string of this workspace. To do so, open the existing workspace and copy the string from Project->Info.
|
Database type |
Connection string parameter |
Description |
|---|---|---|
|
MS SQL Server and DB2
|
Server |
IP address or network name of the server |
|
Database |
Name of the database instance |
|
|
Uid |
User ID for database access |
|
|
Pwd |
Password of the user ID |
|
|
Oracle
|
Data Source |
Path to the Oracle Host |
|
User Id |
User ID for database access |
|
|
Password |
Password of the user ID |
-
If you are using branches, you can define which branch the workspace belongs to. To do so, select a branch from the Branch drop-down.
-
After a standard installation, Tricentis Tosca creates new workspaces in the default directory C:\Tosca_Projects\Tosca_Workspaces. You can specify a different directory in the Create new workspace in field.
-
Enter a unique name for your workspace into the Select name for new workspace field.
-
If you create a new workspace for a new repository, the option Use workspace template is available.
Enable this option if you want to automatically import the Standard subset into the new workspace. You can also select a different subset.
-
If you create a new workspace for an existing repository, the option Create slim workspace is available.
Enable this option if you want to exclude all workspace objects from synchronization by default. In this case, you manually specify which objects should be synchronized with the repository.
Enabling this option improves the performance of particularly large repositories.
-
Click OK.