|
|
Get to know your work environment
Your work environment in RPA Studio is a so-called workspace. This workspace is made up of various sections in which you create, design, test, and publish your Bots.
For information on how to prepare and create workspaces, see the Admin Guide section of the manual.
Types of workspaces
RPA Studio offers two types of workspaces:
-
Single-user workspaces for environments where only one person needs access to data.
-
Multi-user workspaces for environments where several people need access to the same data. In multi-user workspaces, a check in / check out mechanism ensures that users don't interfere with each others work (see "Check in and check out objects").
Open and close a workspace
To open a workspace, select it from the Recently used list on the RPA Studio start screen.
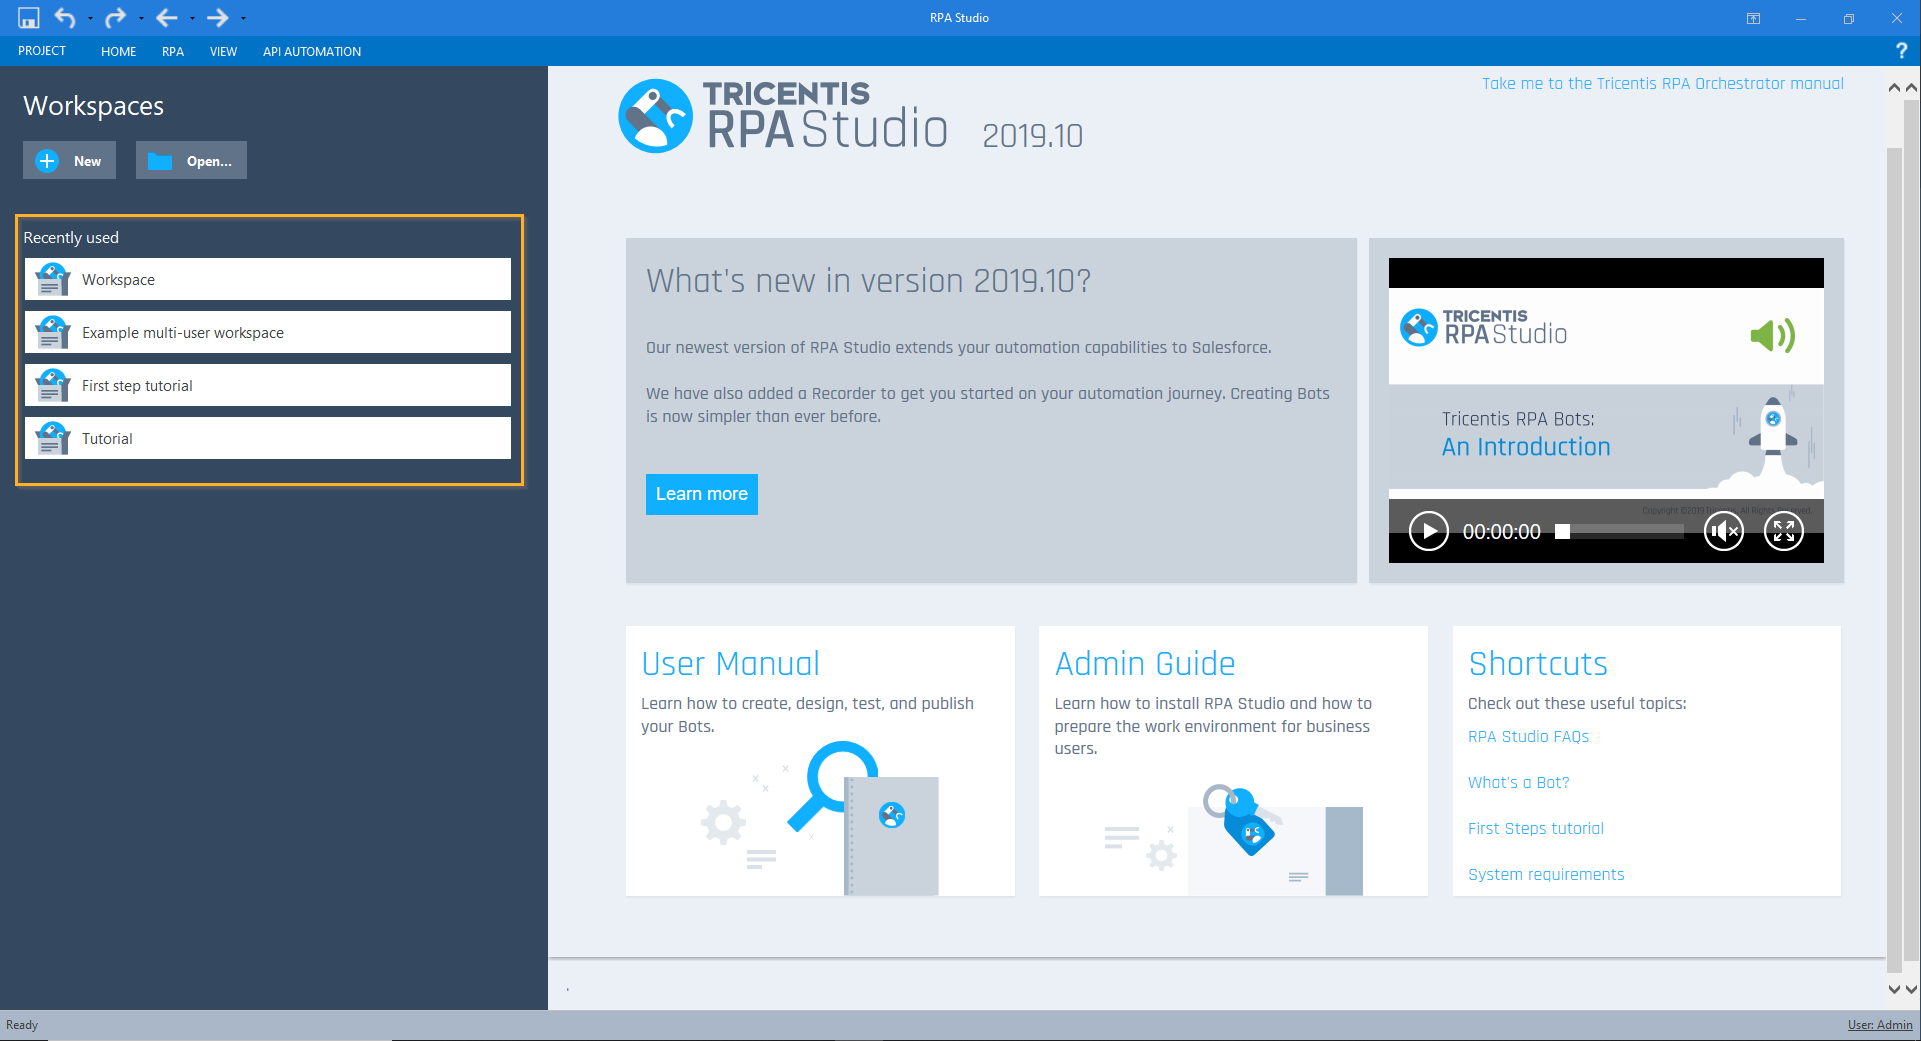
List of workspaces on the RPA Studio start screen
To open a workspace that's not on the list, click the Open... button, or press CTRL + O. In the subsequent dialog, select a workspace and click Open.
RPA Studio workspaces have the file extension .rws.
To close a workspace, navigate to Project and click Close.
Anatomy of a workspace
Your workspace consists of various sections:
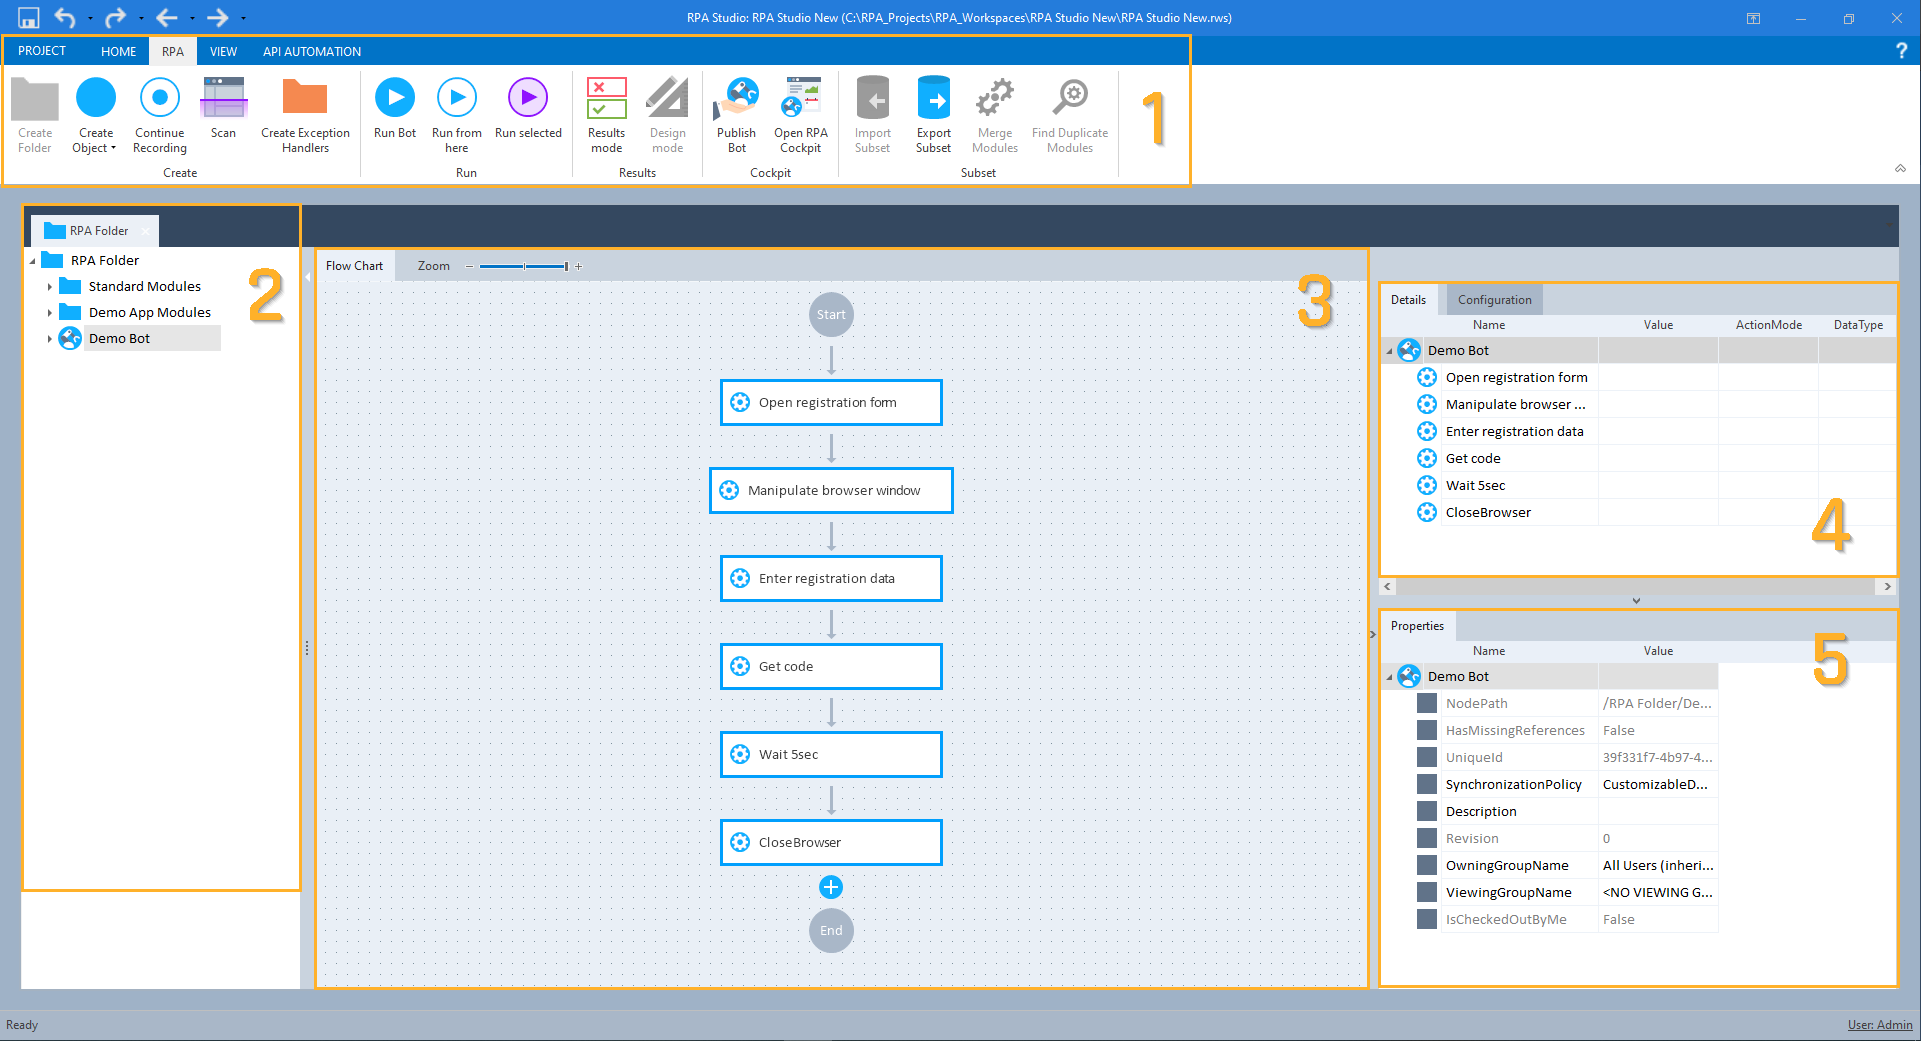
Example single-user workspace
|
|
Section |
Description |
|---|---|---|
|
1 |
Ribbon menu |
For more information on menus, see "Menus in RPA Studio". |
|
2 |
The project tree shows the hierarchical structure of all RPA Studio objects in this workspace. In multi-user workspaces, colored dots in the project tree indicate whether a particular object is currently checked in or out (see "Check in and check out objects"). Every project tree contains the following default objects:
|
|
|
3 |
This tab is only available if you click on a Bot in the project tree. The Flowchart is where you define the actions you want your Bot to perform, i.e. where you add Steps to your Bot (see "Design your Bot"). When you test your Bot, the Flowchart also displays the test results (see "Test your Bot"). |
|
|
4 |
This tab contains detailed information on the Steps you create for your Bots. It's where you fill out your Step Values, i.e. tell the Bot exactly what to do in each Step (see "Fill out Step Values"). When you test your Bot, the Details tab becomes the Results tab. In the results view, it shows detailed information on test results. The columns in the Details / Results tab contain detailed information on any object that you select (see "Columns in RPA Studio"). |
|
|
|
This tab shows all configuration parameters you have created for a particular object, for instance a Bot or a folder. |
|
|
5 |
Properties tab |
This tab shows all properties of an object. |
What's next
Time to start creating Bots!