Prepare your workspace
To create and design OSV Scenarios in Tosca Commander, you need to have a prepared workspace. To do so, perform the following steps:
-
Create a Tosca Commander workspace. You can create a single-user or multi-user workspace depending on your requirements.
Import the OSV samples subset
Tricentis recommends that you import the OSV_Samples.tce subset located at %TRICENTIS_PROJECTS%\ToscaCommander. The subset contains sample OSV Scenarios that you can use to learn how to work with Scenarios and how to transfer and run them in OSV.
Connect to OSV
To connect your workspace to the OSV Host and an OSV Environment, follow the steps below:
-
In Tosca Commander, select Project from the Home menu.
-
Select the project root element. In a multi-user workspace, the project root element has to be checked-out.
-
In the OSV menu, click
 Connect to Host.
 -
In the subsequent dialog, specify the name of the OSV Host and click OK.
-
In the subsequent dialog, specify the name of the OSV Environment and click OK.
The system connects the project to OSV and automatically adds test configuration parameters for the OSV Environment and the OSV Host.
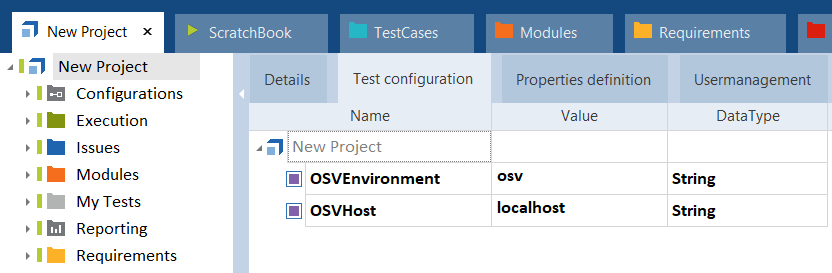
OSV test configuration parameters
Use an HTTPS connection
If you use an HTTPS connection, you have to specify this in the OSVHost test configuration parameter.
To do so, enter https:// and the name of the host in the Value column, e.g. https://localhost.
For more information on HTTPS communication, see chapter "Configure communication via HTTPS".

|
Tricentis recommends that you define only one OSV Environment per workspace. If you want to manage multiple Environments in one workspace, you can create a ComponentFolder for each environment and connect each folder to an OSV environment and OSV Host as described above. You can also manage users for multiple OSV Environments in one workspace as described below. |
Manage users and user groups
In Tosca Commander, you can create users and assign them to a user group. When you assign users to a user group, they have the rights defined for this user group (see chapter "User management"). For OSV, you have to assign each user to one of the four OSV user groups and synchronize them with the OSV Environment they work in.
The following OSV user groups are available:
-
OSV Admin
-
OSV Designer
-
OSV Reporter
-
OSV Tester
To assign users and synchronize them with an OSV Environment , follow the steps below:
-
Navigate to the Usermanagement tab.
-
Assign each user group to the OSV Environment it belongs to. Use the following format: OSV-[YourEnvironment]-[OsvUserGroup].
For example, assign the Admin user group to the OSV Environment osv with the following name: OSV-osv-Admin.
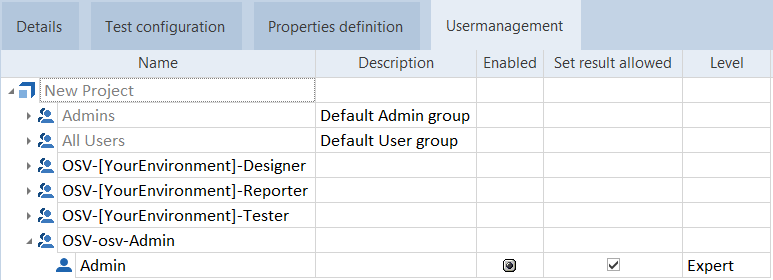
OSV user groups
-
To synchronize the users with the OSV Environment, click
 Sync Users in the OSV menu.
 -
In the subsequent dialog, click OK.
|
|
These properties are only available if the project root element is checked in and all other OSV users updated their workspace (see chapter "Checkin and Checkout mechanisms"). |