 Invite users
As an Administrator, you can either synchronize users from Active Directory or invite them as local users.
To invite users, follow the steps below:
-
On the User Administration page, navigate to the Users tab.
-
Click the Invite Users button in the top right corner.
-
In the Email address(es) field, enter the email addresses of the users you want to invite. Use semi-colons to separate multiple email addresses.
If you enter an invalid email address, the
 icon pops up. Hover over the icon until it changes to a
  icon. Then click the icon to delete the email address.
Alternatively, you can edit the email address. To do so, click into the email address field.
The following characters are supported in email addresses:
-
Standard English alphabet in upper and lower case:
A B C D E F G H I J K L M N O P Q R S T U V W X Y Z
a b c d e f g h i j k l m n o p q r s t u v w x y z
-
Special characters: ! # $ % & ' * + - / = ? ^ _ ` { | } ~ . @
-
Numbers: 0 1 2 3 4 5 6 7 8 9
-
-
Once you have entered all email addresses, click the Add button.
-
By default, the system uses the email address as default name. If you want to assign an actual name to the user, enter a name into the respective Enter a name... field.
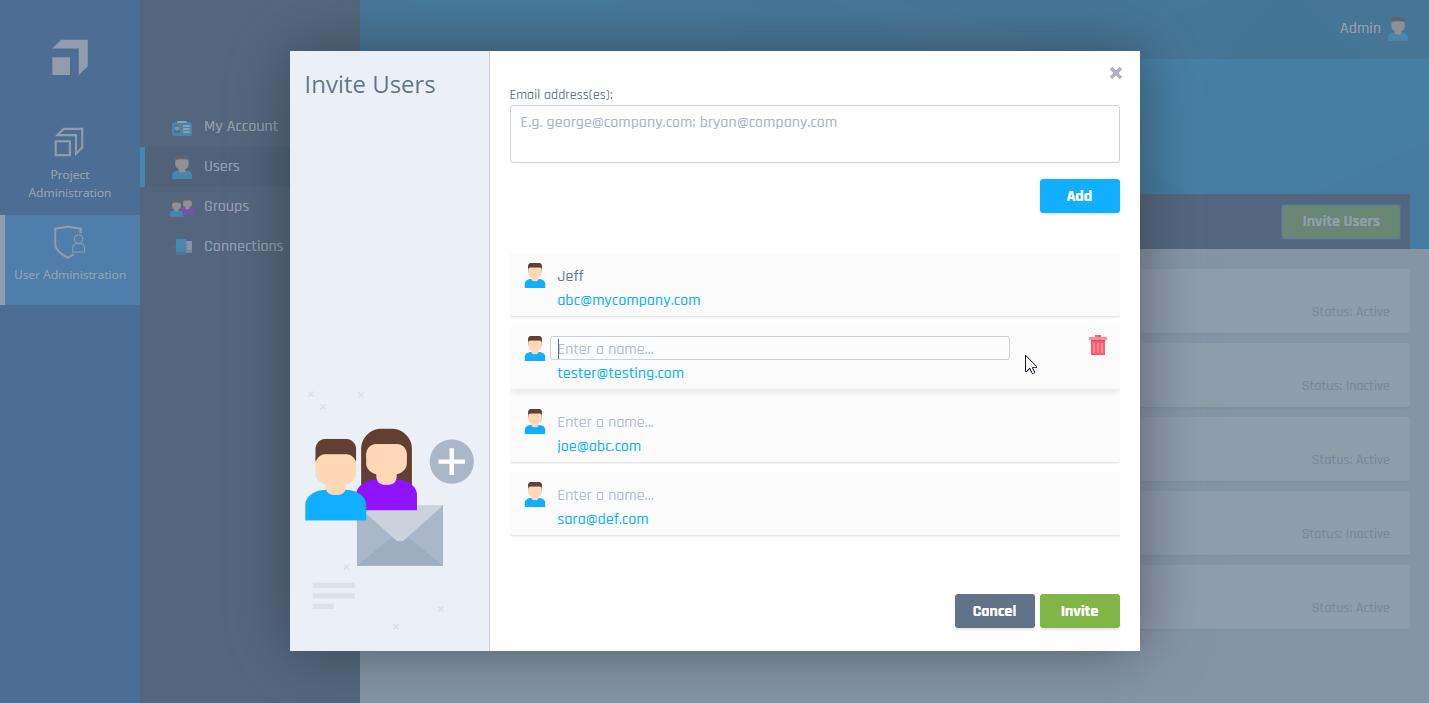
User invitation list
-
Once you have entered and edited all email addresses, click the Invite button.
Each invited user receives an invitation email that contains an account activation link. The users have 30 days to register their account. If they miss this window, you can resend the invitation. To resend the invitation email, click the Resend invitation button on the user's account page.
You can see the date and time at which you sent the invitation email on each user's account page. This information is available until the user registers.