Enable Single Sign-On for Tricentis User Administration

Tricentis User Administration allows you to centrally manage users across multiple projects. This saves you time and effort as your testing projects scale.

To do so, you first need to create users in Tricentis User Administration. Administrators have multiple options for creating users; this topic explains how to create users by enabling Single Sign-On (SSO). Enabling SSO allows you to use your third-party provider for user authentication. Users can then sign in with their regular credentials.

What's in this topic?

This topic is for administrators. It has all the information you need to complete the following tasks: 

  • Understand the requirements and restrictions of an SSO integration.

  • Prepare your own environment for SSO.

  • Set up SSO in Tricentis User Administration.

Understand requirements and restrictions

Tricentis User Administration supports all identity providers that use Security Assertion Markup Language 2.0 (SAML 2.0). Please keep the following restrictions in mind:

  • Tricentis User Administration maps names and emails. You can't synchronize SSO groups with Tricentis User Administration. Instead, you need to create and manage user groups manually.

  • Tricentis User Administration only supports a Service Provider Initiated SSO flow. This means that users have to log into Tricentis User Administration by clicking on the SSO login button.

  • You don't see SSO users in the users overview until these users sign in for the first time.

Prepare your environment

Before you can set up SSO in Tricentis User Administration, you need to make sure that your environment is ready.

  • Ensure you have defined the email, name, and sub claim within your SAML 2.0 identity provider.

  • When you set up your identity provider, make sure to add the following information:

    Identifier (Entity ID): http(s)://<Tosca Server address>/saml

    Reply URL (Assertion Consumer Service (ACS) URL): http(s)://<Tosca Server>/signin-saml

For an example of how to configure and activate your SSO integration with the identity provider Okta, see this Tricentis Knowledge Base article.

Set up SSO in Tricentis User Administration

Once your environment is ready, you can set up SSO in Tricentis User Administration. To do so, follow these steps:

  1. Access Tricentis User Administration and go to Settings.

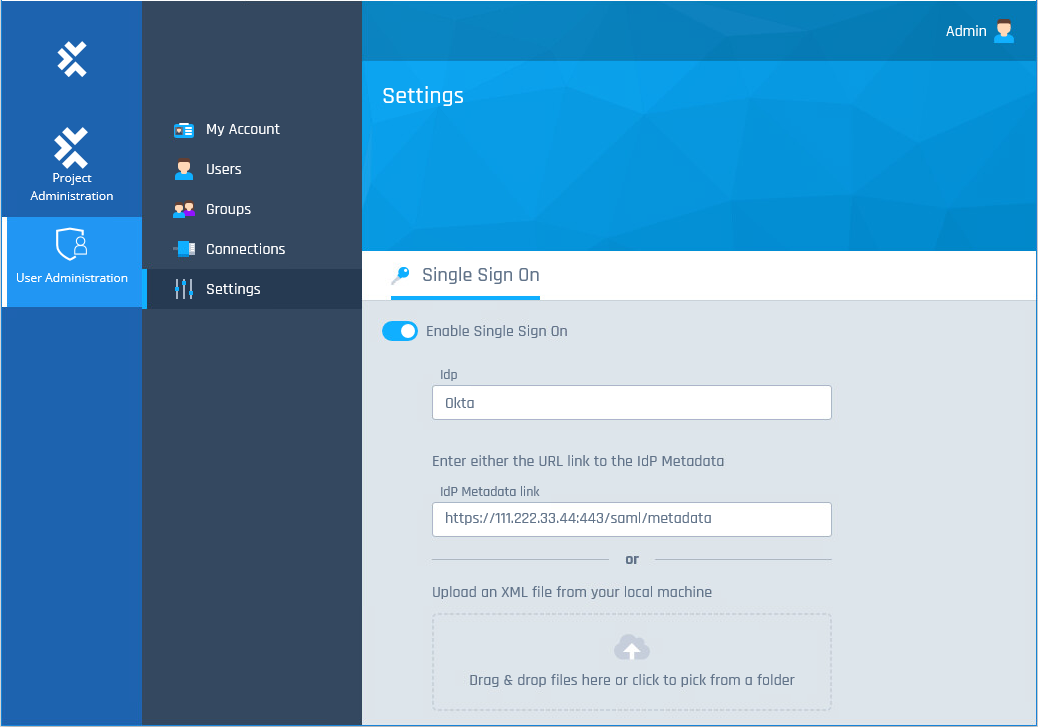
  2. Turn on the Enable Single Sign On toggle.

  3. Enter the name of your identity provider into the Idp field.

  4. Enter the URL of your Identity Provider metadata or upload the metadata XML file.

    Tricentis recommends that you use the URL option. If settings change and you use the URL, you don't need to perform any additional tasks. But if you upload the file and settings change, you need to upload an updated file.

Enable Single Sign-On for Tricentis User Administration

What's next

If you use Tricentis User Administration for authorization, organize your users into user groups. Once you have your groups, you can assign them to your Tosca test projects to give them access.

If you use Tricentis User Administration for authentication, you're good. Check the Tricentis Tosca setup guide. Maybe there's something else you still need to do?