Create, Edit , and Delete Test Cases
qTest Manager allows you to create reusable test cases and store them in a central repository in Test Design. Then, using the drag/drop functionality within the left navigation panel and you can move Test Cases and folders into the preferred layout. For more information, see the article Examples to Build Your qTest Repository.
How to Create Test Cases Video
Create Test Cases
Before we can execute Test Cases, we need to create them in Test Design. Then, we create Test Runs from the Test Execution module to plan and log execution results.
To Create a Test Case, follow these steps:
-
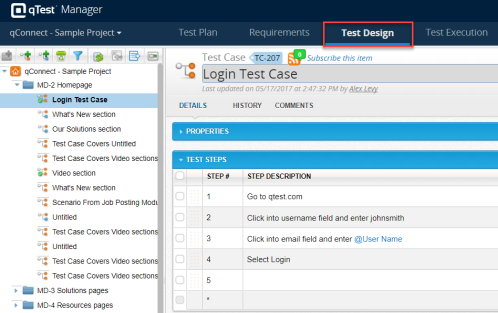
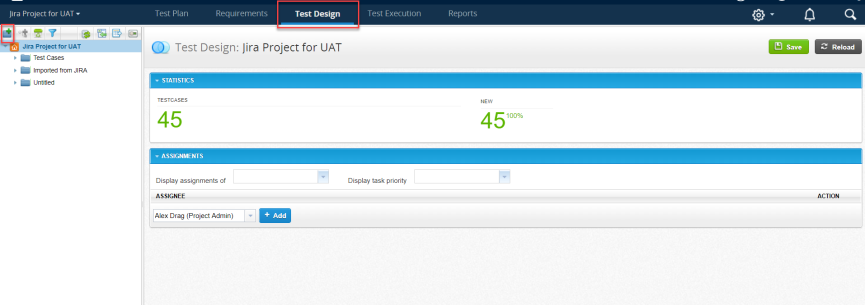
In Manager, select Test Design.
-
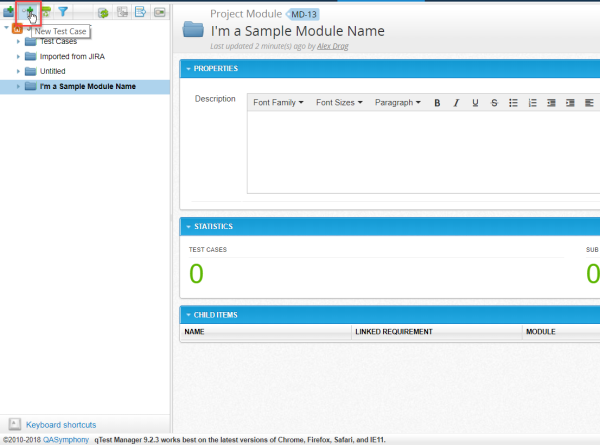
Click the New Module icon in the Navigation panel.
 Test Cases, like Requirements, are organized in folders known as project Modules. Before creating a new Test Case in qTest Manager, make sure to create at least one project module to organize your Test Cases.We recommend organizing Test Cases into a nested folder structure to make them easy to find.
 -
The "Project Module" page displays. Name and describe your Module.
-
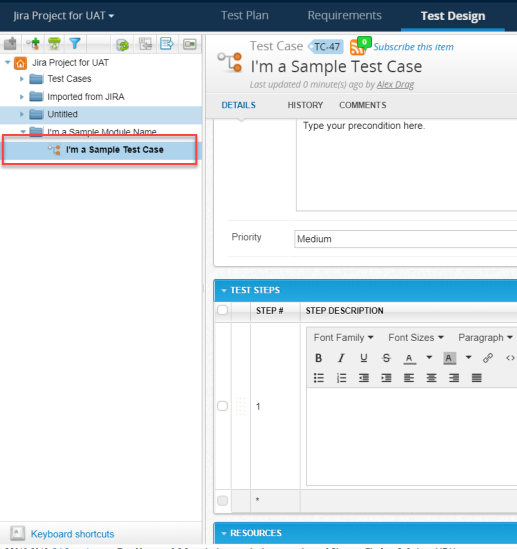
Select your Module and then select the New Test Case icon in the Navigation Panel.
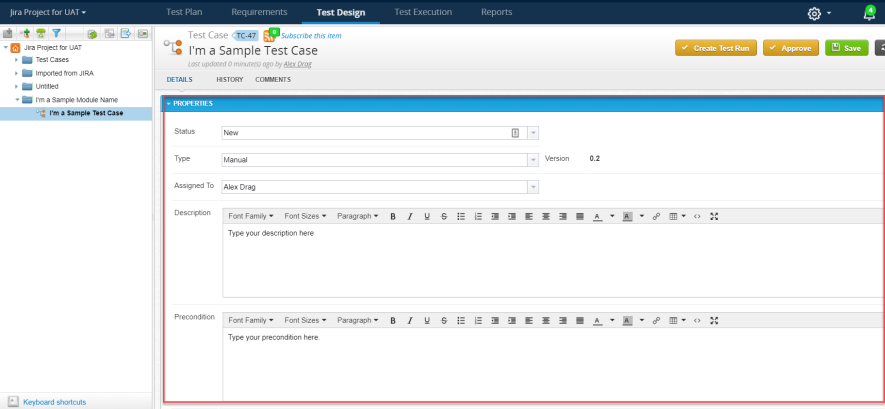
 The Status, Type, Version, and Priority fields are automatically populated by qTest Manager. You can change the Status, Type and Priority of the Test Case, as applicable. To create custom fields or modify existing system fields, see the Field Settings article.
Define Your Test Case
-
Select the down arrow to the right of the Assigned To field and select the checkbox next to the name of the tester you want to assign to this test case.
You can automatically send email notifications to other users when Test Cases (or other objects) are assigned to them. To configure email notifications, see the Notification Settings article. -
In the Description text box, enter a description of the Test Case.
-
In the Pre-condition text box, enter the pre-conditions that must occur prior to executing this Test Case.
Enter Test Steps for Your Test Case
-
In the "Test Steps" Section at the bottom of the "Test Case" page, double-click the field under "Step Description."
-
The "Test Step" field expands. In the expanded fields, enter the Step #, Step Description, and Expected Result.
Optionally, you can add attachments by selecting the paperclip icon.
-
Once finished, select Save.
Test Case Type
The Test Case Type defines the category in which your Test Case falls. For example, your Test Case may be of the Manual, Automated, or Regression type. To define your Test Case Type, follow these steps:
-
Select the drop-down menu next to Type in the "Properties" section.
-
Select the appropriate Type.
-
Select Save.
Edit Test Case
To edit an existing Test Case, perform the following steps:
-
In Test Design, select the Test Case that you want to edit in the Navigation Panel.
-
Edit the Test Case name or any fields in Properties, Test Steps, Resources, and Attachments of the Test Case.
-
Select Save.
-
Reload to get the latest information on the selected Test Case.
Test Case Versioning
When you save a Test Case with new changes, the Test Case's version will automatically increase by 0.1. The version number is visible as a system field on the Test Case page, as shown below. 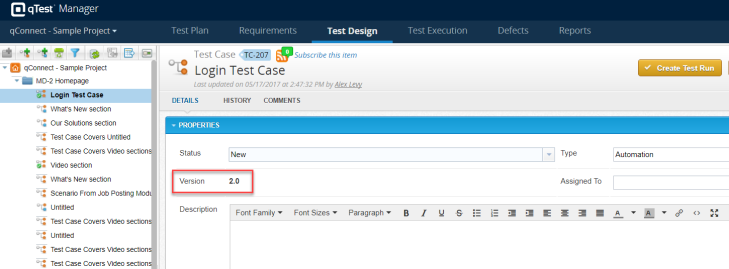
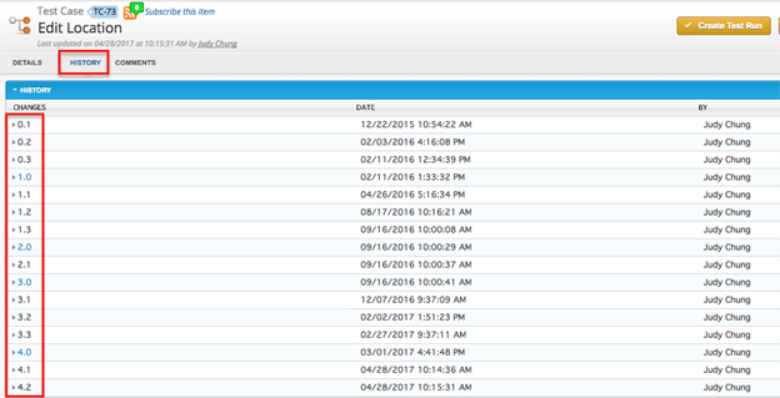
When editing the Test Case, you can only make changes based on the latest version of the Test Case, not previous versions. To easily reference the changes made over time, see the History tab of the Test Case, as displayed below.
Test Case Versioning and Software Versioning
A new version of software may require changes to the tests that must be performed. To manage changes to a certain test over time, you can either edit the original Test Case (e.g., add additional Test Steps), copy the original, or create a brand new Test Case. This separate Test Case may be more beneficial if you need to continue to test previous versions of your software.
If it is not as important to continue testing older versions of your software, you can edit the existing Test Case over time.
Approve a Test Case
qTest Manager provides the ability to control how changes to a Test Case can be incorporated into Test Execution. An Approved Test Case means that this version is ready for Test Execution.
If only certain users within your project should have the ability to review and approve Test Case changes, the Project Administrator can remove the “Approve Test Cases” permission from other users in your project’s User Management Settings. If it is not important to restrict who can approve Test Cases within your project, simply give every user the permission to “Approve Test Cases.”
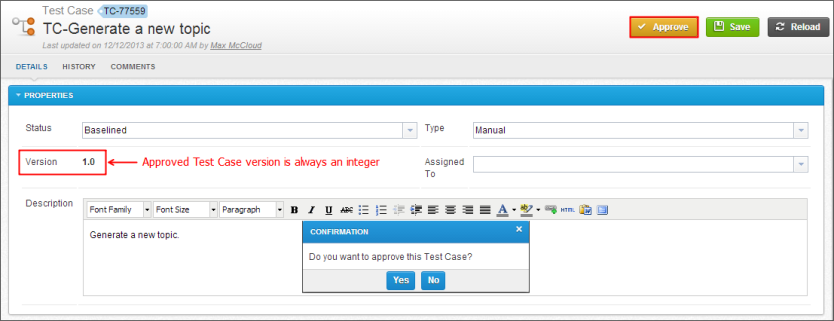
To identify whether a Test Case is in an approved version, refer to the Test Case version number. When a Test Case is approved, the Test Case's version will automatically increase to the next whole number. For example, when Test Case version 4.2 is approved, the version number is automatically changed to Test Case version 5.0. The approved version of edited Test Cases will automatically update in their Calling Test Cases.
To approve a single Test Case, select Approve at the top-right of the Test Case page. Select Yes in the confirmation dialog.
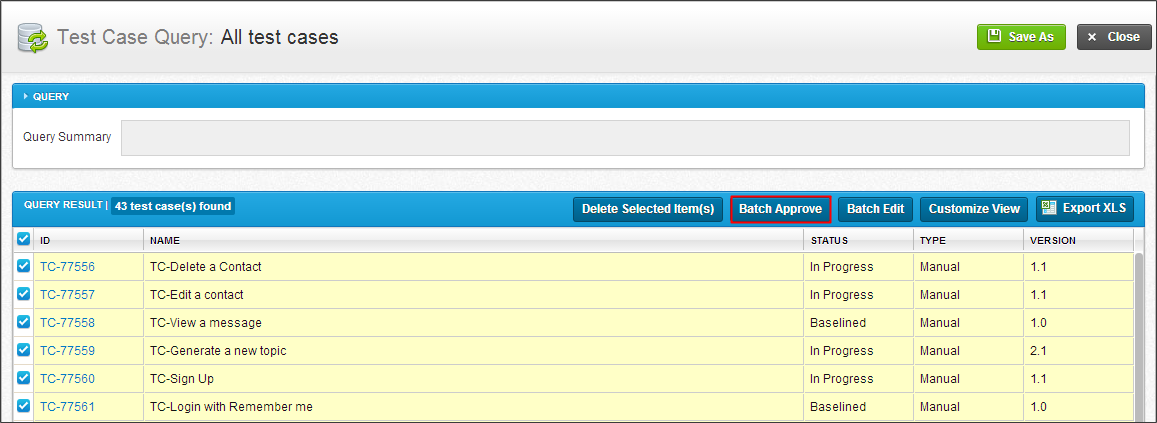
To approve multiple Test Cases, go to the Data Query in Test Design, query for Test Cases that need to be approved. Then, select the Test Cases in the Query Result table and click the Batch Approve icon to approve all selected Test Cases.
Life Cycle of a Test Case
Your Test Cases will go through life cycles during the course of testing. These life cycles are marked and tracked by Test Case Statuses. These statuses can be found and edited manually within the Test Case's "Properties" section. Before these statuses changes are solidified, the Test Case must be approved. 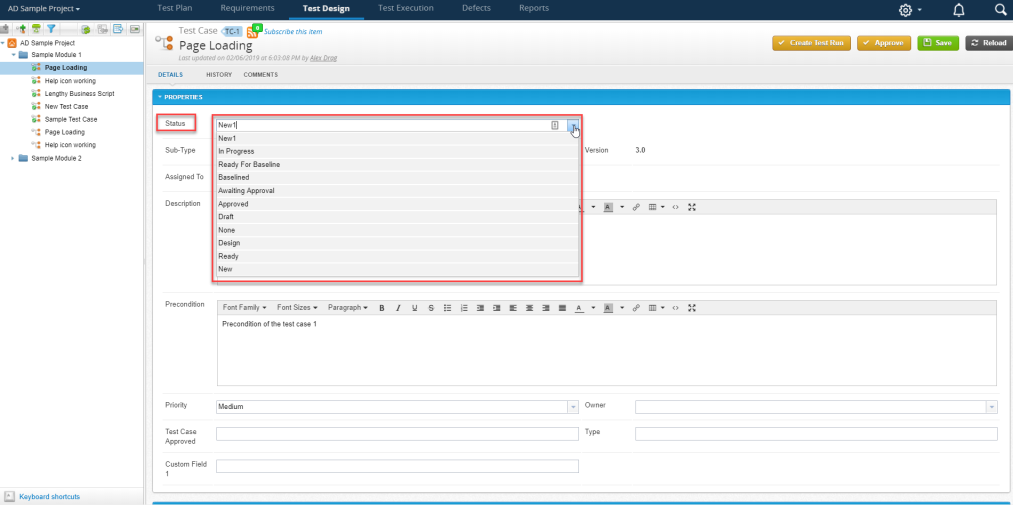
Delete a Test Case
To delete a Test Case, follow these steps:
-
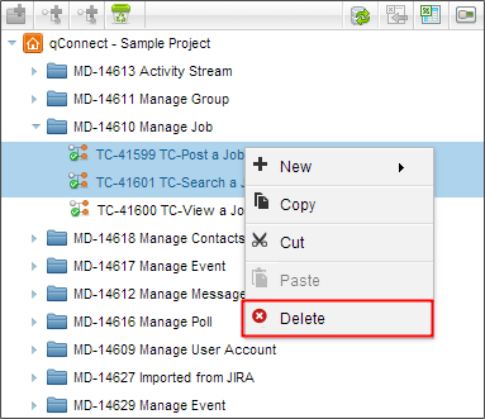
In Test Design, select the Test Case(s) that you want to delete in the Navigation Panel.
-
Right-click the Test Cases(s) and select Delete.
-
Deleting Test Cases will remove their associations with any Requirements.
-
If you delete a Called Test Case, it will remove all corresponding steps within Calling Test Cases that included the Called Test Case.
-
Deleting a Test Case will automatically remove its associated Test Run(s) in Test Execution regardless of their execution status.
Next Steps
See the following articles: